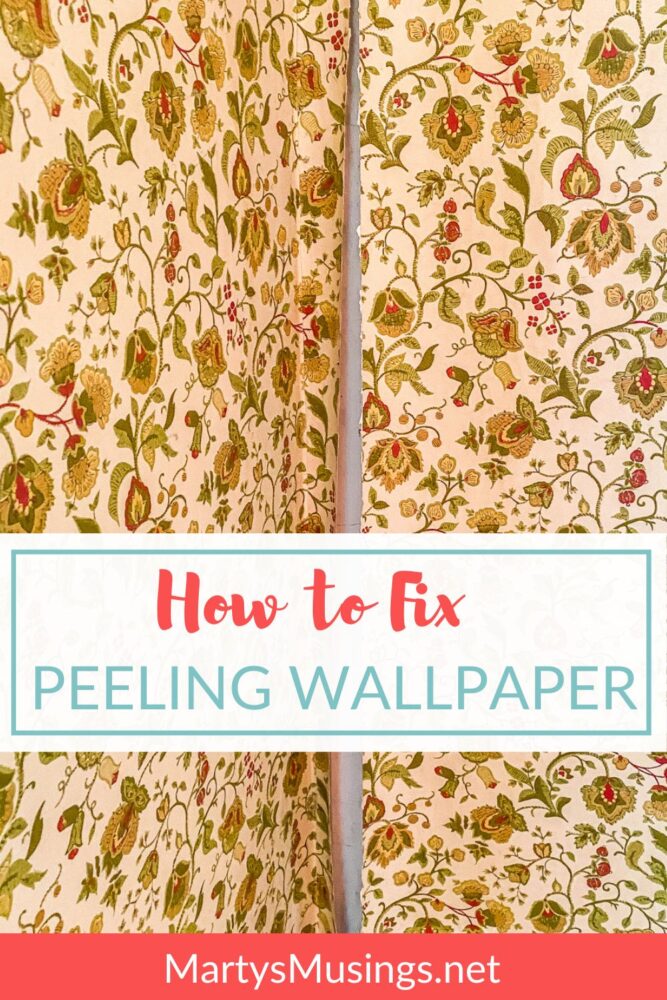
How to Fix Peeling Wallpaper + Removal
This post may contain affiliate links which won't change your price but will share some commission. Read more here.Here’s how to fix peeling wallpaper in a few easy steps plus everything you need to know about wallpaper removal.
As a DIY blogger, I’ve encountered numerous inquiries about wallpaper-related issues from beginners who are eager to tackle their home improvement projects. In this blog post, I will provide easy-to-follow steps for fixing peeling wallpaper and share valuable insights on wallpaper removal. Whether you’re new to DIY or simply looking for expert advice, this guide will help you navigate through the world of wallpaper with confidence.
(If your thing is painting I have all my best painting tips here.)
I had a teapot border in our kitchen during my “all things tea cup related” phase. It was probably in style way back when but it definitely came down a few years later!
Since research is my jam I’ve taken the time to find out the best ways to fix peeling wallpaper as well as new products on the market for getting the wallpaper look without all the stress of hanging!
Isn’t painting easier than wallpapering?
or beginners, painting may seem like a more straightforward option, and in my personal opinion, so much easier than wallpapering. There are painting techniques that will allow you to add texture or design to the walls rather than wallpaper. (See all my best painting tips here.)
Using wallpaper usually requires two people whereas painting can easily be done by one. But unless you’re an artist there’s no way to offer the wide diversity of patterns that wallpaper can.
Why does wallpaper peel?
Understanding the reasons behind peeling wallpaper is crucial for beginners. Factors such as humidity, inadequate adhesive, or improper installation can all contribute to this issue. By addressing these causes, you can prevent future peeling problems.
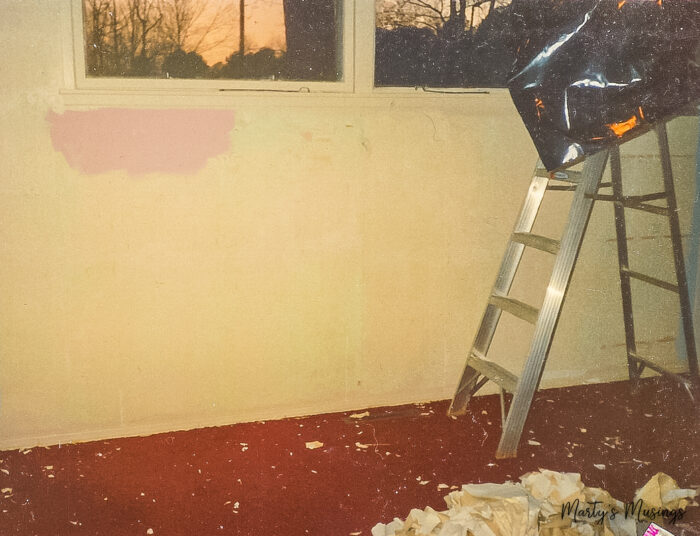
This lovely image is right before we moved into the home we owned for 30 years. Yikes!
Should I fix the wallpaper or remove it?
Before diving into repairs, consider the time and effort required for fixing versus replacing wallpaper. I’ll guide you through the necessary steps to assess your situation, allowing beginners to make informed decisions.
Materials:
Providing a comprehensive list of materials needed for wallpaper repair and removal will empower beginners to gather the necessary tools before beginning their project. From wallcovering trays to moisture detectors, I’ve got you covered.
(I’ve included some affiliate links for your convenience. Click here to read my full disclosure policy.)
Wallcovering tray
Wallcovering knife
Hardwood roller
Smoothing brush
Wallpaper scoring tool
Wallpaper shaver
Putty knife
Small artist’s brush
Liquid paper remover
Wallpaper sponge
Power steamer
Moisture detector
Mold test kit
What to do with peeling wallpaper in the bathroom.
The biggest problem in bathrooms is moisture and proper ventilation. If you don’t have an exhaust fan of some sort, I would highly recommend one.
Find the source of the moisture.
Whether it’s from roof damage, plumbing issues or appliance failures, water is one of wallpaper’s worst enemies.
When water leaks down the wall, it’s only a matter of time before damage is bound to occur. Even when water is no longer covering the wallpaper, you will have an issue of staining to deal with. That’s why it’s vitally important you deal with the source of the water leak first before making any wallpaper repairs.
Even with the best intentions, water leaks can still happen. If that’s the case, addressing them as quickly as possible can help prevent a large amount of damage.
If the damage is extensive and you’re the homeowner I would call your insurance company and have them look at the problem. If you’re renting contact your rental company and request help.
Is mold a concern?
As moisture and mold often go hand in hand, beginners should be aware of potential health hazards. If moisture has been a concern for a while you might want to go to a home improvement store and buy a moisture detector which detects the moisture in drywall or wood. If there is a moisture problem then mold may be a concern and can even cause serious health issues. (Trust me, I have personal experience with mold remediation and health problems!)
You can also purchase a mold test kit for further information on your situation.
If you’re not comfortable doing that, or are very serious about mold issues, consult a mold abatement specialist in your area. Again, you must resolve any leak issues first.
How to fix peeling wallpaper without removing.
For beginners looking for quick fixes, here are some techniques that allow you to repair peeling wallpaper without resorting to removal. With the right adhesive and tools, you can restore your wallpaper’s integrity.
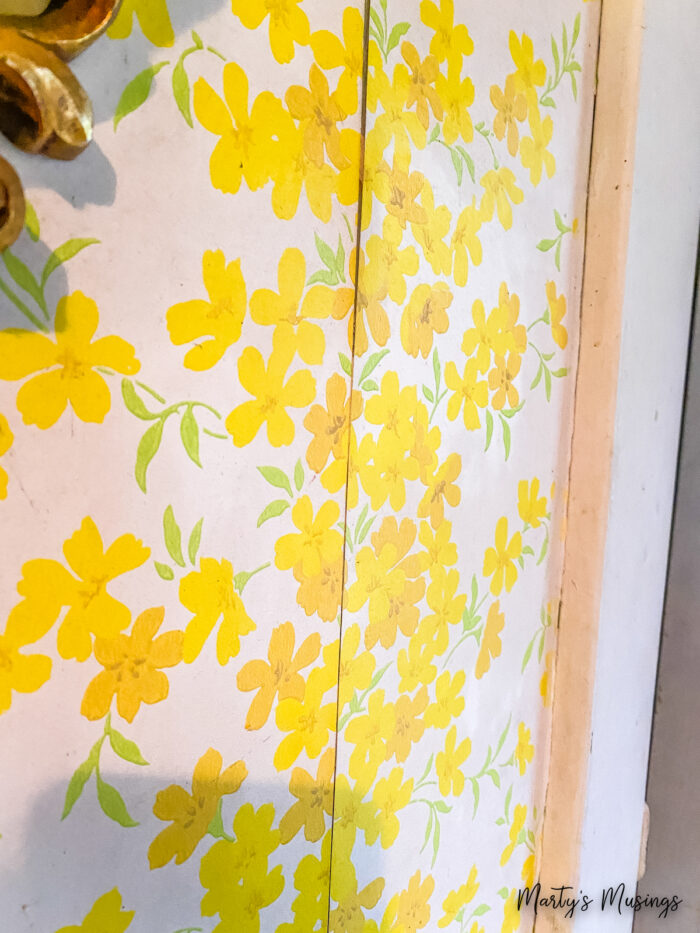
Both pre-pasted and traditional wallpaper may begin to peel in the places where two strips meet. With pre-pasted paper, the adhesive may not have been fully applied during manufacture. Seams may also become loose if too much paste was squeezed out of the seam during installation.

Begin by gently pulling the wallpaper back to where it fully adheres to the wall. Then, using a small artist’s paintbrush, spread an even coat of adhesive onto the wall under the seam. Smooth the wallpaper back down over the adhesive and use a small wooden seam roller to flatten it completely. Use a damp cloth or sponge to wipe up any excess adhesive that may have squeezed out onto the wallpaper.
How to remove peeling wallpaper.
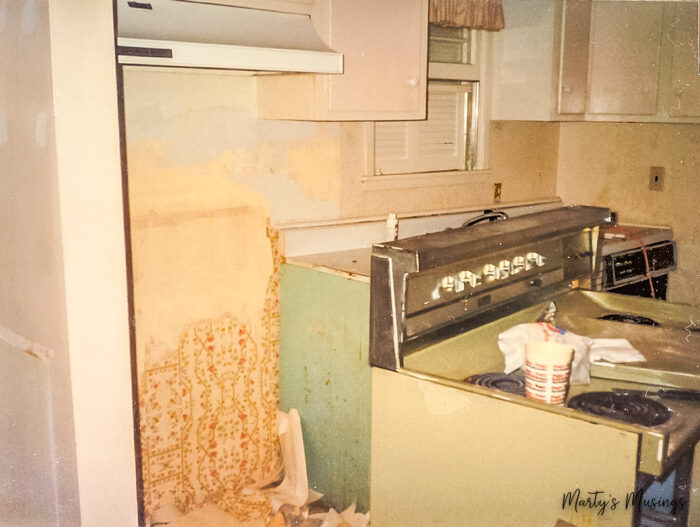
This lovely pic is also around the same time period – 1990ish. Lots of work done to this home! (You can see our ranch style home makeover 30 years later!)
When removal becomes necessary, it’s crucial for beginners to determine the type of wallpaper and walls they are working with.
What type of walls do you have?
You’ll want to figure out whether you have plaster walls or drywall before you start peeling. Drywall can be damaged if it gets too wet, so be careful not to over soak it.
What type of wallpaper do you have?
It’s also important to determine what types of wallpaper you’re working with. Use a putty knife to loosen a corner of the paper and try to peel it off. If it comes right off, then you have strippable wallpaper.
If the wallpaper peels away but leaves a paper backing, then you’re dealing with peelable wallpaper. If the paper doesn’t budge, then you have a traditional wallpaper that will need to be removed with water and a chemical stripper.
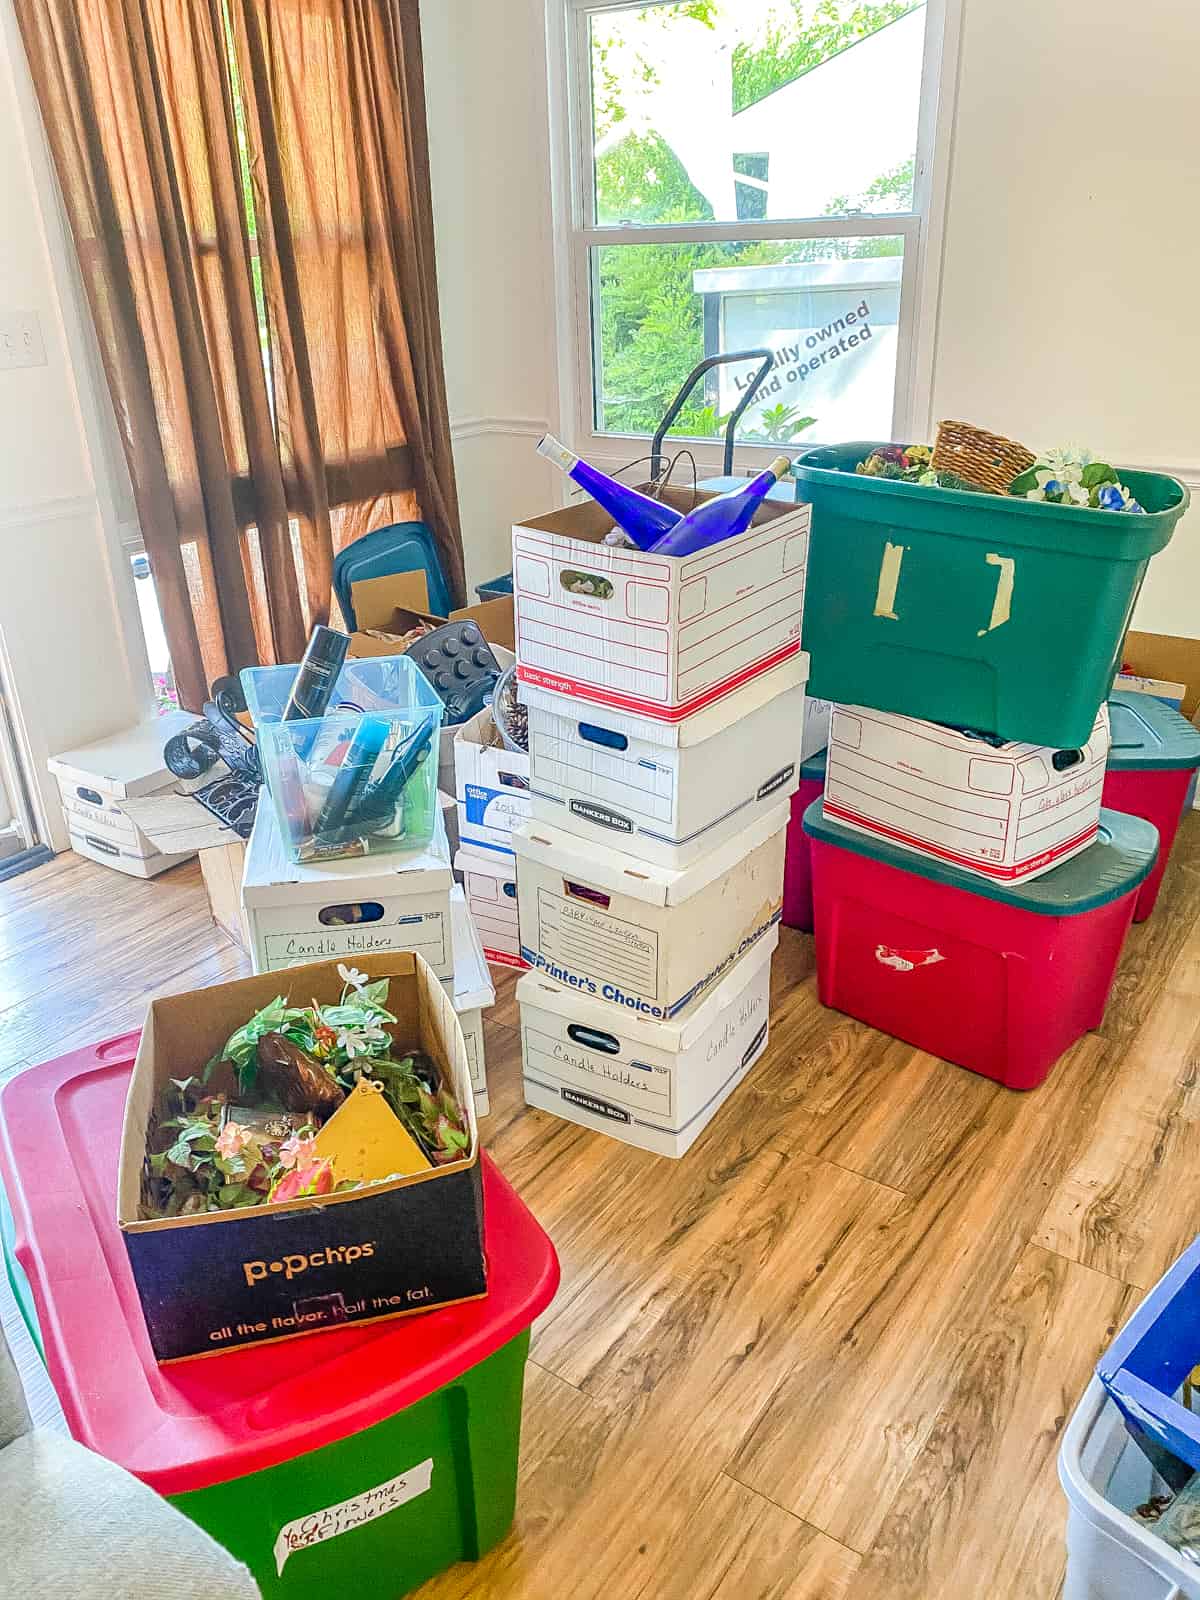
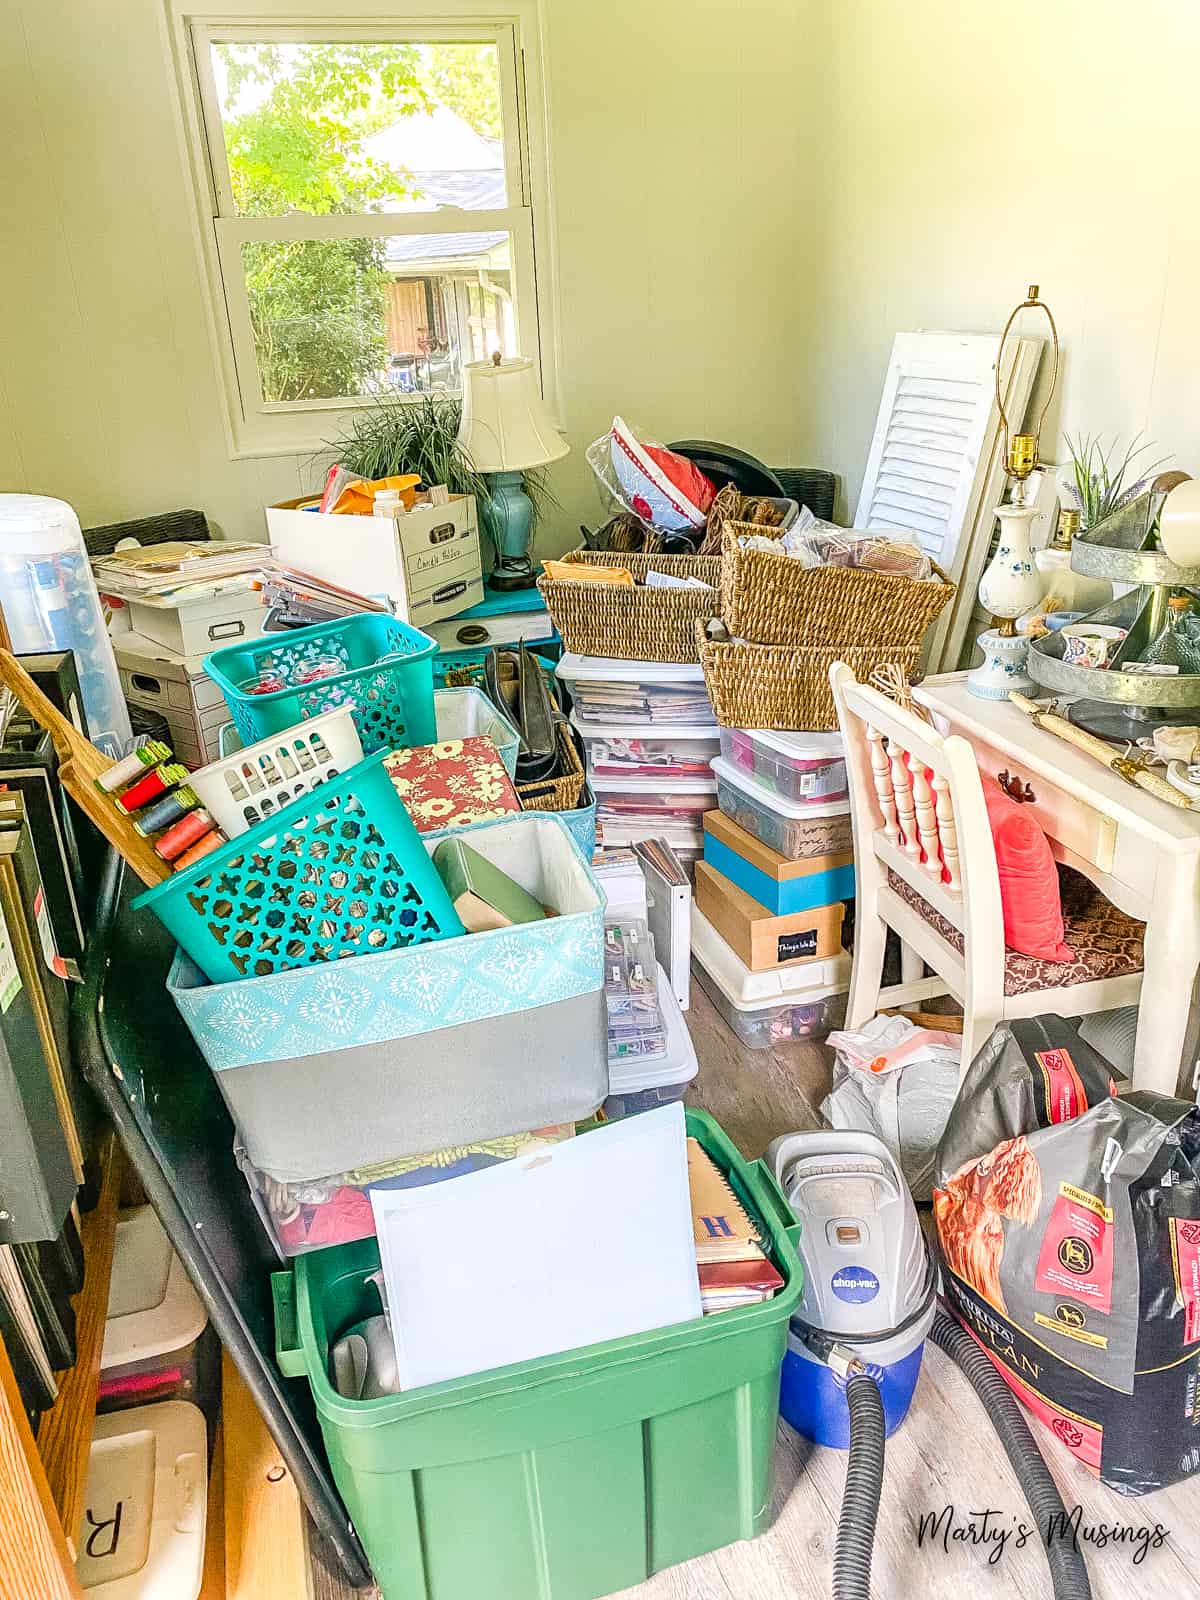
Clear and prep the room for wallpaper removal.
Begin by removing hanging items from the walls and moving furniture to the center of the room, or even out of the room if possible. Cover floors and remaining furniture with drop cloths to protect them from getting wet.
How to remove traditional wallpaper.
Most wallpapers are applied with an adhesive glue or paste that can be really stubborn to get off. The older your home is, the more likely it is that you have this type of paper.
For this, you’ll need to get the wall wet. The easiest way is to start in a corner and spray the wall with warm water. Let it soak in for a few minutes, then get a putty knife and start scraping. If it starts coming off, just keep scraping!
If your paper is stubborn water alone may not be enough to remove the paper, so if that method fails, you’ll need to get a scoring tool and a liquid paper remover.
Start by running your scoring tool over the wallpaper in circles. Then, spray the wall with your liquid paper remover. This will penetrate through the holes and seep into the paper, dissolving the paste behind it and making the paper easier to scrape away.
Let the spray sit for about 30 minutes, then start scraping or peeling again. Regardless of age, your paper should start coming off with ease.
How to remove strippable wallpaper.
If you have strippable paper, start in a corner and use a putty knife to pull up one edge. Pull down on the paper with both hands. Pull at a 45-degree angle so you can get some leverage on it and (hopefully) peel it in sheets.
It’s always easier to peel in complete sheets, but don’t be surprised if it tears before you get the entire sheet off. If that happens, just use your putty knife to loosen up another edge, then start the process again.
How to remove peelable wallpaper.
Some wallpapers are peelable, which means that they have a topcoat that comes off just like strippable paper. Once you’ve peeled off the top vinyl coat, you’ll have the backing left. Follow directions for stripping with water to remove the backing. Don’t leave the backing on, even if it’s in good condition.
What about steam removal?
A steamer is a wallpaper removal tool that uses boiling water to soften the glue between the wallpaper and the wall. If you’re removing vinyl-coated wallpaper with a steamer, you still have to use a scoring tool to punch holes in the paper so the steam can reach the glue.
You can rent a steamer instead of purchasing one since this probably isn’t a job you’ll do very often. Carefully read the manufacturer’s directions, since they may vary by machine.
By tailoring this guide to beginners, I hope to empower DIY enthusiasts to take on the challenge of fixing peeling wallpaper and exploring wallpaper removal. With the right knowledge and tools, beginners can transform their living spaces with confidence and creativity. Happy DIYing!
More DIY Projects
Whether you’ve “done it yourself” for years or never lifted a single tool, these DIY home projects will inspire you to just try one new thing! You’ll be amazed at how empowered and proud you’ll feel!

Is iy fine to hang wallpaper with liquid nails, if iys the only thing youve got?
Thank you! The flooring is peeling up from frequently overflowing toilets and a bather or two who are big on splashing, but not so much on sopping up the lake afterward. Suggestions on getting the edge of the flooring to stay flat when I re-adhere the linoleum? I tried it, and it curled up and dried that way! I tried putting heavy stuff on top of it, and ended up with the weighted items stuck to the floor!
Also, there’s water damage to the base of the cabinet. It’s not really noticeable, and I can’t afford to replace the cabinet. I was thinking of priming and painting some baseboards and sticking them to the based of the cabinet to hide the damage (and prevent more). If I use a latex primer and caulk the baseboard edge where it attaches to the floor, will that be enough to prevent future damage, and do you think it would look bad? I was thinking of painting the baseboards dark brown so they kind of match the oak laminate of the cabinet instead of the cream color of the baseboards around the walls.
Hey, Mary. I’l pass your latest question on to my hubby! Thanks for keeping him busy!
Marty