DIY Centerpiece for 4th of July
This post may contain affiliate links which won't change your price but will share some commission. Read more here.With only a bit of wood and paint this rustic shabby chic DIY centerpiece for 4th of July or other patriotic occasions adds to a beautiful holiday table.
As a homeschooling family of 22 years, we are only one year away from completing our journey educating our children at home.
Hooray, yippee, and let’s throw a party!
The finish line is in sight and I’m ready for a tropical vacation (or maybe an Alaskan cruise) to celebrate this achievement!
Without the kids. ~smile~
For us, homeschooling is more than studying textbooks or following a strict schedule. It’s the way we’ve chosen to live, love and learn about life together.
When the Olympic Games would roll around in the summer (yes, the kids even learn in the summer, gasp!) this mama hollered “unit study” and my kids always knew learning was about to get a lot more adventurous.
Who wouldn’t want to take a break from a math textbook and instead pick a favorite athlete, research his life, country, sport and then watch him compete for his lifelong dream?
I KNOW. Don’t you wish YOU were homeschooled, too?
I’ll never get a gold medal in diving, gymnastics, or tennis, but I came up with my own way to support our country this year in the Rio 2016 Olympic Games.
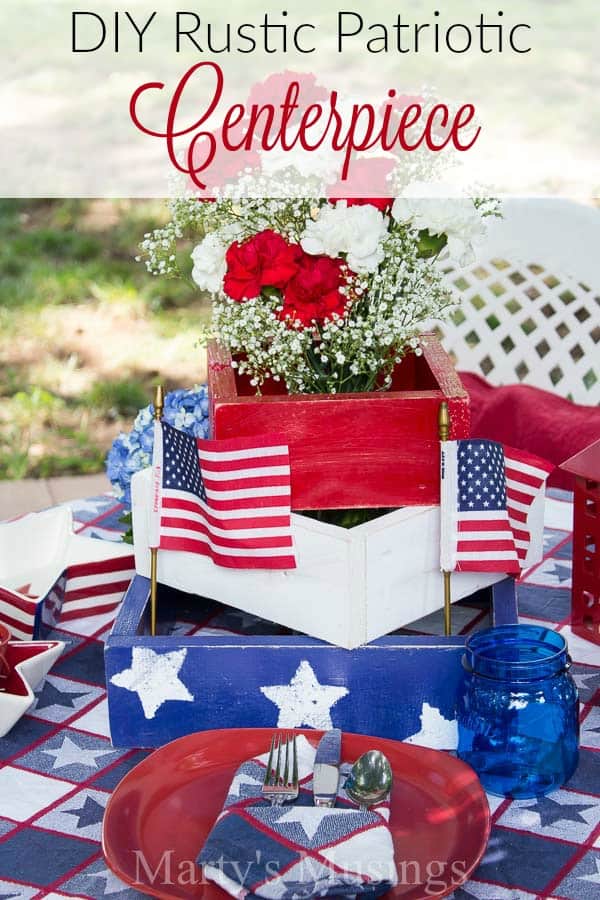
This DIY centerpiece for 4th of July is a perfect way to show your patriotic spirit for both the upcoming holiday and The Olympics.
Here’s what you’ll need to get started.
DIY Centerpiece for 4th of July
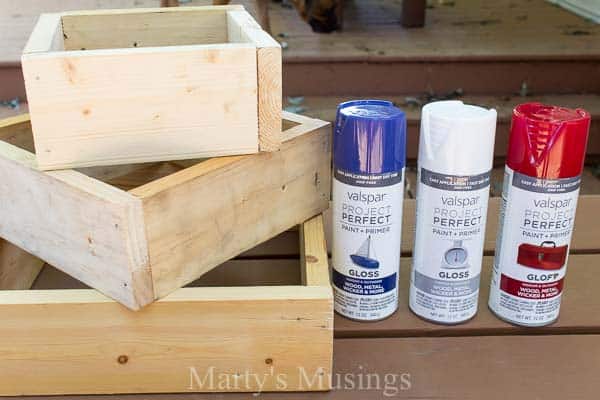
Supplies:
1″x4″ wood
nails
red, white and blue spray paint
sandpaper
star stencil
white craft paint
small paint brush
I enlisted my DIY hubby’s help to build the base for the centerpiece and we went shopping at our local Lowe’s Home Improvement store for the necessary supplies. While I was there I also picked up a few cleaning supplies since one of us tends to be a little messy. (That would be me.)
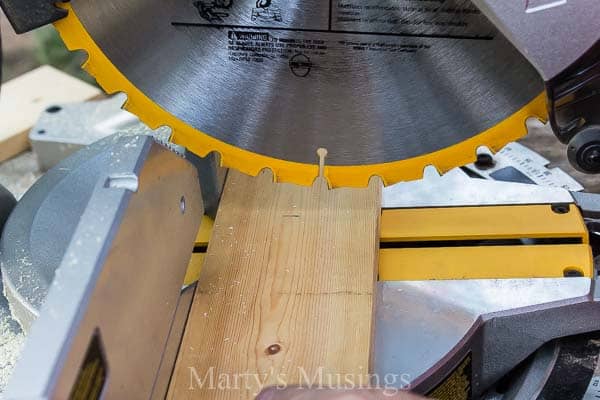
From Tim: This is a very basic box structure with an open top and bottom, but there are some tips to keep the design and build simple. The size of this project was totally random and dictated by where it was going to be used.

Once the general dimensions were established, a mark and simple cut for four pieces was a breeze. The key at this point is to ensure that each piece matches the others so the square doesn’t morph into a trapezoidal nightmare.
Real carpenters would probably clamp these together prior to nailing. I go for the quicker “pinch and smack” technique!
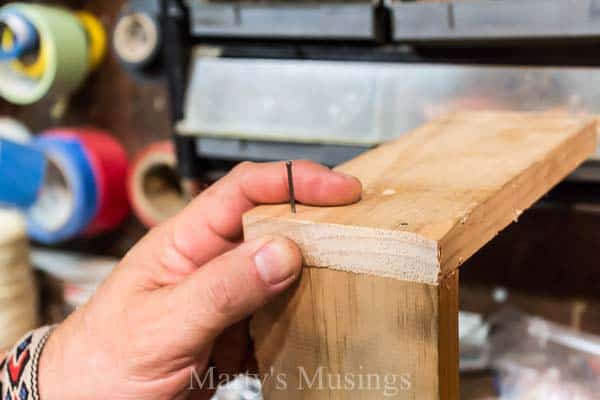
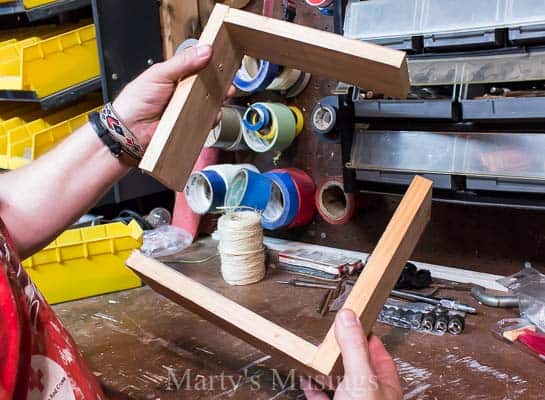
So here’s the big tip; you’ll notice that these two pieces are constructed differently. Opposite, in fact. If all four pieces are cut the same length, then you must nail them together in this fashion – notice the corners. Each corner is different than its neighbor. This allows for simple cuts and maintains the true square shape.
The other option is to cut two pieces the same and the other two pieces shorter than the first two by the thickness of the wood. In this case, it would be 3/4″. Then the second two are installed inside the first two.
Ah, the old pinch and smack again!
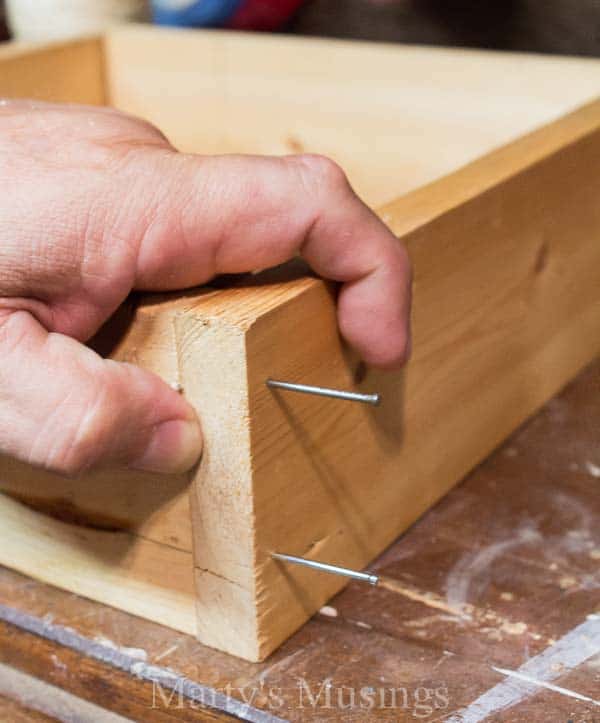
Again, take a look at the corners, now that it’s assembled. Each one is inside-nailed and then outside-nailed at the opposite corner.
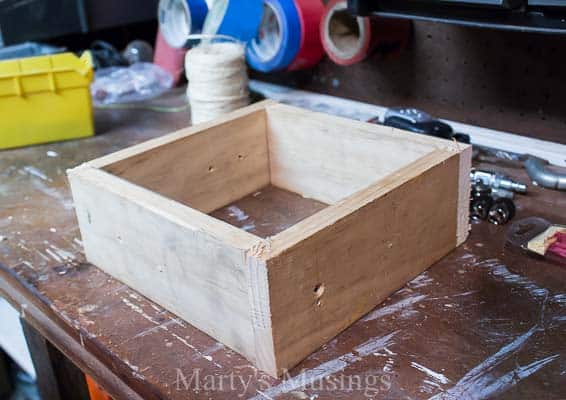
There is no formula for the size of the rest of the boxes. I just established the mid-point of the sides for the box below the one I was building. Then I made the side of the working box the length from one mid-point to its neighbor on the box below. Go ahead…you can read that again if you need to!
Marty here: Y’all, I read my dear hubby’s directions above and they were like Greek to me. Here are my “DIY for dummies (that’s me!)” instructions! Simply mark the mid-point of two adjacent sides, measure that length as if it were the third side of a triangle and that will give you the lengths for the next box. Repeat same process for the third box.
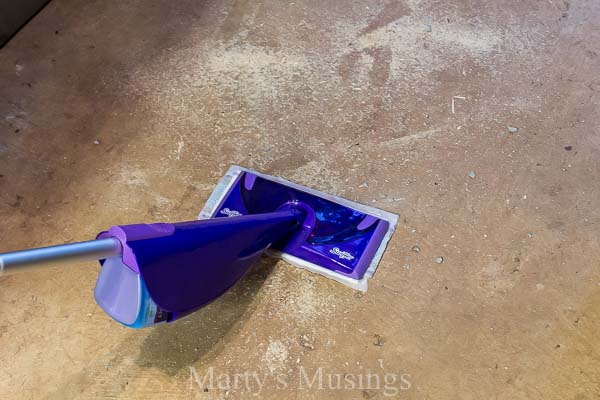
Since my hubby was nice enough to help me with this project I wanted to make sure I returned his workshop to him clean as a whistle. My Swiffer made cleaning up all that sawdust easier and my husband happier.

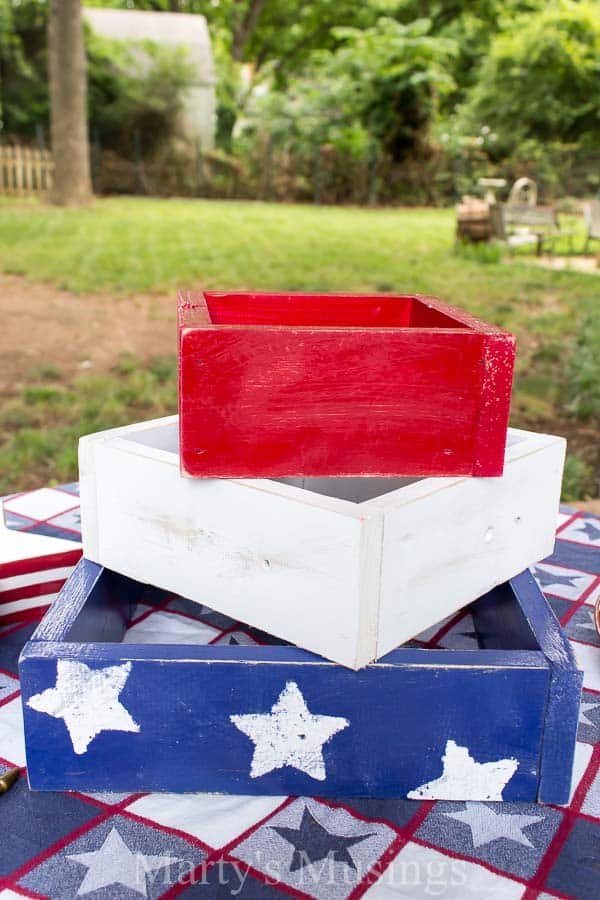
A quick sanding on the corners and the boxes are stacked and ready to go! I chose glossy spray paint because that was all I could find in all three colors but any type of paint would work fine. I even thought about using chalk paint since y’all know I love the shabby chic look!
No pictures but each box was spray painted with three coats for complete coverage. It only took a couple of hours for the paint to dry but it’s hot here in the south in late June!
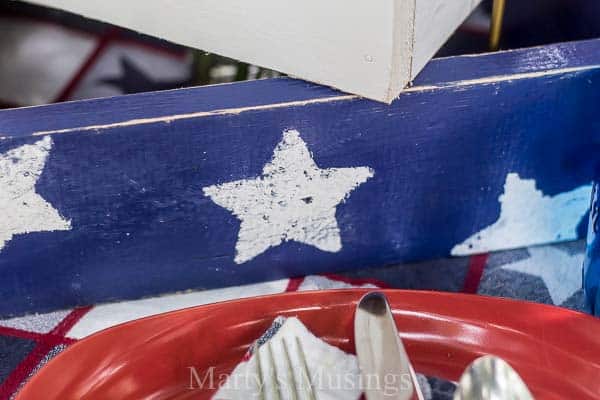
Next I used a stencil and white craft paint I had in my stash to stipple the paint onto the bottom box for the stars.

Nothing too perfect is necessary but I was glad I had Bounty Paper Towels on hand to clean up the smudges from the stencil.
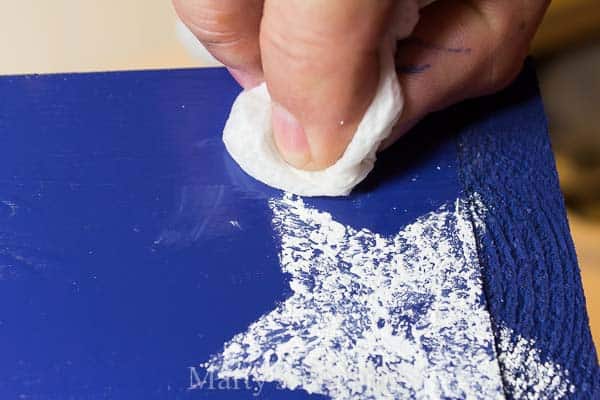
Are you wondering what kind of fancy brush I used? Just an old makeup brush that was the perfect stiffness I needed because y’all know I love to repurpose and think outside the box (ha! literally!)
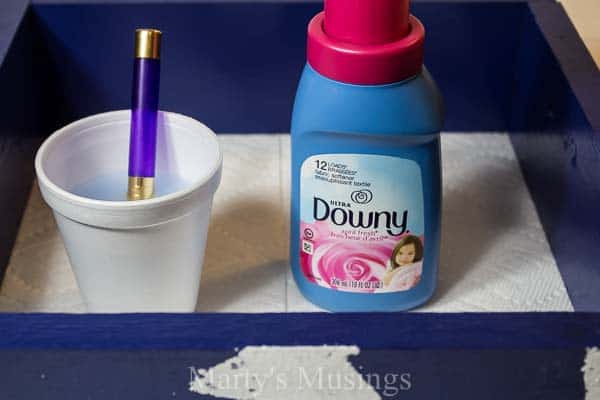
Did you know just a few drops of Downy Fabric Softener and water are the perfect cleaner for your paint brushes? Yep, that’s all you need!
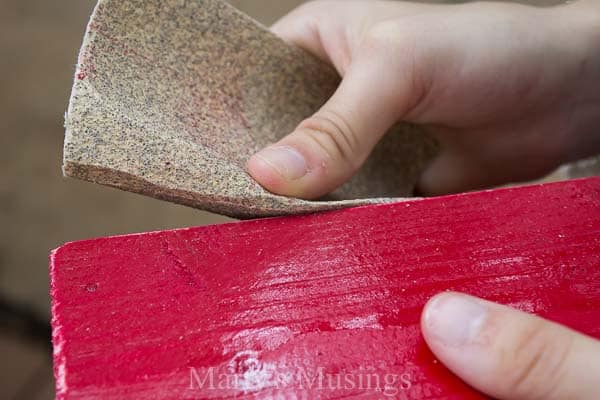
Since I wanted my DIY centerpiece for 4th of July to have a rustic flair I sanded the spray for the desired look. I admit to cheating a little and using a palm sander for some of the project.
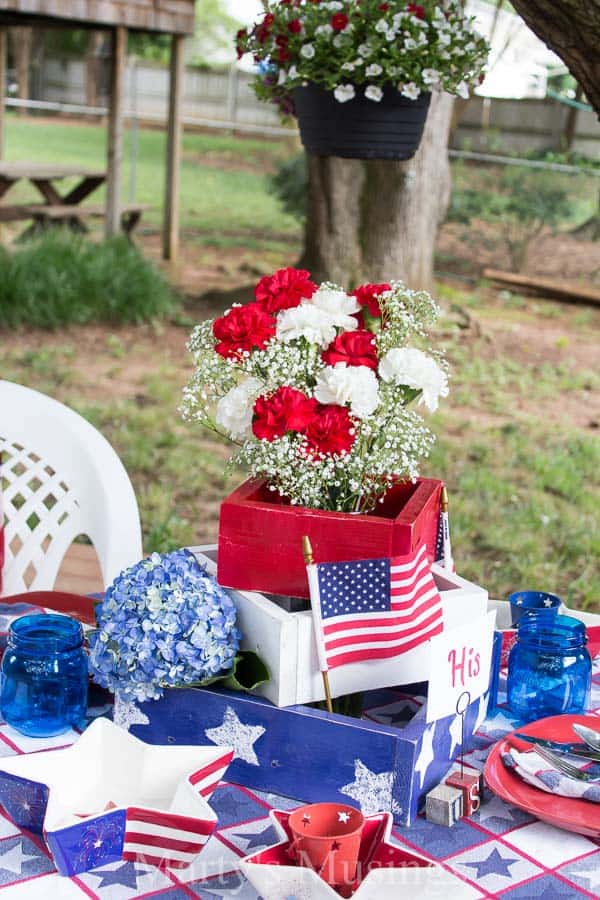
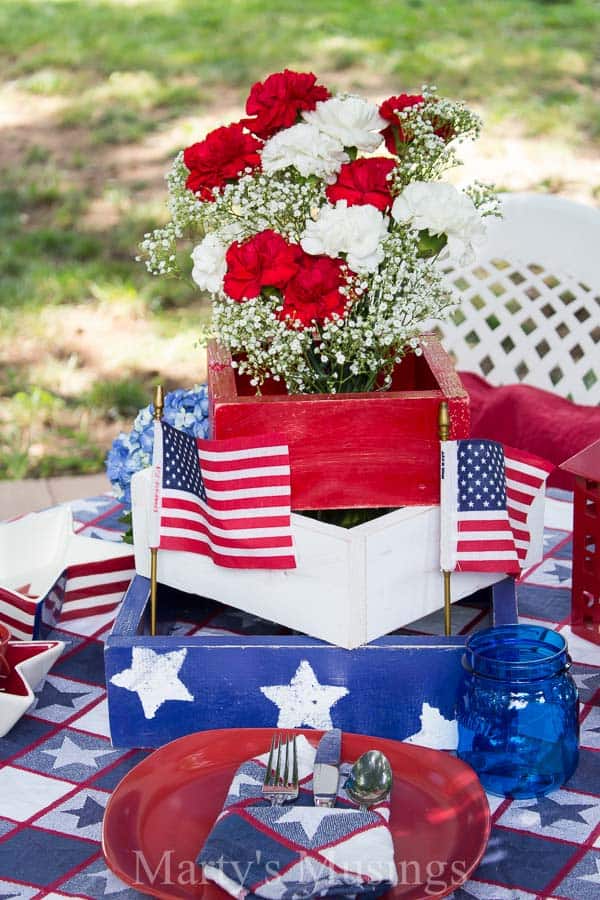
Here’s the finished product, stacked at angles for interest.
You can see a closeup of the stars, sanded for my rustic imperfect style!
Since Tim and I are going to be empty nesters in not so many years I created a tablescape for the two of us to enjoy on our back deck.
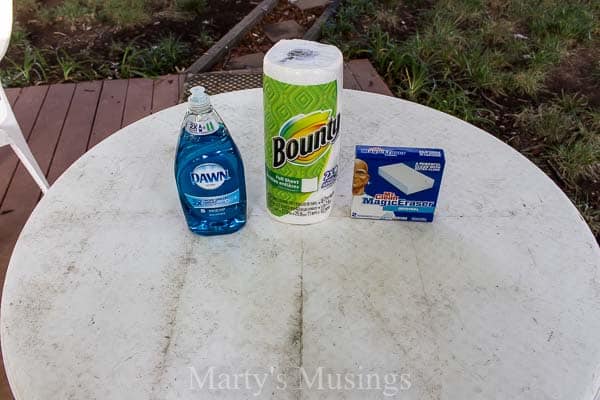
Before we could enjoy a cozy dinner I had to clean our plastic round table (handed over the fence by our next door neighbor when she moved! We love freebies!) Of course, the table and chairs needed a thorough cleaning and I used both Dawn Dish Soap and my Mr. Clean Magic Eraser to help me.
A lovely “his and hers” table set for two!
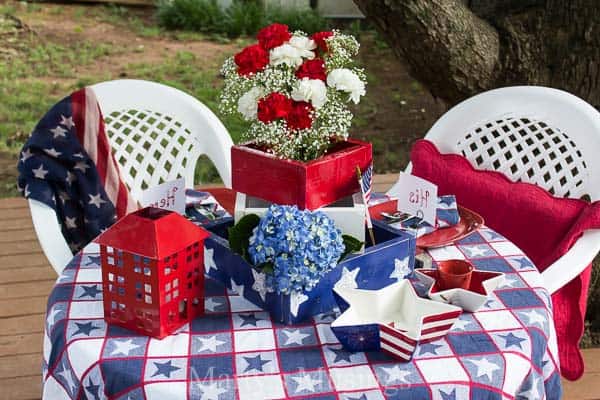
I used a glass vase to corral red and white carnations and baby’s breath and chose beautiful blue hydrangeas as well.
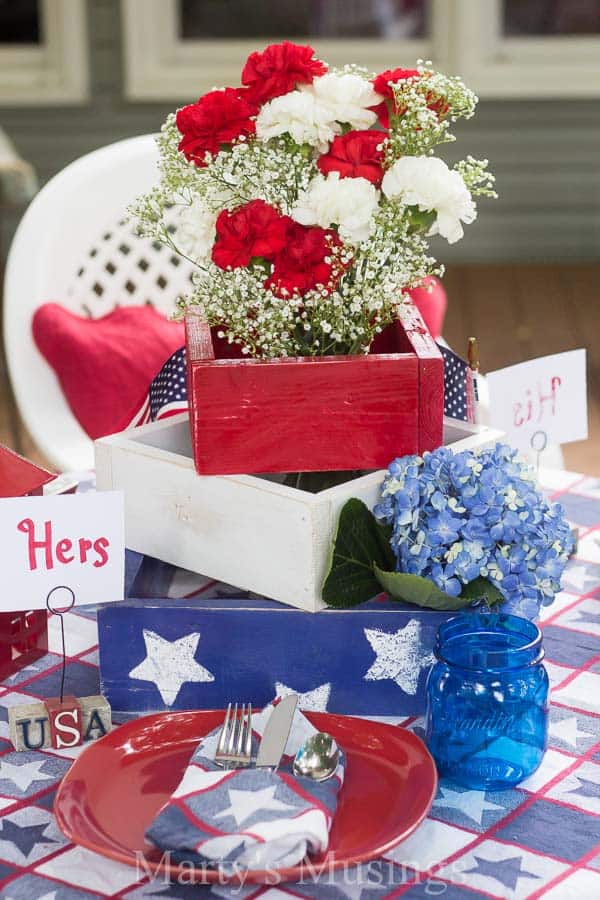
Stacking the boxes creates such interesting nooks to tuck in decorations such as flags or other patriotic supplies.
Now where’s my gold medal?
Now on to the fun! One of my readers will be winning the following prize package:
– $150 Lowe’s Gift Card (sweet!)
– Bounty Paper Towels
– Mr. Clean Magic Eraser
– Dawn Ultra Dish Soap
– Downy April Fresh
Follow the Rafflecopter instructions below to enter! Giveaway ends July 4 midnight EST. Winning package will be mailed to continental USA address only. Winner will be notified via email. If winner does not reply within three days, a new winner will be chosen.
Good luck!
Follow #PGBringHomeTheGold for more 2016 Olympic Games themed ideas!
This is a sponsored conversation written by me on behalf of Procter & Gamble/Lowe’s. The opinions and text are all mine.
i enjoy the swimming events but each event is fun to watch and sit in awe at the athleticism of the athletes. Who knew that about Downy cleaning paint brushes, i will have to try that sometime. your table and boxes look amazing. happy 4th and enjoy!
What a cute centerpiece! Thanks for the Downy tip about cleaning brushes. I didn’t know that! And thank you for the chance to win! My fave Olympic event is the high diving.
My favorite summer Olympic sport is swimming.
Swimming is my favorite.
That centerpiece is so pretty! I love watching the figure skating!
I love most all the Olympic events, but my favorite to watch would have to be swimming.
Swimming!
Swimming!!
I love Men’s swimming and Women’s gymnastics.
I love watching the weight lifting but really I could watch any of the events.
Beach volleyball is my favorite.
My favorite summer Olympic Sport is track and field.
I’ve loved men’s gymnastics since the 84 Olympics – I loved Mitch Gaylord.
My favorite Olympic sport is gymnastics! 🙂
I like swimming.
I love the swimming and gymnastics!
I love watching womens gymnastics
Fantastic centerpiece. Thanks for the great give away. I like to watch Olympic swimming.
Really cute centerpiece. Going to share plans with hubby. He is setting up a new building for his work shop so a project is good !! Nice going with the children. This has been a big undertaking doe sure.
Darlene