How to Make a No Sew DIY Bed Skirt
This post may contain affiliate links which won't change your price but will share some commission. Read more here.Don’t know how to sew but still want a beautiful, inexpensive bedroom? Learn how to pull it all together with this easy no sew DIY bed skirt tutorial.

Do you ever begin a project in your home with great enthusiasm and tons of fresh ideas and inspiration?
You’re chomping at the bit to finally make headway on that space that’s been irritating you for months.
It haunts you as you pass by it day after day.
The clutter, the wasted room, the just plain ugliness of it all.
One morning you wake up and you can feel it.
TODAY IS THE DAY. You WILL tackle that project. You WILL check it off your to do list!
I feel your pain, my friend.
Believe it or not, I’m kinda like that with my blog.
I’m beginning to learn after 23 years of being a homeschool mom, living through a crazy unpredictable life, that developing the discipline to stay focused, start AND finish my work is a challenge.
There’s always something to do!
I get a wee bit distracted.
I paint one piece of furniture which leads to changing up another corner of a room.
I walk through my home where unfinished projects bleed from one room to the next.
Surely they must multiply during the night as I dream of perfectly styled accessories on tables next to sofas where the pillows actually remain placed.
When I was a young mom I always wondered why ~ahem~ older women seemed so busy after their children were grown.
Surely their homes were perfect now their kids were gone (or at least old enough to pick up their own STUFF!)
Now here’s the kicker: I’m in a new season of life.
I totally get it. And I’m sorry for all the judgment.
Today I work from home, spend time with my husband and adult kids, keep my grandson one day a week, lead a women’s Bible study small group, cultivate meaningful relationships with friends and the list goes on.
My life, home and blog are entertwined, a constant process of fixer upper projects and learning curves.
Begin a DIY project, take pictures of all the steps, write about it, edit pics, publish the post, promote on social media and on and on it goes.
OR spend hours working on the technical aspects of the website and forget I even have a home!
How is this even possible?
It can be a beautiful thing or a noose around my neck.
I think you probably understand the feeling, no matter what stage of life you’re in.
Too many ideas and too little time.
In honor of true confessions today I wanted to share an OLD OLD DIY that never made it onto the blog.
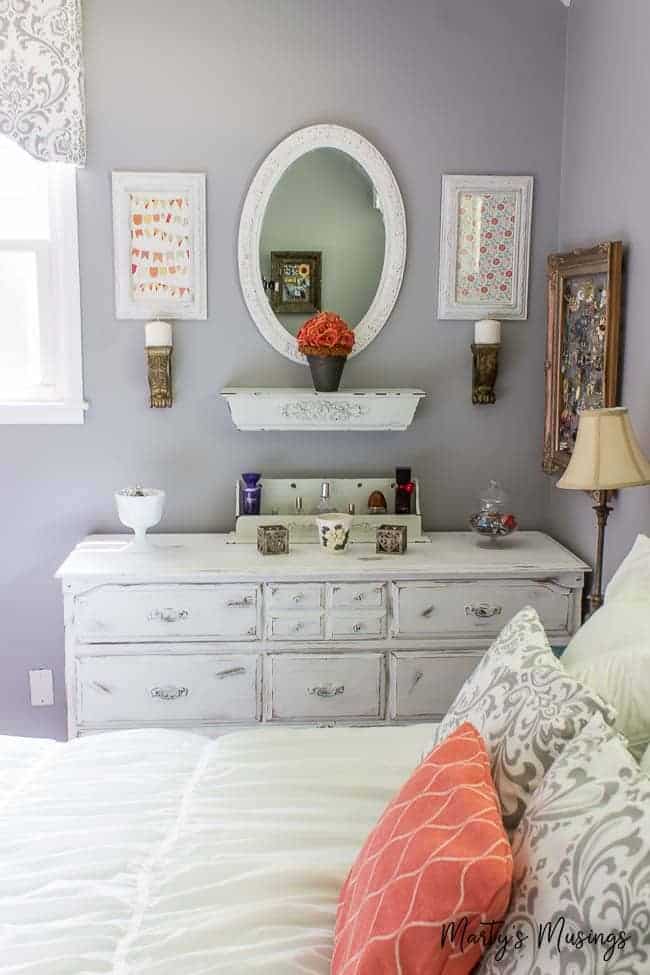
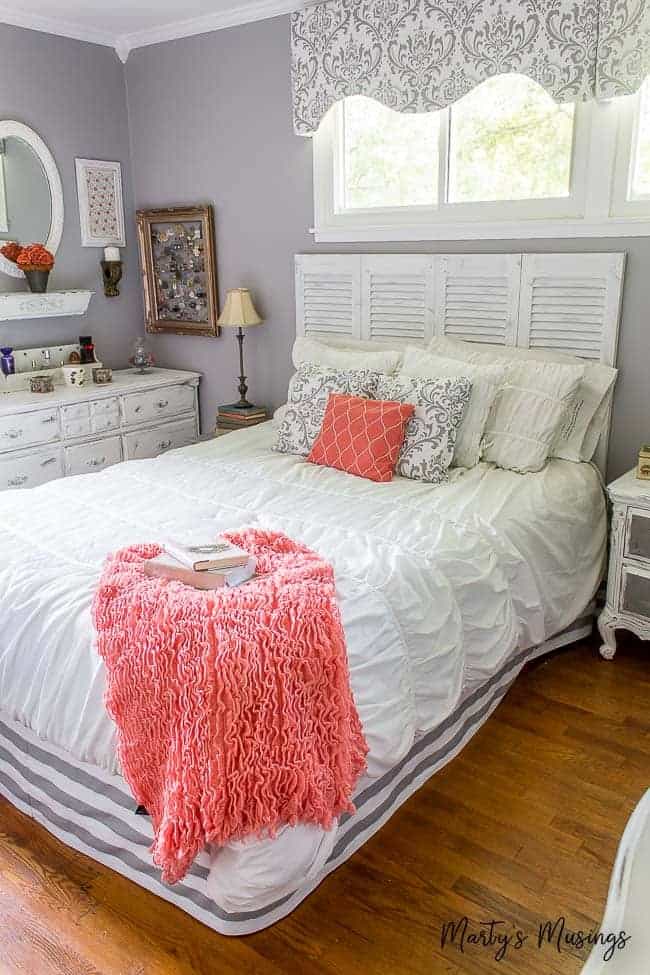
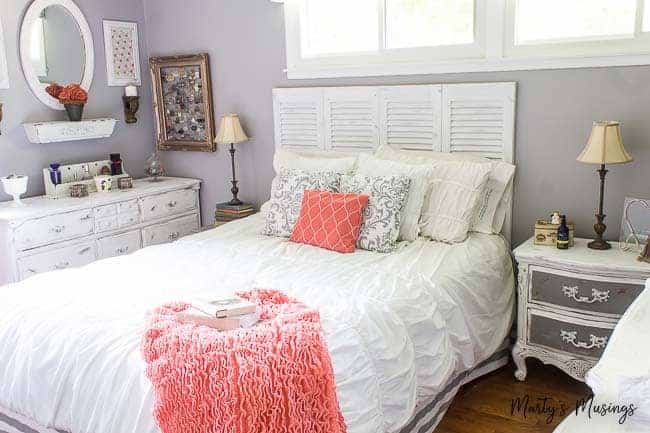
What can I say? I got a little distracted 3 1/2 years ago when we completed our gray and coral master bedroom makeover and I never shared the tutorial for my no sew DIY bed skirt.
Forgive the bad photography.
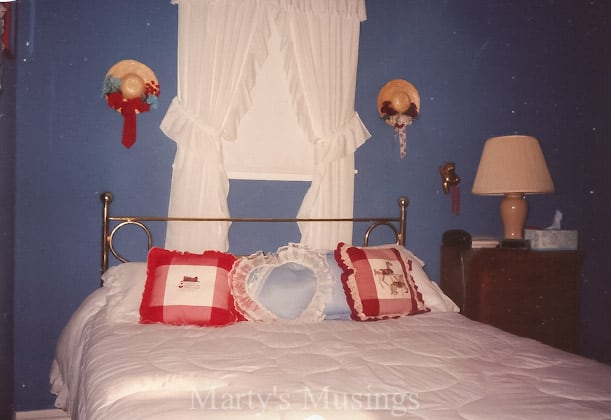
Before I give you the details, I’d like to entertain you with an old picture of this bedroom right after we moved in 25 years ago
Done laughing? You’re welcome. Anything I can do to lighten the load.
Tim and I had been living in dull apartments before we met so when we got married both of us were ready for some color. BOLD color. (Here’s proof that not much has changed.)
And yes, country was in style.

I do still love me some color but thankfully I’m learning to use it in smaller doses!
I love this bed skirt because it’s inexpensive, doesn’t require a sewing machine, pulls in a fabric complementary to my No Sew Fabric Cornice and the gray and coral theme in the bedroom.
How to Make a No Sew DIY Bed Skirt
(I’ve included some affiliate links for your convenience. Click here to read my full disclosure policy.)
Materials:
Stitch Witchery bonding web (regular or heavy weight)
T-pins
Scissors
Fabric: number of yards depends on size of mattress, width of the fabric and the style (are you matching stripes like I did?) If you’re not sure how much you need ask for help at the fabric store!
I feel like there should be some kind of big disclaimer saying, I’M NOT A SEAMSTRESS NOR A MATHEMETICIAN. My philosophy is always, when in doubt, buy a little extra fabric to allow for some wiggle room.
Step 1. Measure length and width of bed to calculate your fabric
**My bed is a queen but you can easily adjust for your size mattress.
A standard queen mattress is 60″x 80″, making the total length around the bed 140″. I added 3″ to each end to tuck around the box spring closest to the wall plus a couple more inches for the middle seam. (It’ll make sense later!)
That’s a total of 148″ in length.
You’ll also need to measure from the top of the box spring to the floor, which was 15″ for mine. I also added 1″ at the top plus 1″ at bottom for the hem and 4″ more to be pinned on top.
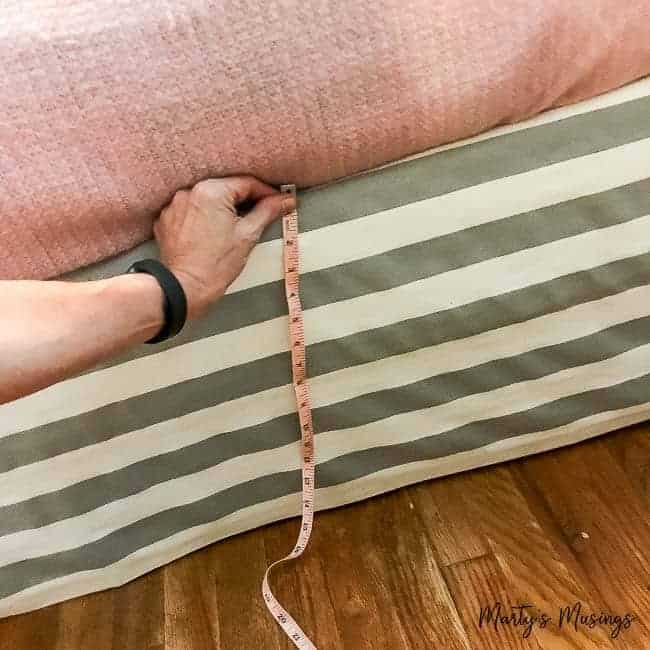
That’s a total of 21″ in width.
The width of your fabric may be anywhere from 45″ to 54″, typical for home decor fabric. (And I’ve even seen bedskirts made from burlap.)
Depending on how wide your fabric is sold, you should be able get two sections out of each total amount of yardage purchased.
Here are my fancy calculations: 148 (inches) ÷ 2 (fabric pieces) = 74 ÷12 (inches) = 6.2 ft = 2+ yards of fabric. Since I like wiggle room I would buy at minimum 2 1/2 (if not 3) yards of material.
Step 2. Cut fabric into two pieces
Since I’m not a seamstress and I was also dealing with stripes (hello, get it right THE FIRST TIME!) I made sure I cut the fabric evenly (dividing the width) into two matched pieces.
If you’re not trying to match a pattern life will be much easier.
Step 3. Hem one side of long pieces (and iron fabric)
Turn under a one inch hem on long side of both pieces of fabric and press with iron. (Remember you’ll be making this into one long piece so match up your stripes or pattern.)
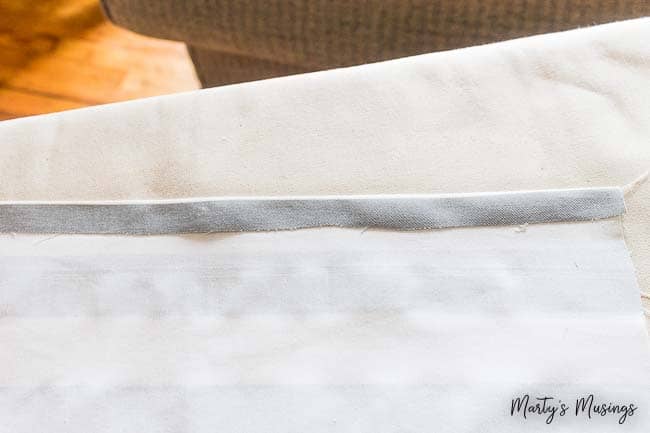
Place the Stitch Witchery between fabric layers and follow directions on package for ironing. You need one long finished edge that will meet the floor.
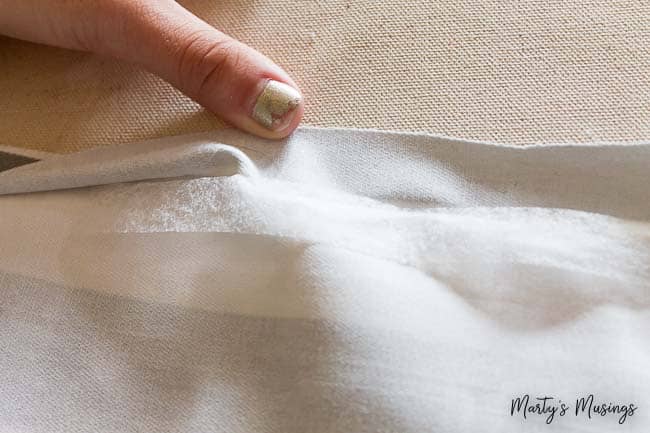
Go ahead and iron your entire length of fabric if necessary.
Step 4. Attach pieces together with Stitch Witchery
Now is the time to attach your two long sections together with the fusible web, making sure to line up your stripes or pattern.

Step 5. Take mattress off bed and fasten bed skirt with t-pins to the box spring
I started with the seam in the middle of the box spring and worked my way around each side from there.
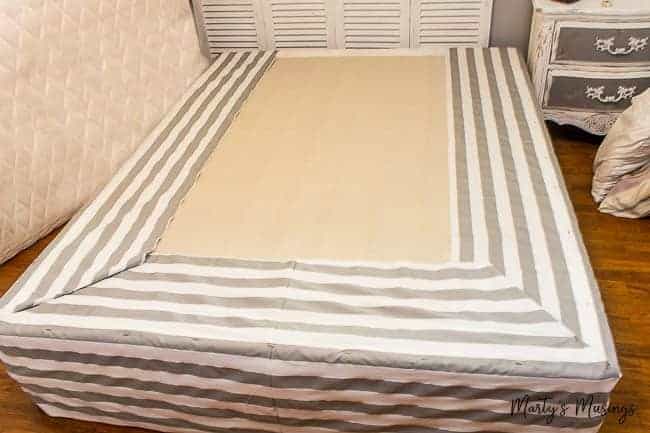
Go ahead and use a lot of t-pins because they will randomly work themselves loose in the future! (Maybe because we have dogs who think the bed is their playground?)
Step 6. Fold at corners and secure
Fold over the extra fabric at the corners and tack down with t-pins.
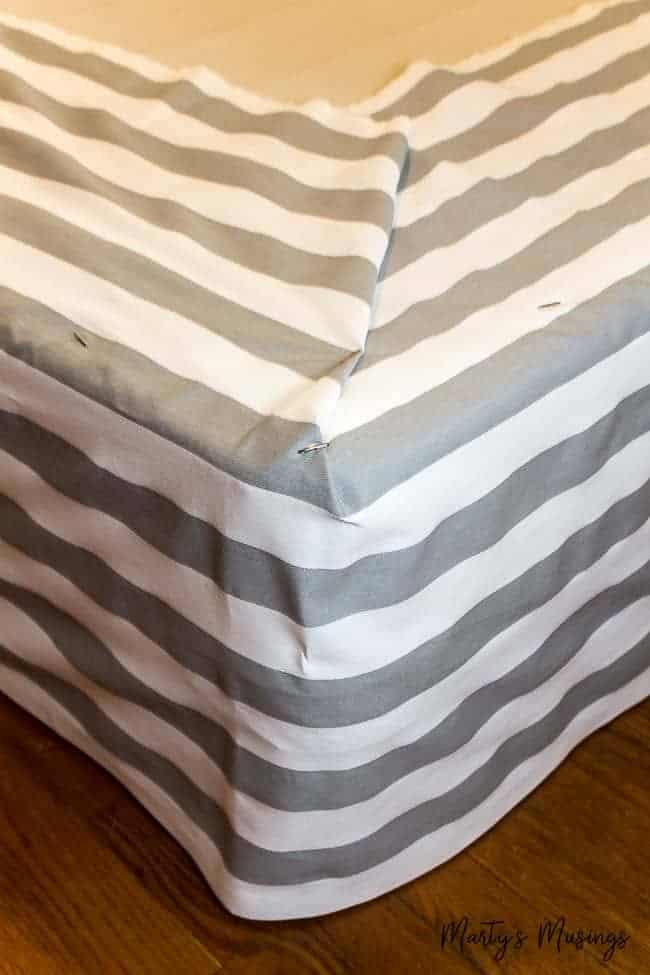
Depending on how much “wiggle room” you decided you might need earlier in your length you will also have extra fabric to wrap around the box springs (closest to the headboard). I just tucked those in behind the bed.
You’re done! I promise this isn’t as complicated as it sounds. The hardest part is figuring out how much fabric to buy and matching up any patterns. If you want to be safe go with a solid color!
If you’re interested in more no sew projects see my Fabric Window Valance and No Sew Pillow from a Place Mat.

A queen bed is 60×80, but for a bedskirt you need the 80″ twice (two sides of the bed) so the length needed is at least 200″ not 140″
I can add but I cannot type. Should have been 220, not 200
I made a gathered bed skirt for a guest bed. Guest came befor I finished! I got out the duck tape and taped it to the box springs. And! You guessed it. It is still taped. Much easier than seeing skirt to that fabric that goes under the mattress
Hi, Linda. I love this! Sometimes you just gotta let things go! I’m a perfectionist and it’s not always a good quality because it means I don’t even do the project because I know I won’t finish it. Tape and go. That works for me! Have a great day!
This is such a great project! Love that it’s no-sew. I just made a crib skirt out of an extra curtain panel, and I didn’t even bother with stich witchery. Just basically hid the unsewn edges. 😉 Lazy girl over here.
Thanks, Kim! I hear ‘ya on the lazy girl no sewing bit. I need a skirt for a day bed and I’m gonna use a flat sheet 🙂 There are only two sides that will show and I just need something to wrap around it! So excited to see your nursery, though. Girls rock!