DIY Bulletin Board for Your Home Office
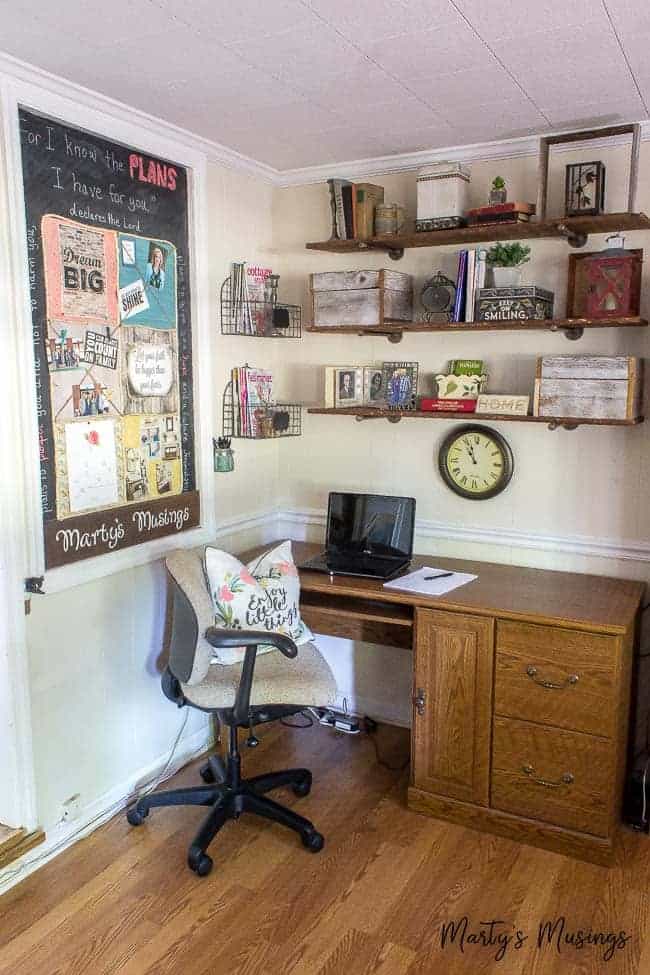
This post may contain affiliate links which won't change your price but will share some commission. Read more here.Carve out a space in your small home office nook for an easy DIY bulletin board using scrapbook paper, chalkboard paint and your creativity!
Do you scroll through Pinterest and look at everyone else’s DIY projects and say, “I could never do that. I’m just not creative enough.”
Do you have more love than money in your home?!
Does the idea of decorating your home overwhelm you and you just don’t know where to start?
I totally understand because I’ve been there. Lots of kids, small budget, no time.
But today I want to encourage you with my inexpensive DIY bulletin board that you can use as a starting point to fuel your own creativity.
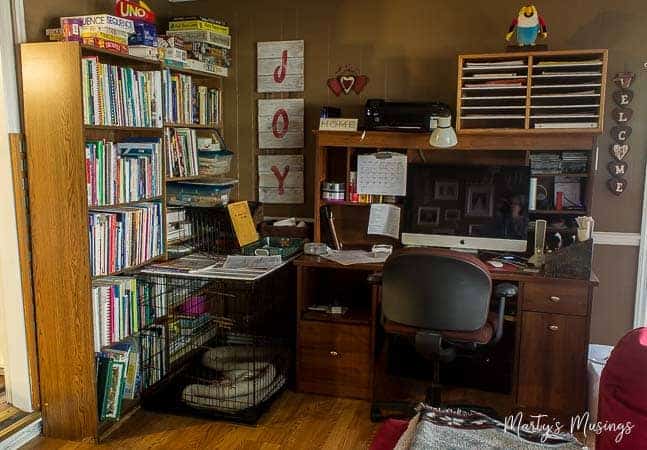
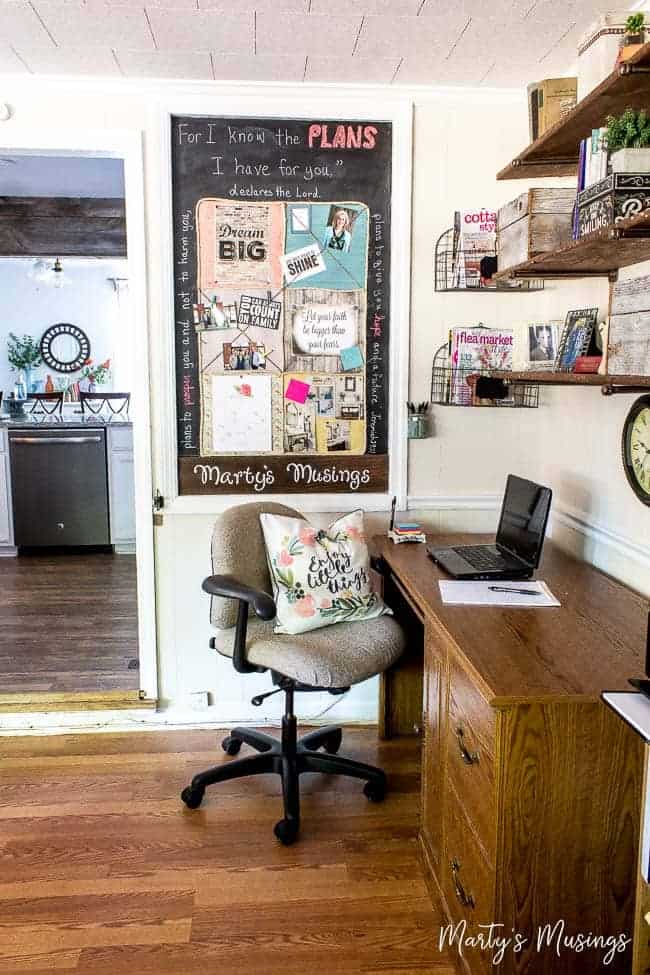
Since we all love a good before and after let me show you where I started. As a homeschooling mom of 23 years (my last one just graduated ~all the praise hands~) transitioning to work at home business owner, I didn’t have a designated room for my office.
This corner of the den was shared with our homeschool books, the dog’s crate and as a catch-all for ALL THE JUNK. Pretty isn’t it, and such an inspiring place for a creative to work don’t you think? (And those brown walls? HAD TO GO.)
I knew right behind the bookcases was the original outside wall of our home. When we first moved in an actual window was in the place where the bulletin board is now. As we were discussing what to do with this hole between our kitchen and den 26 years ago my husband threw out the idea of an aquarium. Kinda cool idea, but NO.
For many years we just had open shelving between the two rooms. Cue the ugly picture circa 1991.
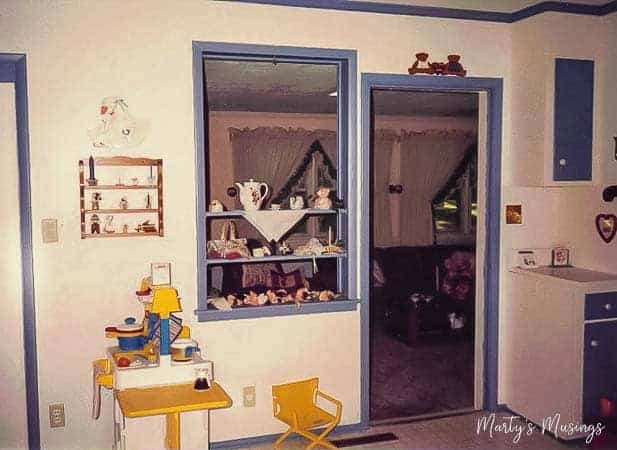
Y’all can just laugh along with me at the country blue style and knick knacks everywhere, along with the toddler kitchen decor. When I tell you ANYONE can learn to decorate, I’m preaching the truth!
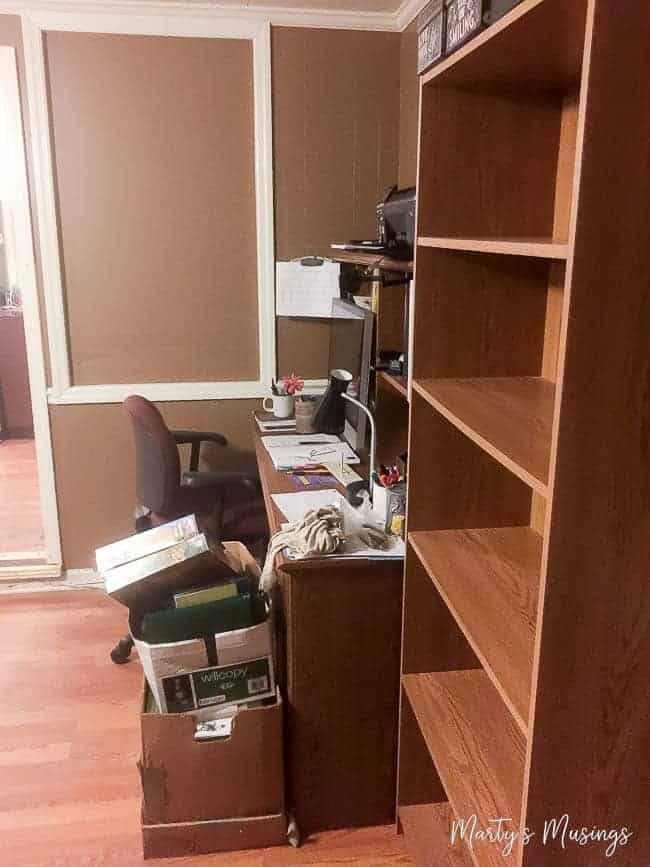
Anyhoo, in any makeover the first order of business is to get rid of as much clutter as you can, which is always a task when you love books. I can’t even begin to tell you how many books have come through this house as a homeschooling family, but I sold what I could and gave away a ton more.
At some point my husband had boarded up the open window area with plywood and I knew when we moved the bookcases there would be a framed area perfect for a DIY bulletin board.
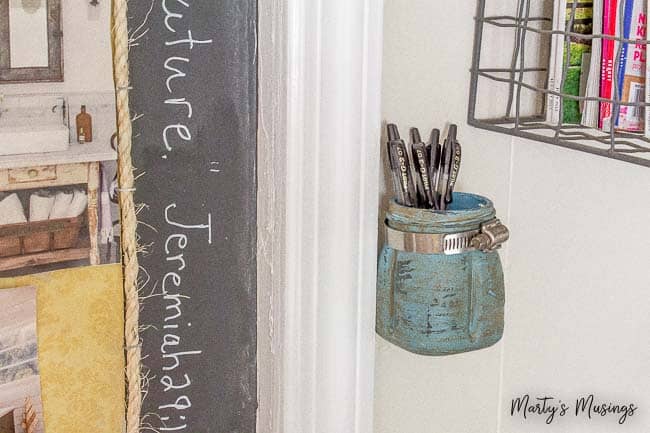
I also knew I wanted to add one more thing to my DIY bulletin board: a place to hold pens so I didn’t have to go searching for them! (Who else has family members “borrow” their writing utensils without asking?)
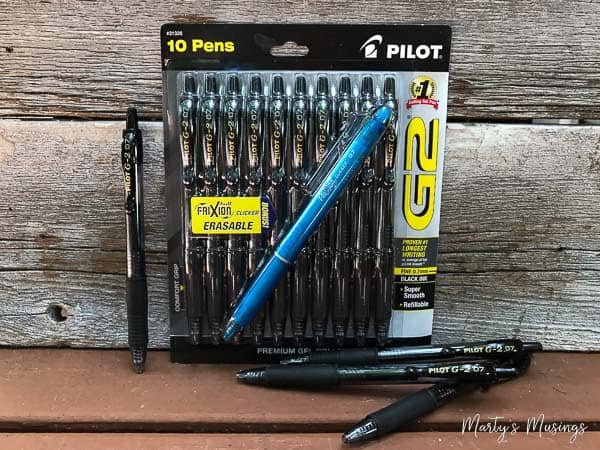
Trues confession. I’m something of a geek because I’ve been on the search for the perfect gel roller pen forever. I want a pen with smooth writing gel ink that has a comfortable grip and lasts a long time.
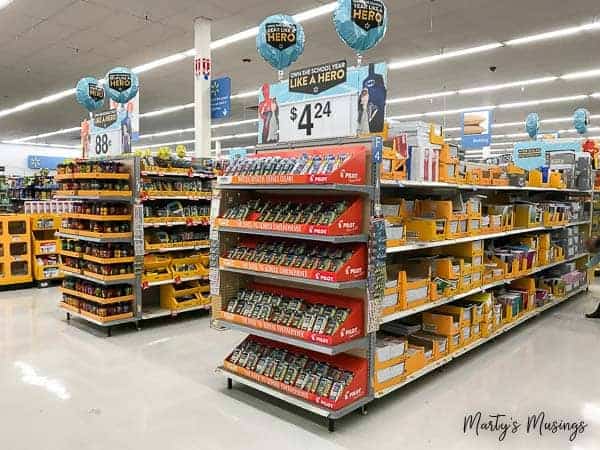
While I was shopping the back to school sales at Walmart for cheap office supplies I found a great deal on the Pilot G2, the #1 selling gel ink pen. I seriously love this pen (black ink only for me!) but it comes in 20 vibrant colors if you have kids who love to doodle.
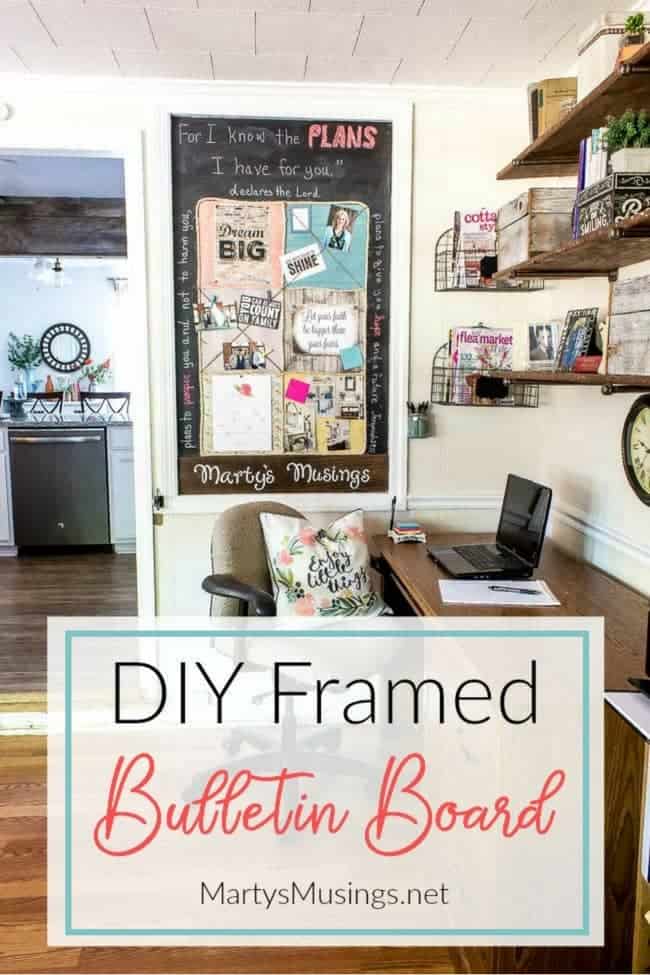
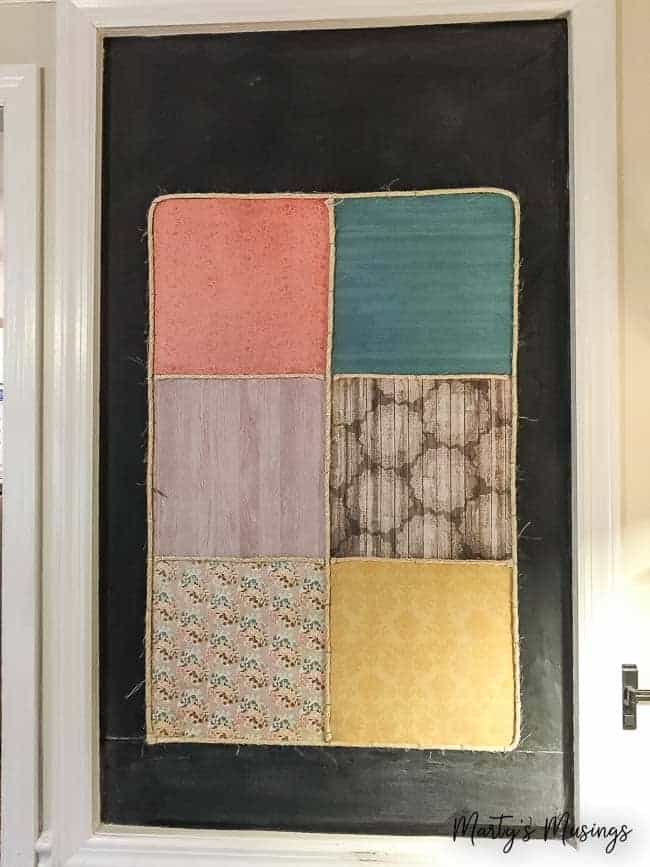
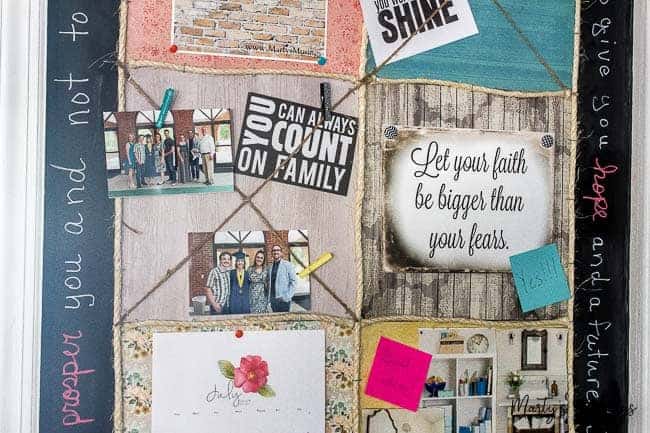
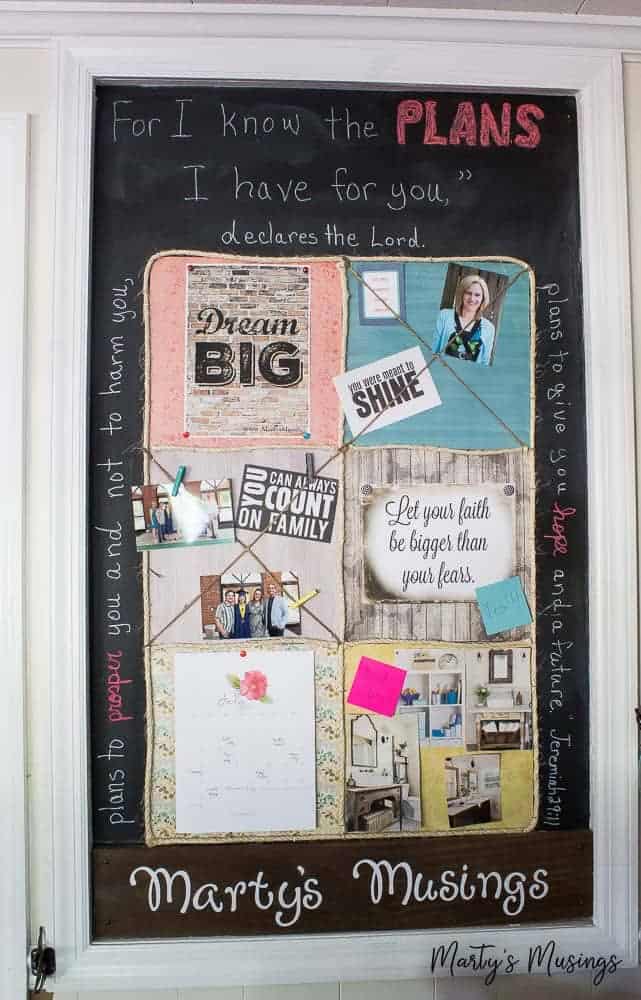
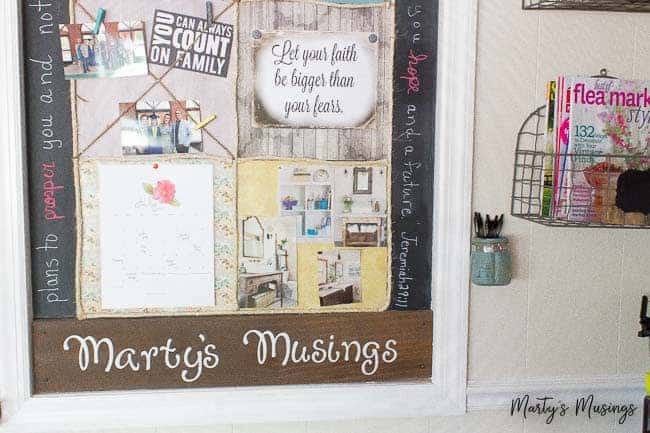
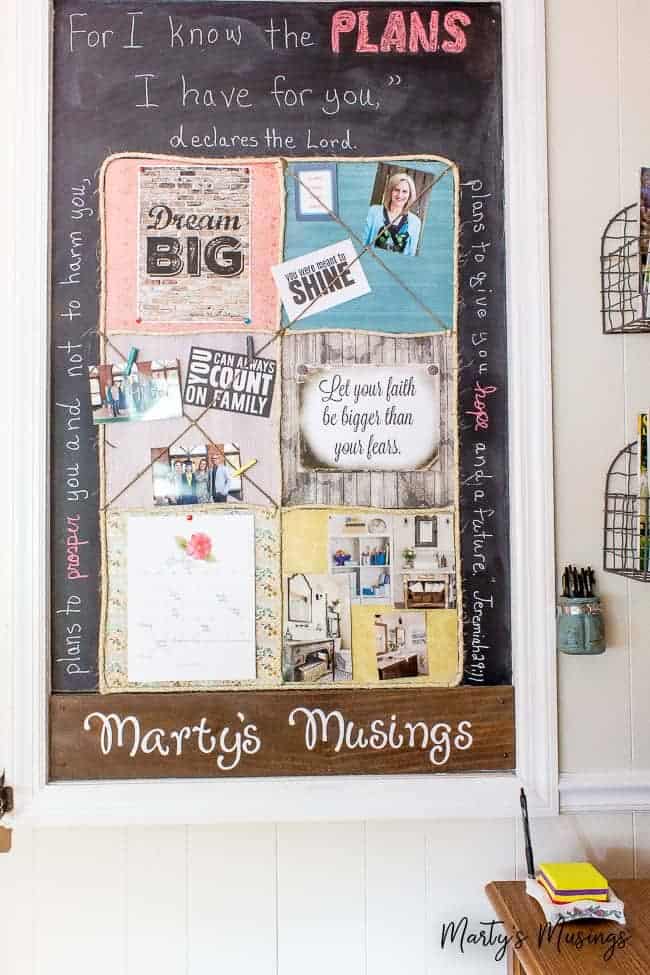
My husband painted the entire area with chalkboard paint first. Then I stapled four different 12×12 squares of scrapbook paper to the plywood with sisal rope outlining the edges.

Around the top and edges I added my life verse from Jeremiah 29:11.
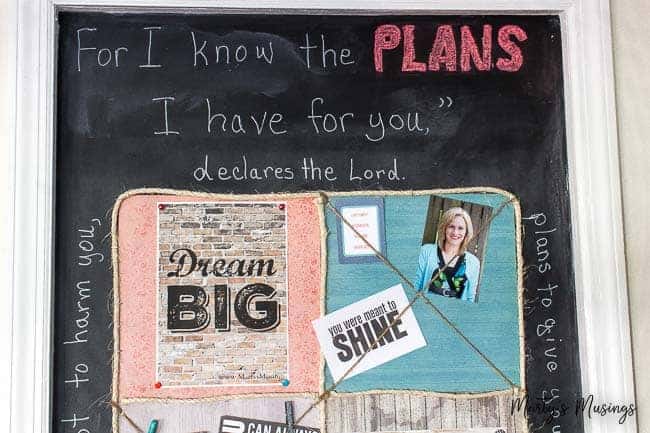
So much of my creativity began with a love of scrapbooking so the bulletin board was just a huge canvas for me with inspirational quotes, ideas, pictures and a monthly calendar.
At the very bottom I used my Cricut die cutting machine to add my blog name to a piece of fence board my hubby cut for me. (You can read about my technique and our family gallery wall here.)
To create this handy mason jar pen holder you’ll need the following supplies:
DIY Bulletin Board and Mason Jar Pen Holder
Materials
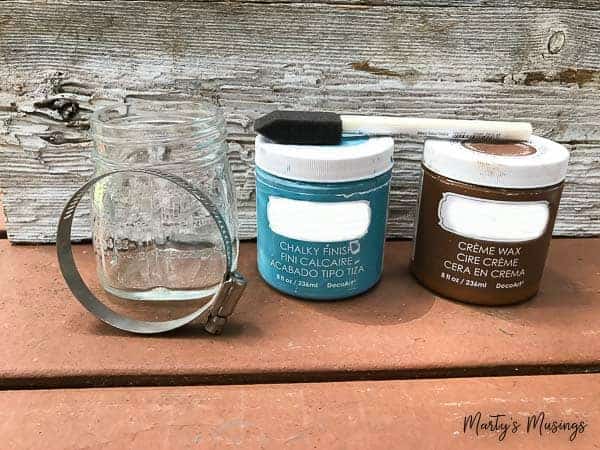
Pint sized mason jar
Plumbing hose clamp
Chalk Paint
Craft brush (I just used a cheap one but you can use a regular small paint brush)
Wax of your choice (optional)
Sandpaper
Instructions:
Step 1. Brush at least two heavy coats of chalk paint on your mason jar and let dry in between each one.
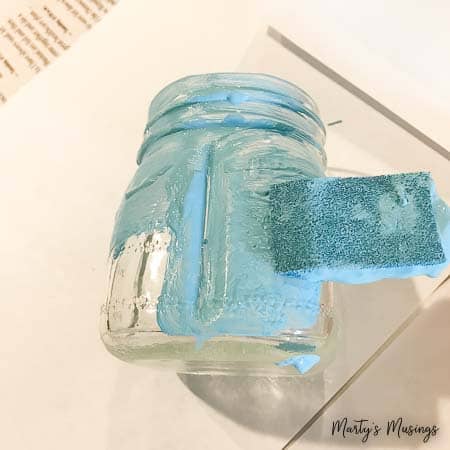
Cover the jar completely, filling in any crevices and rims. The chalk paint doesn’t adhere to glass as well as wood so a third coat wouldn’t hurt!
Step 2. Once the paint is dry take your sandpaper and lightly distress the edges.
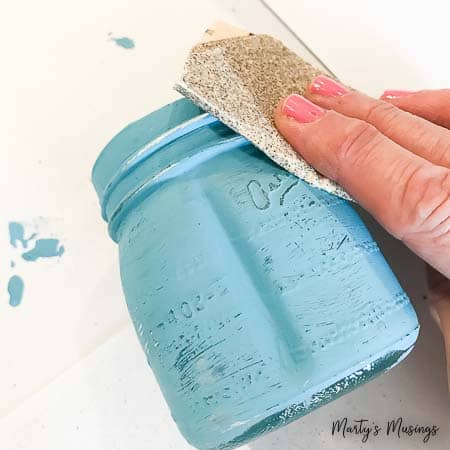
Don’t go too heavy or it will remove the paint. You could even use a fingernail file at this point.
Step 3. Wipe on wax with a cloth or paper towel and let dry. Then buff gently with a clean cloth or paper towel.

If you’re using dark wax don’t try to remove any wax back off with a clean cloth or it may remove the chalk paint instead. (Ask me how I know!)
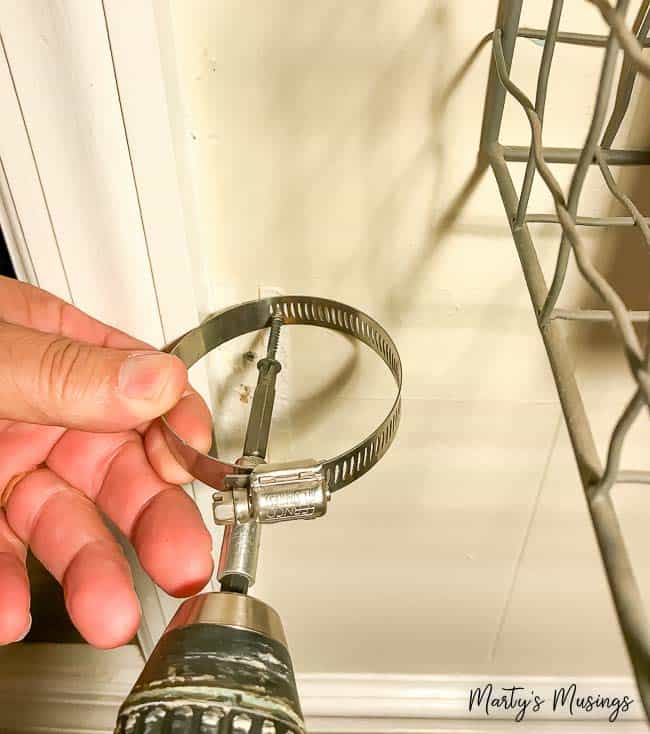
Step 4. Attach plumbing clamp to wall with a screw.
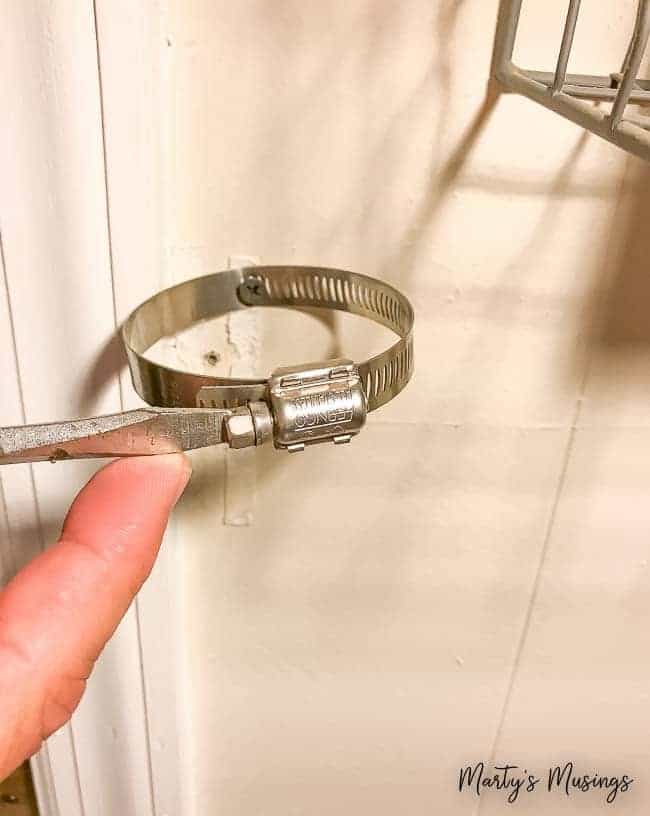
Step 5. Tighten clamp.
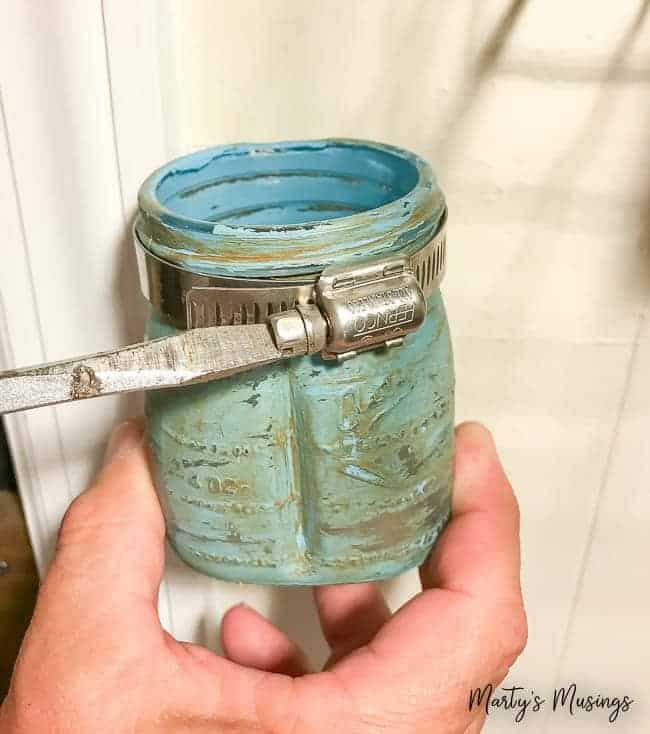
Step 6. Slip mason jar into holder and tighten clamp again.
How handy is this? My new favorite Pilot G2 comes in four point sizes since we all know one size doesn’t fit all!
My Pilot G2 pens are also perfect for making calendar notes or lists but no longer for checking schoolwork. I’m retired y’all!
When you work from home and juggle homeschooling and building your own business, the label “overachiever” is one you pull out of your back pocket from your childhood days ~smile~
I think all you mamas and strong women understand, don’t you?
I’ll be sharing more of my home office nook makeover over in the future which includes a DIY tutorial for pipe shelving and tips for how I created this area on the cheap!
You can follow Pilot pen on their social media at:
- Facebook: https://www.facebook.com/pilotpen/
- Instagram: https://www.instagram.com/pilotpenusa/
- Twitter: https://twitter.com/PilotPenUSA
- Pinterest: https://www.pinterest.com/pilotpen/
If you liked this post you might also enjoy my Chalk Painting Tips for Beginners or 13 Rustic DIY Home Decor Projects.
SaveSa
What a great idea. I love that you made a pen holder also (those are my hubby’s favorite pens too). Pinning for later. 🙂
Hi, Libbie. It’s kinda ridiculous but they’re the only pens I’ll use! I did a sponsored post with them and fell in love! Kudos to your husband!
What a great way to get organized, I love that size of board.
Hi, Maria. I loved the inspiration from the bulletin board so I’ve tried to use some of the ideas in my new home. Not done but I’m getting there!
What a creative use of that old window frame! And a perfect vision board right by your desk!!
It’s interesting because this is an original outside wall and the opening is where a window was. My husband just filled it in with plywood and voila!
What a great start to your home office; love your two projects!
Thanks, Sara! My new home is totally different and is a work in progress!
Just a great idea. I love the pen holder, very clever. I’m all about getting more organized this year as well. Happy New Year!!
January is a great month for organizing isn’t it? Our homes are constantly evolving, or at least mine is!
That chalk board and pen holder is just what I needed! Thanks so much for sharing this with me.?
Very good info. Lucky me I discovered your website by accident .I love the bulletin board idea.
Great job done…
I love the chalk board idea, good job Marty! Thank you for all types of ideas.
Thanks, Diana! I absolutely love having a bulletin board board with my desk. I have to have some kind of creative inspiration near me!