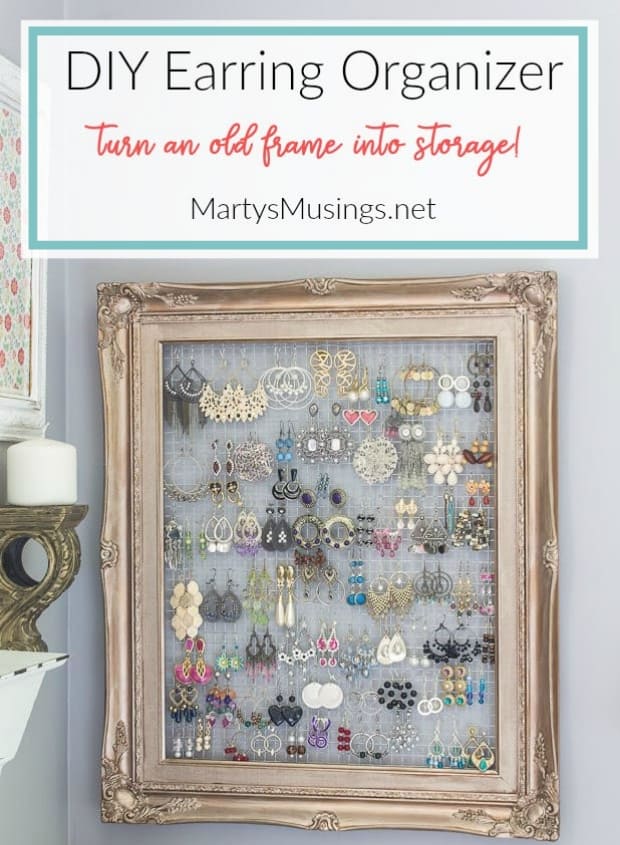
DIY Framed Jewelry and Earring Organizer
This post may contain affiliate links which won't change your price but will share some commission. Read more here.If you’re looking for a vintage style way to store your earrings this DIY framed jewelry and earring organizer is it! All you need is a pretty frame and chicken wire!
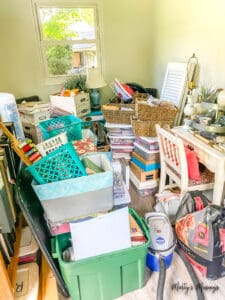
I’m in possession of a bunch of dangle earrings. And necklaces. And a few bracelets. ~smile~ I might indeed have lots of accessories!
I’m not the type to use velvet shelves, a jewelry stand or a jewelry cabinet (no room in my crowded closet!) Anyway, I wanted a more chic and sassy way to organize my earrings and jewelry. This also works nicely for necklaces!
This jewelry and earring organizer is so simple but packs a punch on the style meter! Your friends will be amazed at your one-of-a-kind organization skills!
How can I make a homemade jewelry organizer?
There are many ways to store jewelry. I know this for a fact! I’ve tried them all! There are beautiful boxes and hangers and all the things. A jewelry armoire would work or even just the dresser top or nightstand in your bedroom. Some organizers have a lid or some may have compartments for storing all the things.
First you have to decide if you want something with earring slots or if a wall-mounted jewelry organizer would work better. There are even ways to store your baubles with a door jewelry organizer (which would help corral the clutter.)
But if you want something unique as well as practical, this DIY project is for you! (And if you’re not into DIY I have some ideas for you at the end of this post!)
Materials you’ll need:
Metallic gold paint
Metallic silver paint
Foam paint brush
Metal shears
Staple gun
Staples
Utility wire
S-hook clasp
Step 1. Measure your wall space.
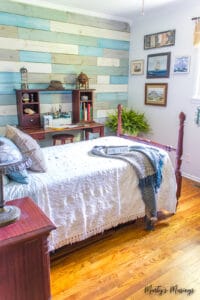
Decide where you want to hang your finished piece so you know the approximate size of the frame you need to buy. The organizer is perfect for a bedroom, closet or even a bathroom with extra storage space.
Just remember the final frame is so pretty you might not want to hide it!
Step 2. Find an interesting frame.
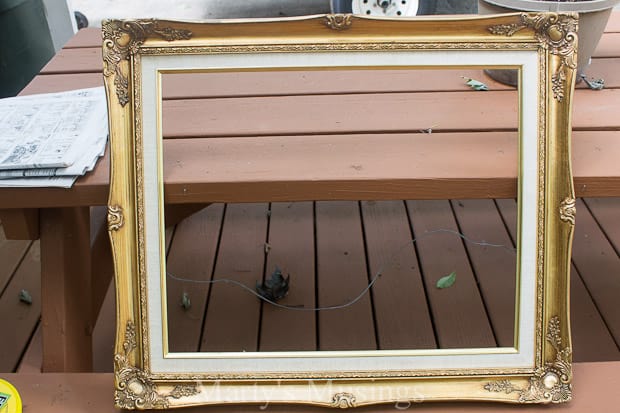
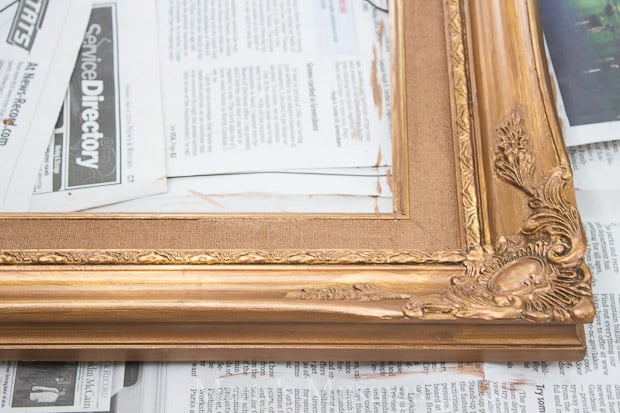
The frame was $1 at a yard sale (read these yard sale tips and my top 10 yard sale bargains) and I bought it because I loved the intricate design.
At the time I had no idea what I was going to use it for but it’s the perfect vintage look for my jewelry!
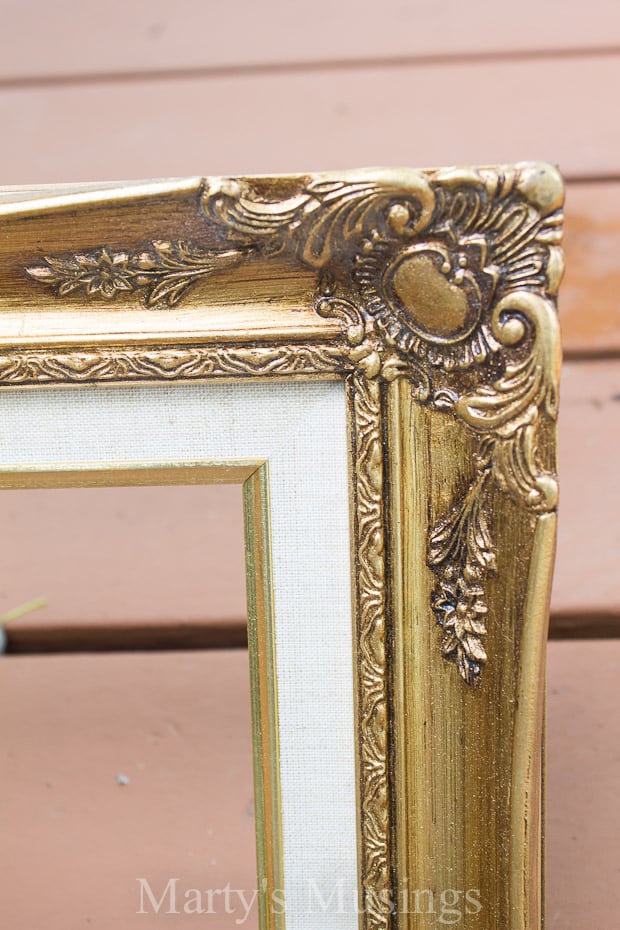
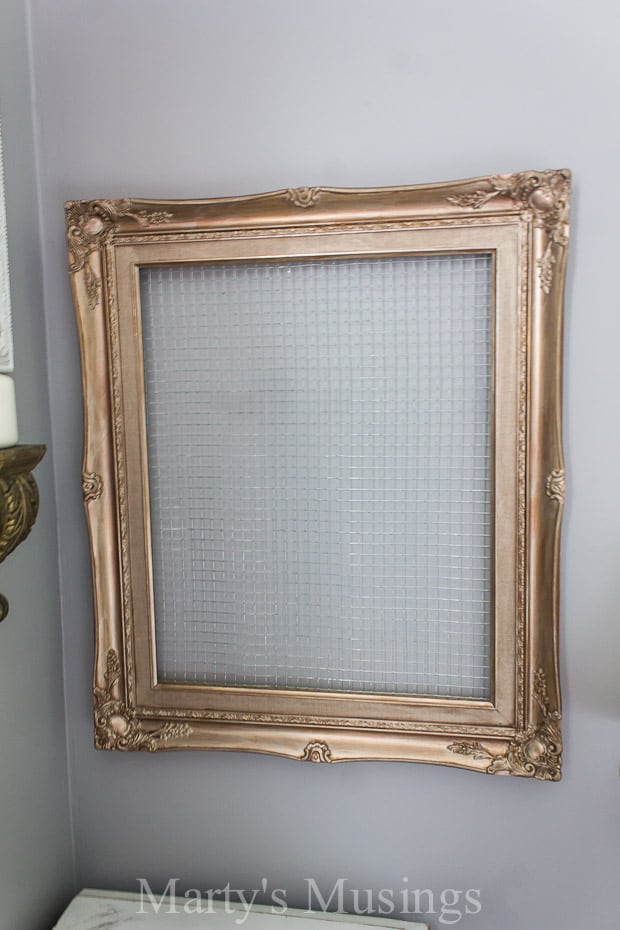
Step 3. Paint frame.
I wanted a burnished gold look for the frame to blend in with the rest of the bedroom and I also needed to paint over the canvas strip around the inside of the frame.
I used Modern Masters Gold Rush (semi opaque) ME658 for the first coat over the entire frame. I just used a disposable foam craft brush to apply.
Not so gold anymore but not exactly what I was looking for.
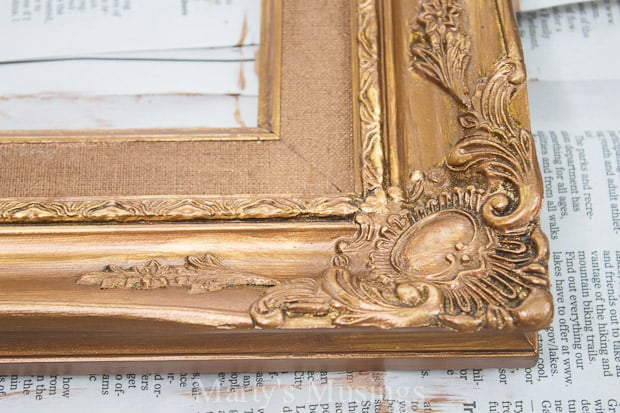
I then used a coat of Modern Masters ME221 Warm Silver (opaque) and this worked much better!
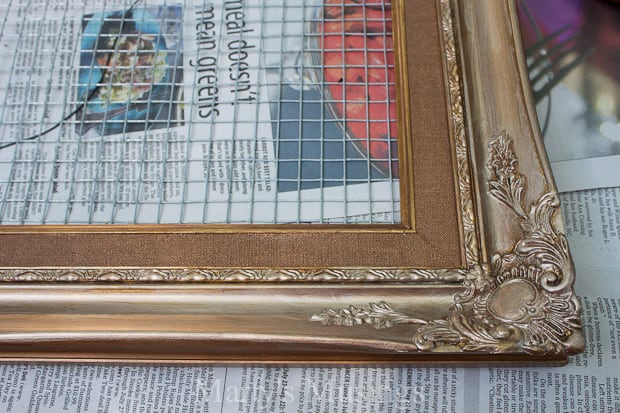
What I’ve found in painting accessories is sometimes it takes trial and error to find the right product or the right blend of paints to create the perfect finish. Just look at it like you’re back in kindergarten playing with finger paints!
Step 4. Attach chicken wire.
The chicken wire I used was 1/2″ x 1/2″ squares on a 36″ roll (width) and purchased from the hardware store. Even though we’re just hanging earrings here, there is some weight involved.
I left a 1″ overhang around the perimeter of the frame, which is two rows of wire for spacing. No hard rule here, just do what works for you.

The wire can be cut with tin shears, wire cutters, or a cut-off wheel. The last is, by far, the easiest.
Use a commercial grade staple gun with 3/8″ (10 mm.) staples to attach the wire to the frame. The goal is to eliminate any ripples in the wire, so keep it tight and staple at intervals that will solve that problem.
You will also need to drive these in a bit deeper with a hammer, so lay the frame face down on a towel and pop each one a time or two. Stapling across the corner allows for a better grab.
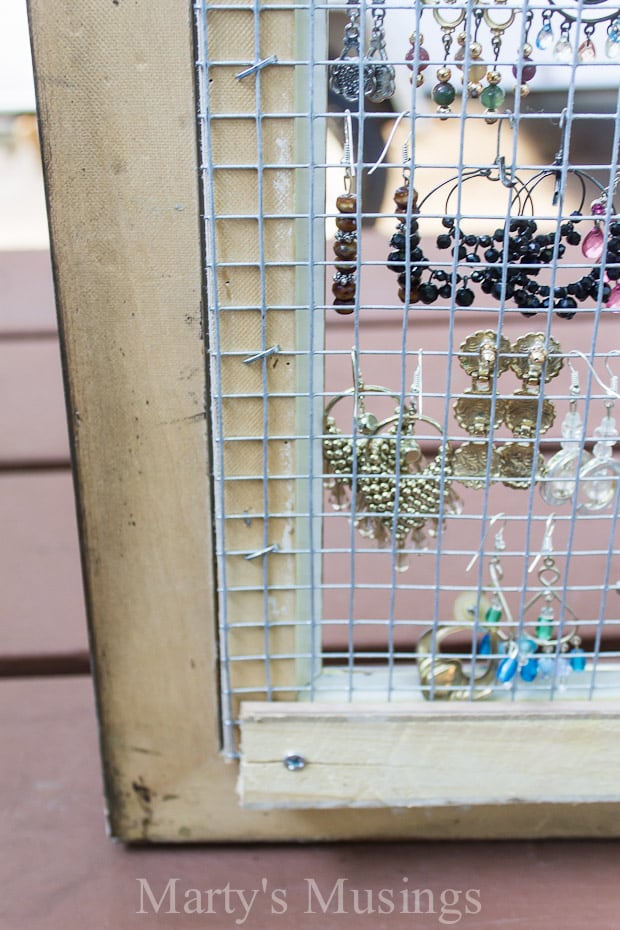
Step 5. Add spacer to frame.
It is very important to also include some kind of spacer on the back. In the picture, this is the 1″ x 2″ piece of wood at the top and bottom of the frame, installed OVER the chicken wire. This allows the earrings to hang without touching the wall. If it was not included, the earrings would not hang properly and could scratch the wall.
To avoid that nasty crack by the screw, pre-drill and then run the screw through that hole.

Step 6. Hang with wire.
The last step is some type of hanger. I chose to use picture wire, but you can also use picture hangers of various types, whatever works best for your walls.
Although I didn’t do this, you could install two more wood backers on the vertical sides. If your wood is thicker, you may not like that you can see too far behind the frame on those two sides. In that case, just install two more pieces and that gap disappears!
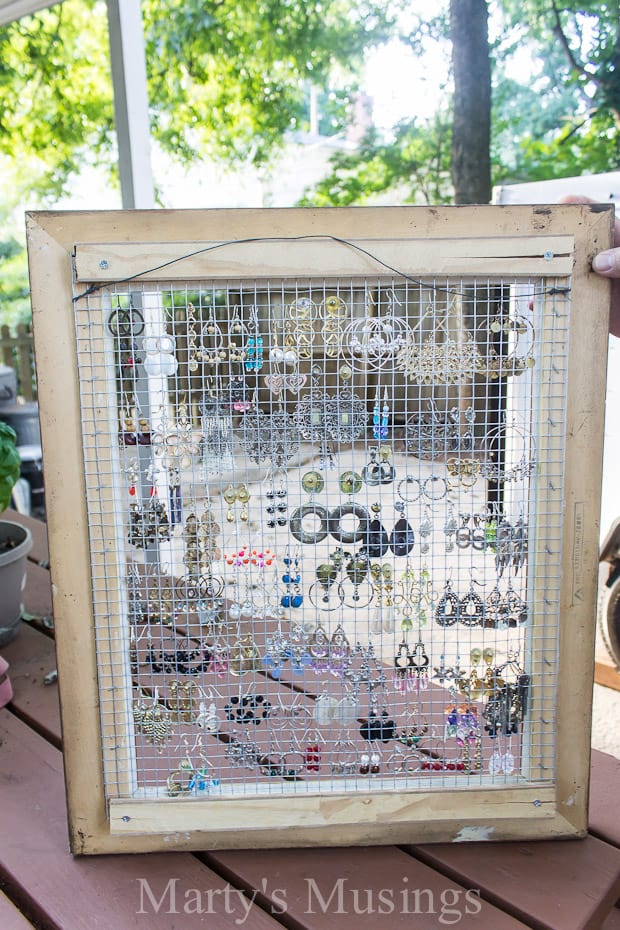
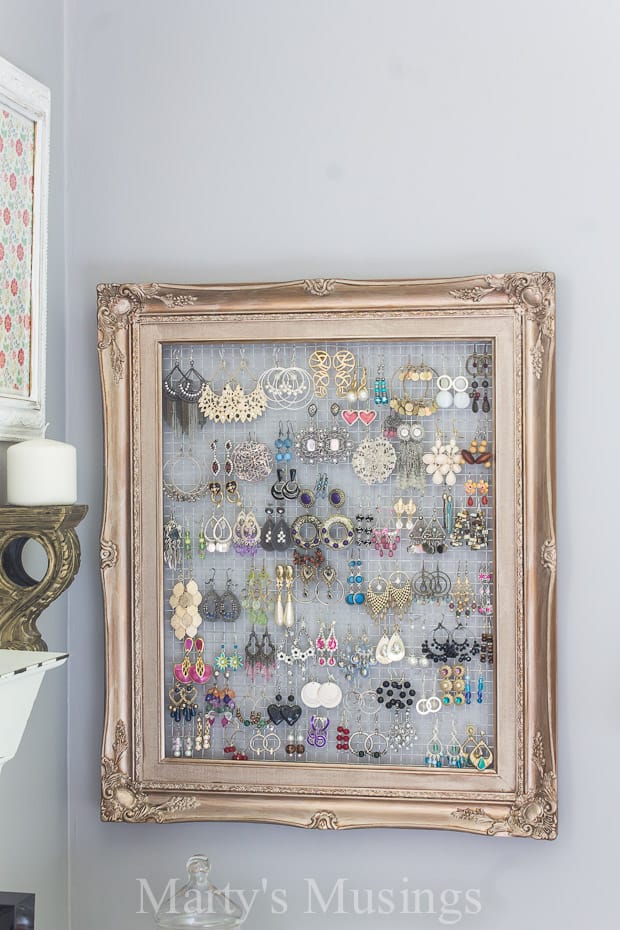
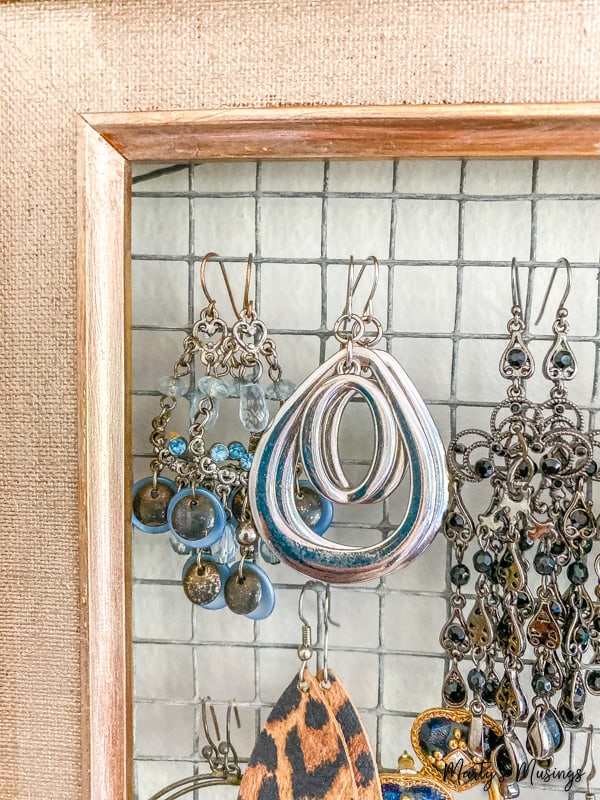
I found that the chicken wire, once securely attached to the back of the frame, was perfect to hold the huge variety of jewelry I own!
Step 7. Way to hang hoop earrings.
Hoop earrings are by far the easiest to hang. The longer I’ve used this means of organizing the more I double up on the hoops. Just simply hang both earrings in the same hole!
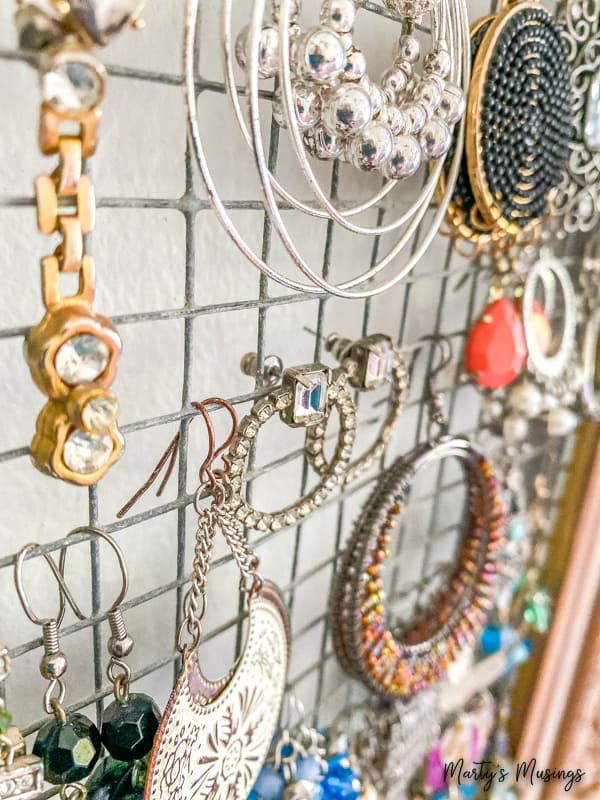
Step 8. How to store stud earrings.
Stud earrings can be a little bit more difficult but they’re still doable! Just bring the back of the earring almost to the end of the long piece and hook it on a square of chicken wire. Voila!
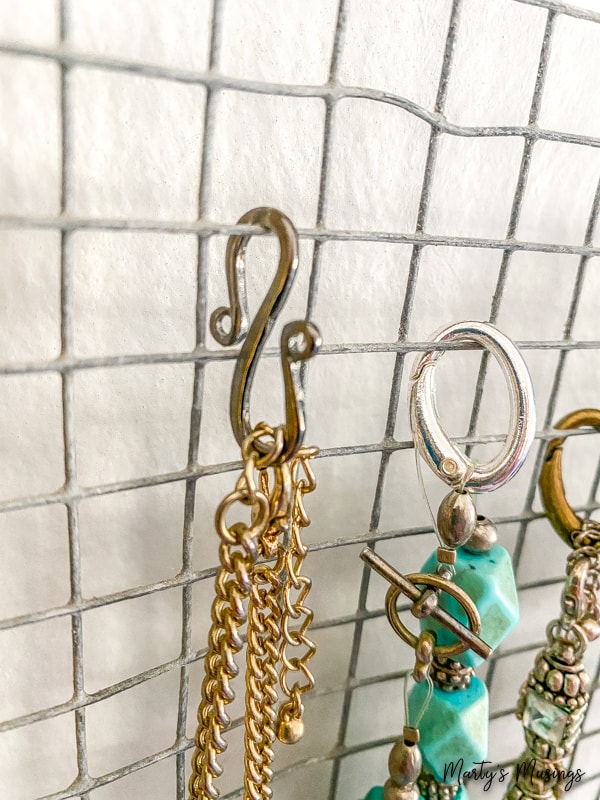
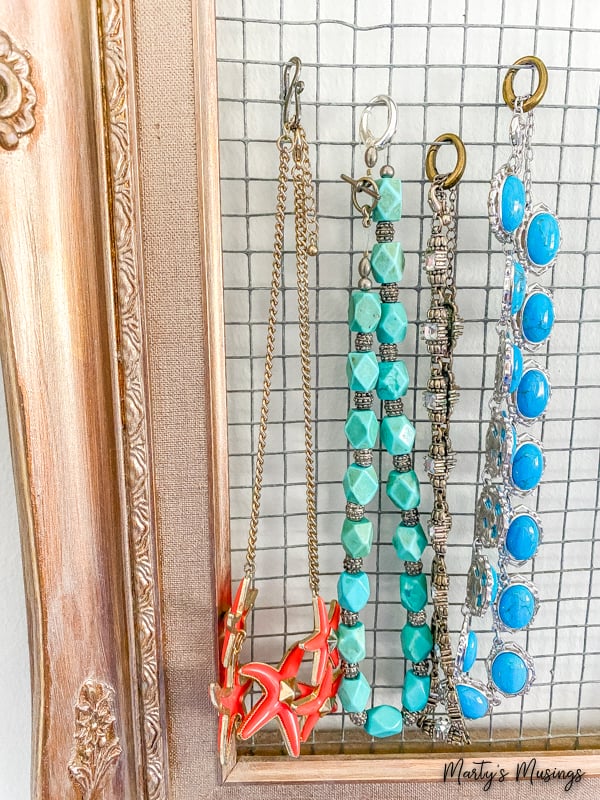
Step 9. Hang necklaces on framed organizer.
Let me also show you how you can use this type of framed organizer for necklaces.
Any kind of clip that will allow you to attach it to the chicken wire will work. I like these necklace hooks the best because they’re the easiest to hang and remove necklaces. Otherwise I just used what I had on hand.
Obviously you can’t hang as many necklaces as earrings but still it’s a pretty alternative to a jewelry box or another type of organization.
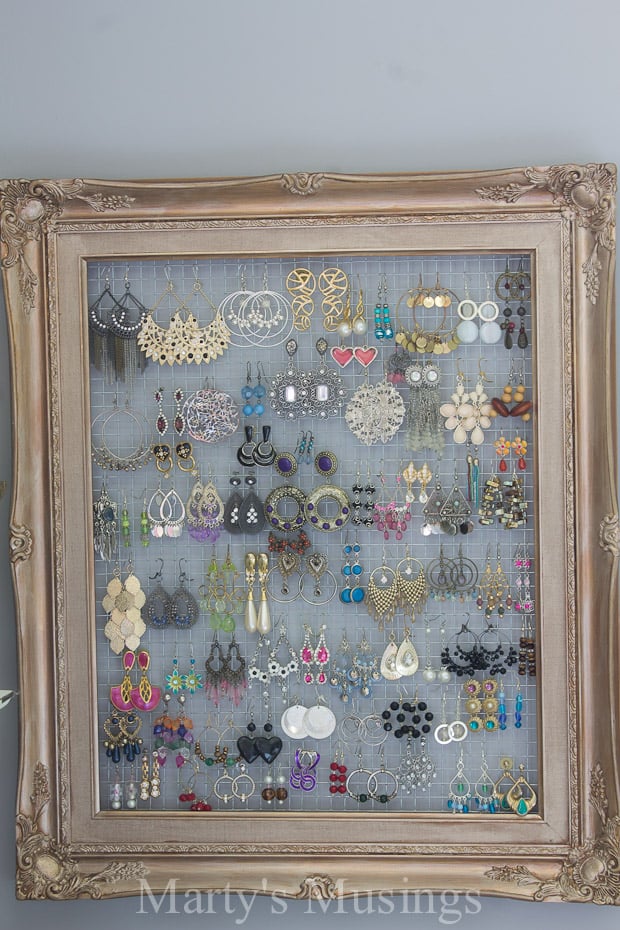
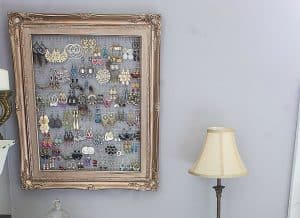
I love the finished look but I confess I normally hang more pairs of earrings on here. Still pretty now but a little more cluttered!
Some tips for making this earring organizer:
- The frame you pick is totally up to you but I love using yard sale and thrift store ones. I actually keep a few on hand for any projects or pictures I might be framing.
- This would look pretty with two frames together, one for necklaces and one for earrings.
- You certainly don’t have to paint your frame but this gives you options with colors and stains.
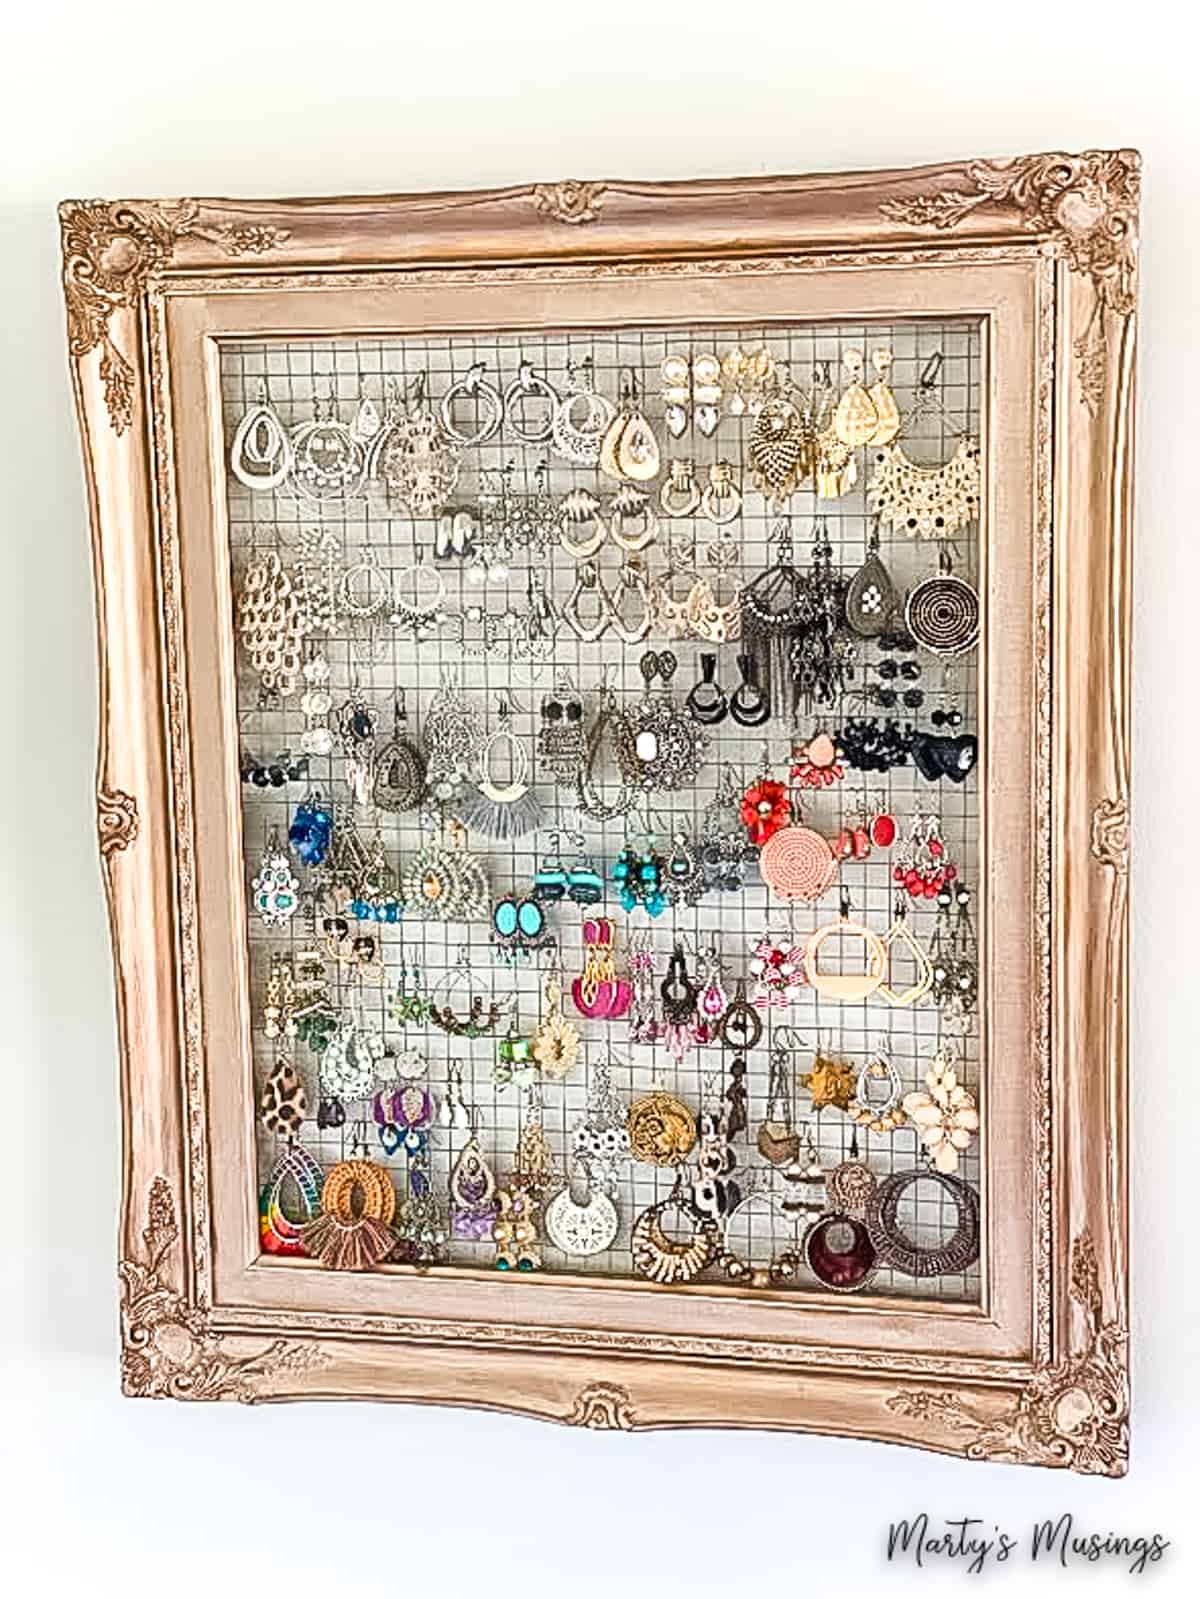
Don’t you love it decorated with all the fancy bling?
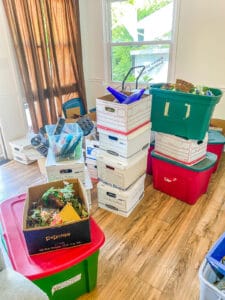
And here’s how it looks in my new home. I just might have taken every.single.earring off the frame and color coded them. Yes I did! And it’s so much easier to find something to match my outfits!
Fun organizers if you don’t want to DIY:
- Hanging pocket organizer
- Wooden tray and holder
- 5 drawer organizer
- 5 tier metal rotating organizer
- Wall holder display
- Earring display stand
- Zippered pouch for travel
More Organization Ideas
Do you struggle with organization in your home? Have you just about given up? Let’s attack this problem one step at a time together!

DIY Framed Earring Organizer
Ingredients
- 1 picture frame
- 1 section chicken wire
- 1 paints
- 1 foam craft brush
- 1 wire cutters
- 1 staple gun and staples
- 1 16" gauge steel wire
- 1 hooks for hanging necklaces
Instructions
- How can I make a homemade jewelry organizer?
- Measure your wall space.
- Find an interesting frame.
- Paint frame.
- Attach chicken wire.
- Add spacer to frame.
- Hang with wire.
- Way to hang hoop earrings.
- How to store stud earrings.
- Hang necklaces on framed organizer.
I simply LOVE your crafty & useful ideas & your directions are easy to follow. I appreciate your imagination & can-do attitude & I am happy I came across your sight, I will indeed be following you & am eager to learn new ideas & plans I can use & implement to help me get organized in style! Thank you:)
Thanks so much, Leslie! I hope you find tons of ideas and inspiration!
This is a great storage idea; you might have to make yourself a second one to store all your earrings :).
I love this idea. Very clever. Great way tondre everything
First time finding your blog. Enjoyed your DIY projects. Unique, not the same old.
Keep up the good work.
I appreciate the kind comments, Stephanie!
Found your blog on HomeBNC and I love this idea and your blog! My daughter has a ton of earrings and I have a ton of frames, lol!
So glad you found me, Cheryl! I just moved into a new home and will have many more projects to share!