How to Make a Window Table (for the Rustic Look)
This post may contain affiliate links which won't change your price but will share some commission. Read more here.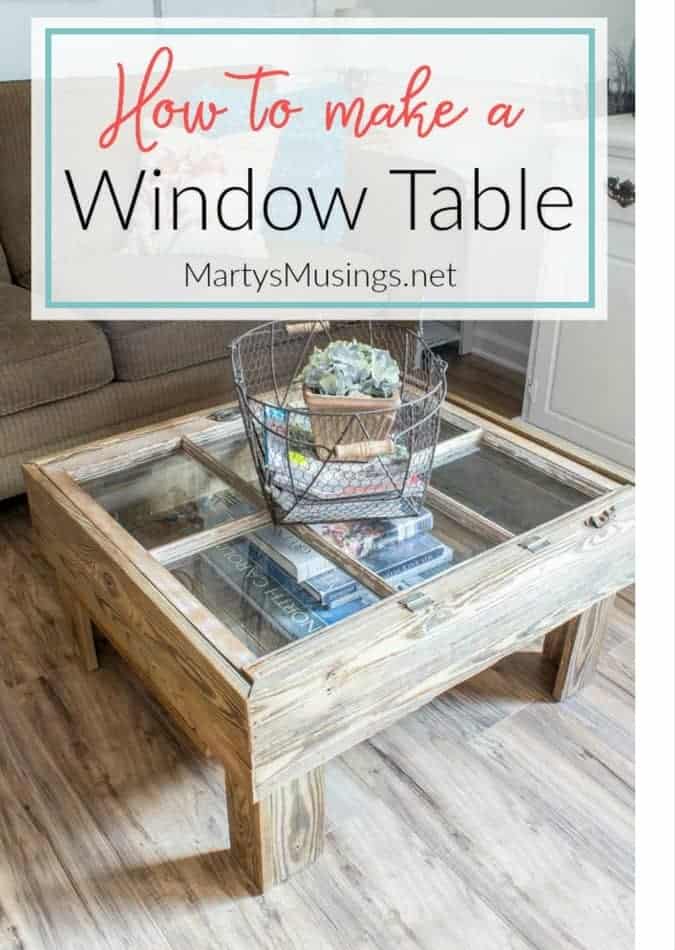
You know how it is. You’re hiding in the minivan and really don’t want to talk to anyone because your hair’s a mess and you haven’t changed out of yoga pants in three days.
You’re surfing the net, waiting for your kids in the carpool line or at their ball game.
While you’re losing yourself in your phone you find that perfect Pinterest project that’s going to change your life!
Because you know Pinterest makes everything better, like somehow “Pinterest” is the perfect mama with her act together who never yells at her kids, has a home cooked dinner on the table every night and even wears MAKEUP!
Y’all do know Pinterest is just a way to bookmark things and real people actually create all those beautiful ideas you and I pin?
Ahem. Just clarifying because we all get confused sometimes. ~smile~
Anyhoo……about four years ago that was my story because I loved all things Pinterest. I was coming into a new season of life as my oldest two were getting married and the end was in sight for our youngest two and our homeschooling days.
I never had much time to decorate (hello, 5 kids, pets, homeschooling, no life!) but I longed for a home that was authentic and unique to me.
I happened to find a little “honey do” project that helped me discover my style and changed our lives at the same time.
Little did we know my husband’s first attempt at repurposing would forge a new career for mama and a love of transforming wood into beautiful home furnishings for papa.
How to Make a Window Table
This post contains some affiliate links for your convenience. Click here to read my full disclosure policy.
Materials:
Fence boards
Old window
DAP Latex Window Glazing
Wood Filler
From Tim:
Step. 1 Build boxing and legs
I was supposed to take pictures throughout the build, but the idea of cleaning my hands and taking a camera pause at every step was inconceivable. The picture series below begins after the boxing and legs had been completed.
That was an interesting process, since I needed to maintain space around the frame of the sash so it would open without pinching but not really worth going into the details.
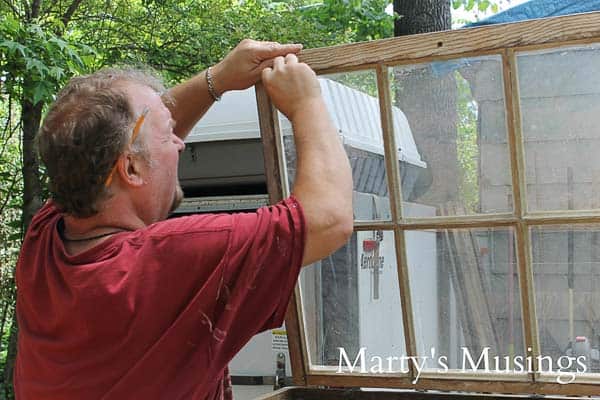
Step 2. Reglaze windows and clean glass with razor blade
Remember, these fence board tables remain completely raw when finished, so there’s not much wiggle room to manipulate the surfaces. The panes had to be re-glazed and nothing beats Dap Latex Window Glazing for ease of use and results. Glazing in a tube – what a concept! Clean the glass with a razor blade, straighten the lines and…
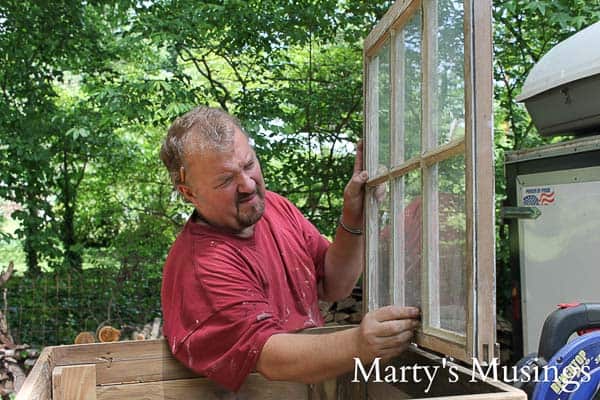
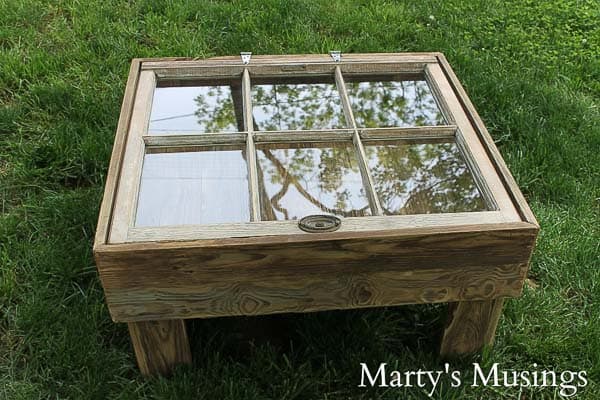
Step 3. Attach window to frame (with original inside turned up)
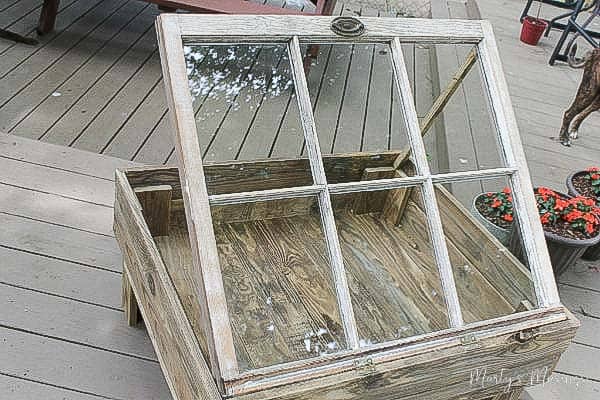
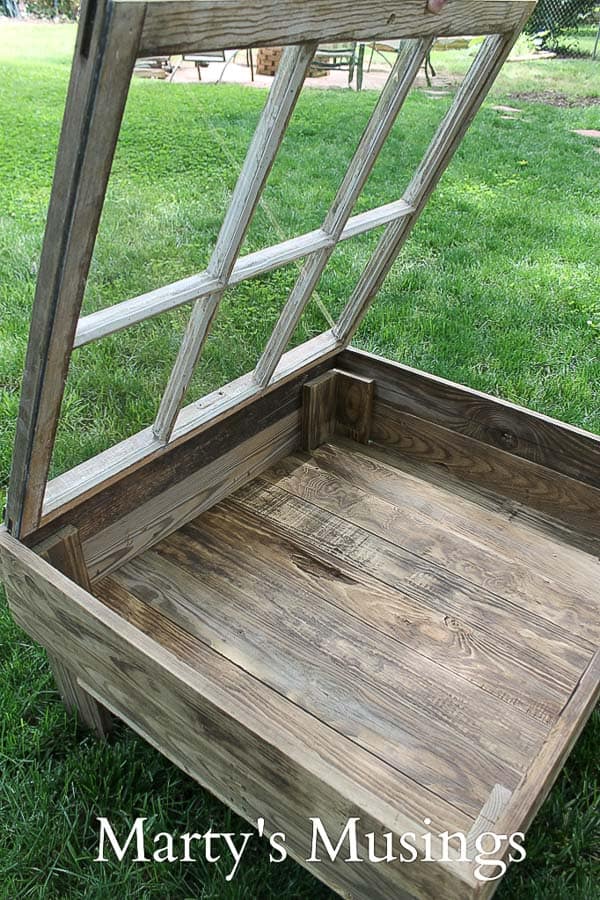
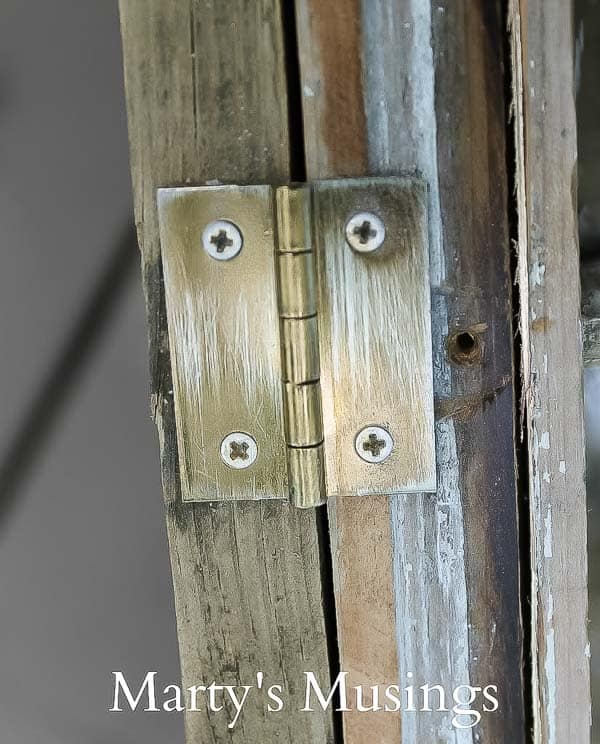
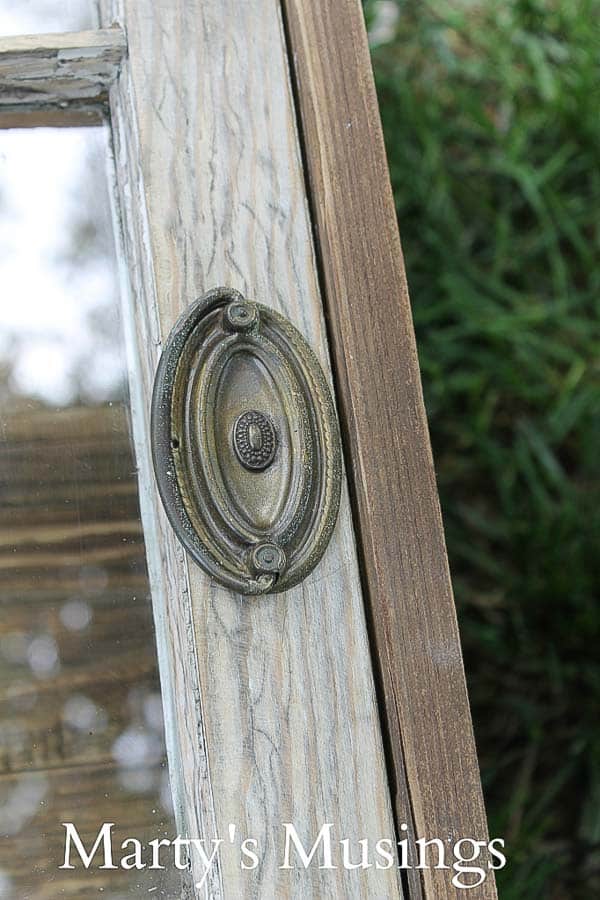
Step 4. Attach hardware
My favorite element of the two tables I’ve made is the character of the wood. It’s all terribly marred and full of holes and divots but absolutely beautiful.
Step 5. Add wood filler if necessary
The big drawback is warping. Each piece has to be selected with purpose, and even then the angles don’t always turn out perfect. I will confess to a bit of wood filler at a corner or two!
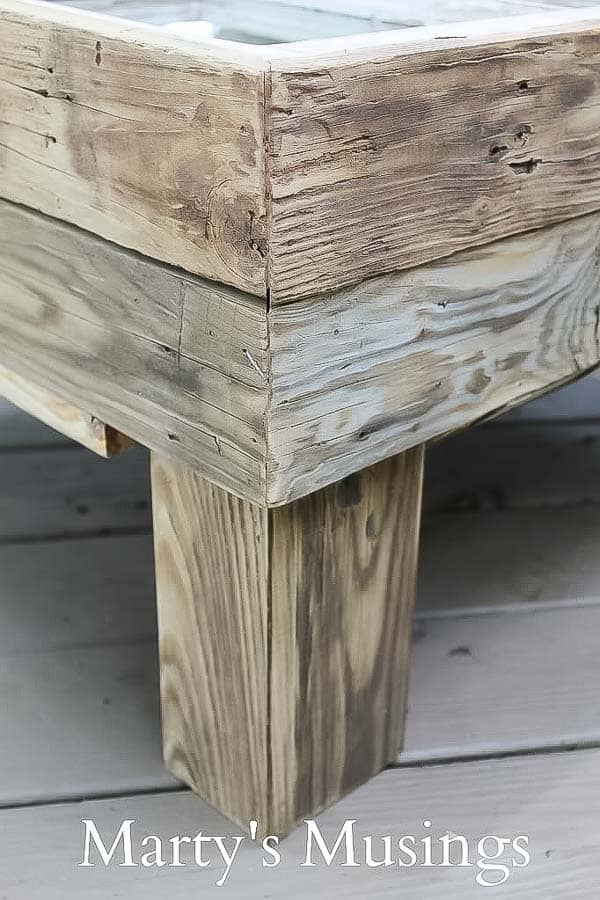
So, even though it came right out of my head, this window table turned out pretty well. Of course, I learned what to do and not to do for next time (and I know there will be a next time.) Who knows what I’ll use…a door, a shutter, or maybe some old cedar shingles.
SPECIAL NOTE: One thing I noticed right away, once the tables made it inside, was our pet’s reactions. These must smell AMAZING to them! If you make one of these out of old, stinky, weathered wood and your dogs are notorious for chewing things they shouldn’t, you might have a potential disaster on your hands. I’m just sayin’…
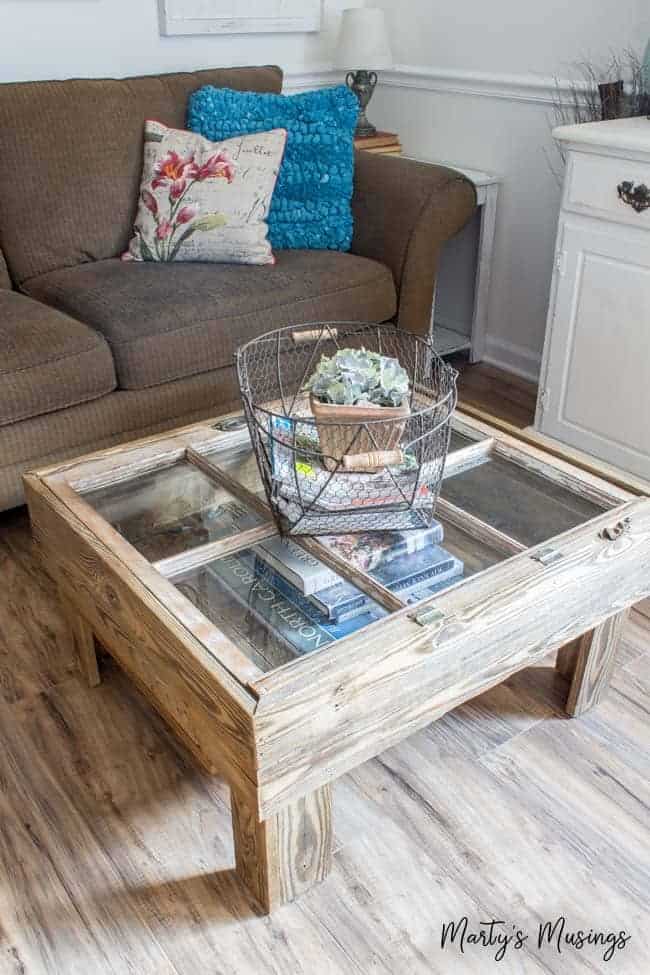
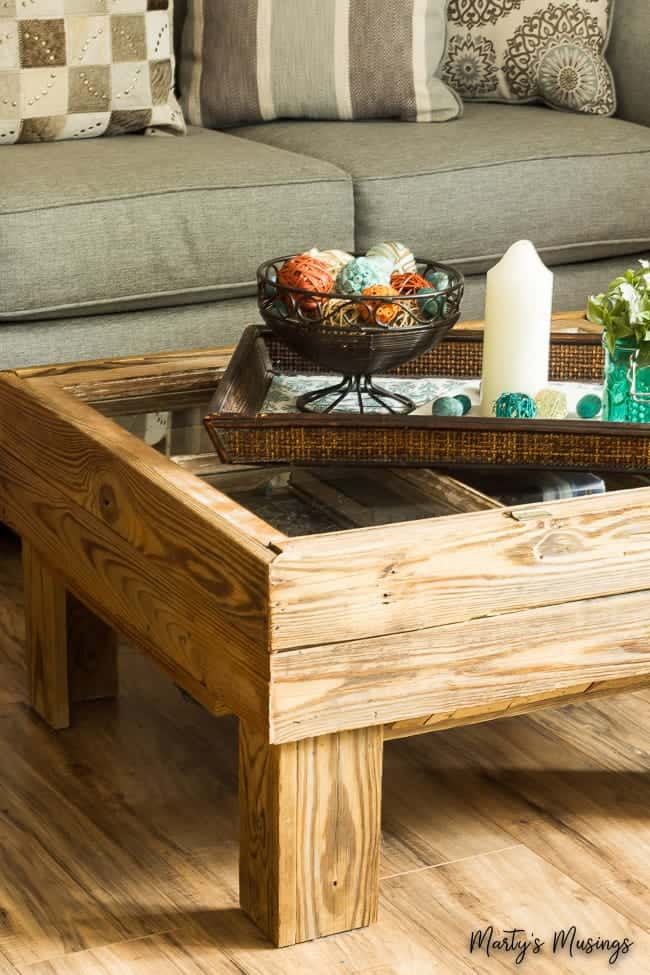
Marty: Even though we’re in the middle of gutting our kitchen and creating a totally new space in this room (you can read all about the dream and how to save thousands of dollars here) the one thing that will remain is the window table!
The DIY project that inspired our journey continues to hold a place in the center of our home and hearts.



169 Comments