How to Make a Window Table (for the Rustic Look)
This post may contain affiliate links which won't change your price but will share some commission. Read more here.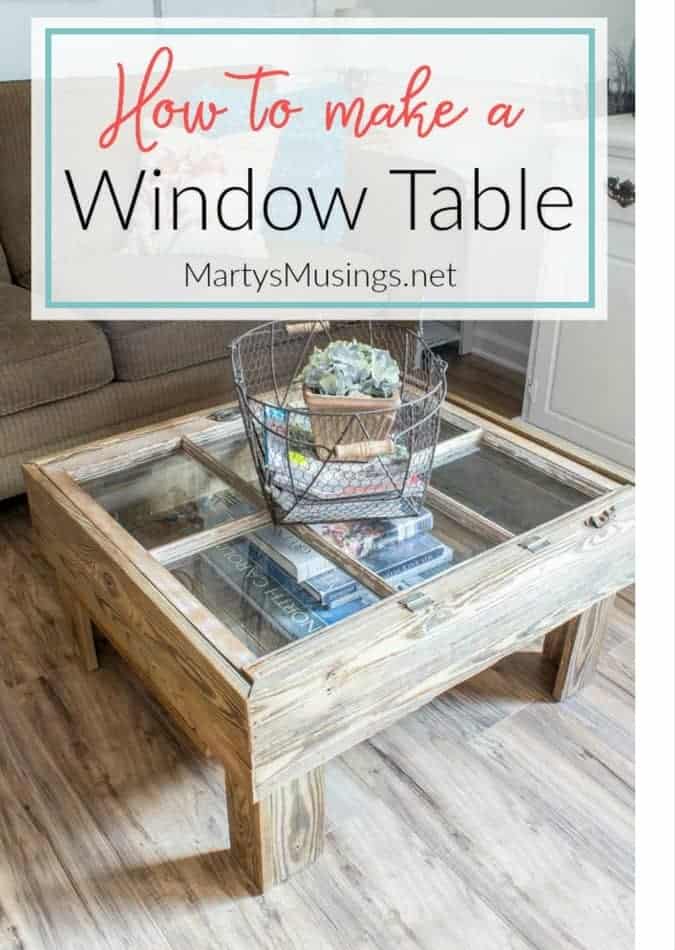
You know how it is. You’re hiding in the minivan and really don’t want to talk to anyone because your hair’s a mess and you haven’t changed out of yoga pants in three days.
You’re surfing the net, waiting for your kids in the carpool line or at their ball game.
While you’re losing yourself in your phone you find that perfect Pinterest project that’s going to change your life!
Because you know Pinterest makes everything better, like somehow “Pinterest” is the perfect mama with her act together who never yells at her kids, has a home cooked dinner on the table every night and even wears MAKEUP!
Y’all do know Pinterest is just a way to bookmark things and real people actually create all those beautiful ideas you and I pin?
Ahem. Just clarifying because we all get confused sometimes. ~smile~
Anyhoo……about four years ago that was my story because I loved all things Pinterest. I was coming into a new season of life as my oldest two were getting married and the end was in sight for our youngest two and our homeschooling days.
I never had much time to decorate (hello, 5 kids, pets, homeschooling, no life!) but I longed for a home that was authentic and unique to me.
I happened to find a little “honey do” project that helped me discover my style and changed our lives at the same time.
Little did we know my husband’s first attempt at repurposing would forge a new career for mama and a love of transforming wood into beautiful home furnishings for papa.
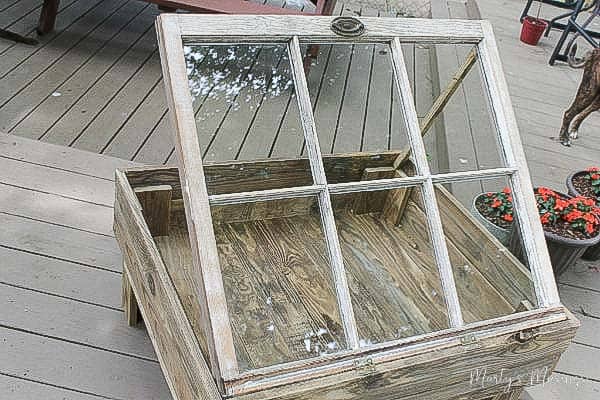
How to Make a Window Table
This post contains some affiliate links for your convenience. Click here to read my full disclosure policy.
Materials:
Fence boards
Old window
DAP Latex Window Glazing
Wood Filler
From Tim:

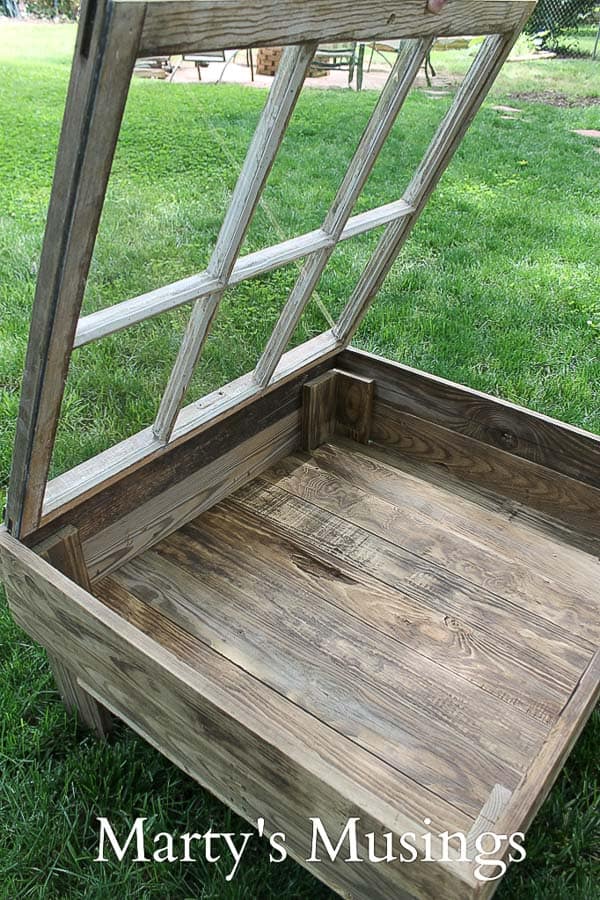
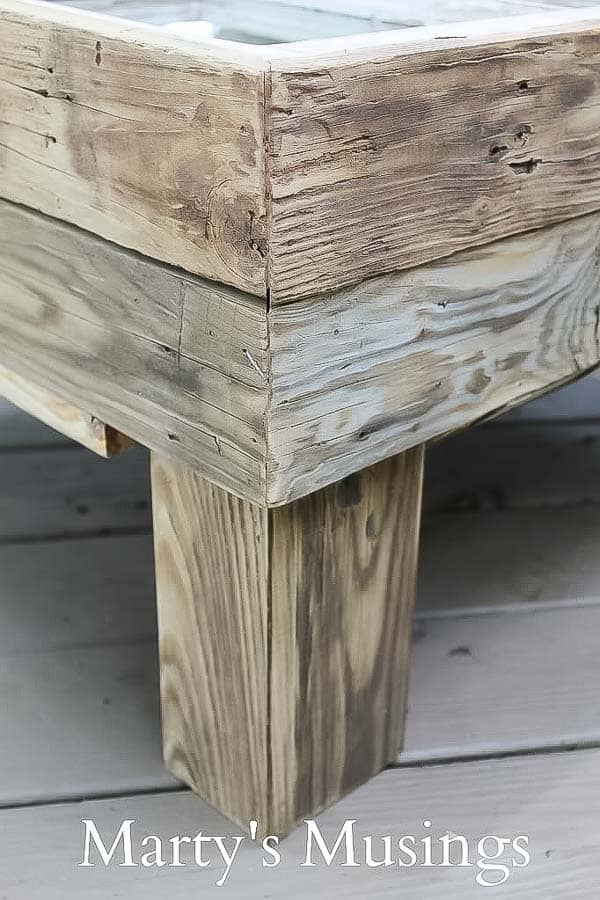
Step. 1 Build boxing and legs
I was supposed to take pictures throughout the build, but the idea of cleaning my hands and taking a camera pause at every step was inconceivable. The picture series below begins after the boxing and legs had been completed.
That was an interesting process, since I needed to maintain space around the frame of the sash so it would open without pinching but not really worth going into the details.
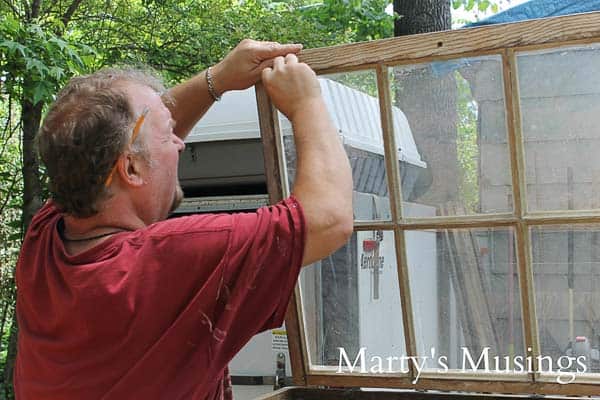
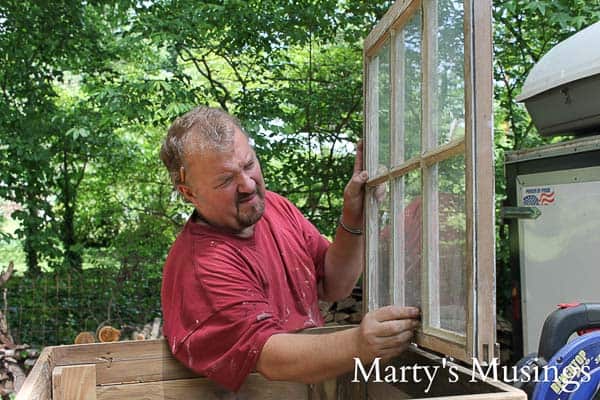
Step 2. Reglaze windows and clean glass with razor blade
Remember, these fence board tables remain completely raw when finished, so there’s not much wiggle room to manipulate the surfaces. The panes had to be re-glazed and nothing beats Dap Latex Window Glazing for ease of use and results. Glazing in a tube – what a concept! Clean the glass with a razor blade, straighten the lines and…
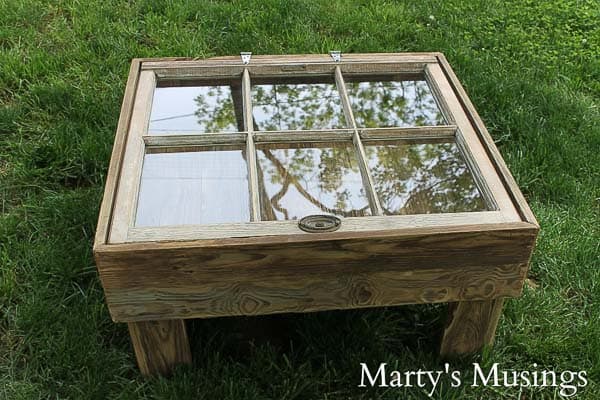
Step 3. Attach window to frame (with original inside turned up)
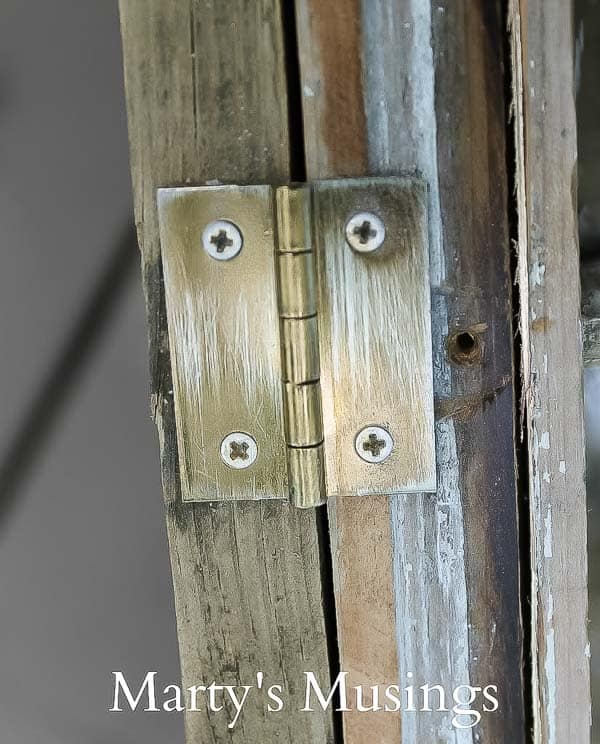
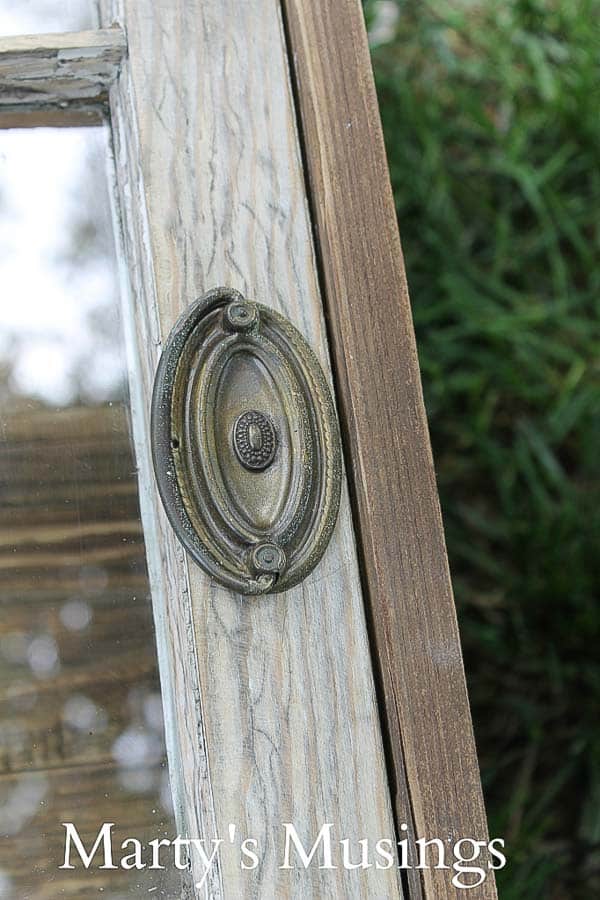
Step 4. Attach hardware
My favorite element of the two tables I’ve made is the character of the wood. It’s all terribly marred and full of holes and divots but absolutely beautiful.
Step 5. Add wood filler if necessary
The big drawback is warping. Each piece has to be selected with purpose, and even then the angles don’t always turn out perfect. I will confess to a bit of wood filler at a corner or two!
So, even though it came right out of my head, this window table turned out pretty well. Of course, I learned what to do and not to do for next time (and I know there will be a next time.) Who knows what I’ll use…a door, a shutter, or maybe some old cedar shingles.

SPECIAL NOTE: One thing I noticed right away, once the tables made it inside, was our pet’s reactions. These must smell AMAZING to them! If you make one of these out of old, stinky, weathered wood and your dogs are notorious for chewing things they shouldn’t, you might have a potential disaster on your hands. I’m just sayin’…
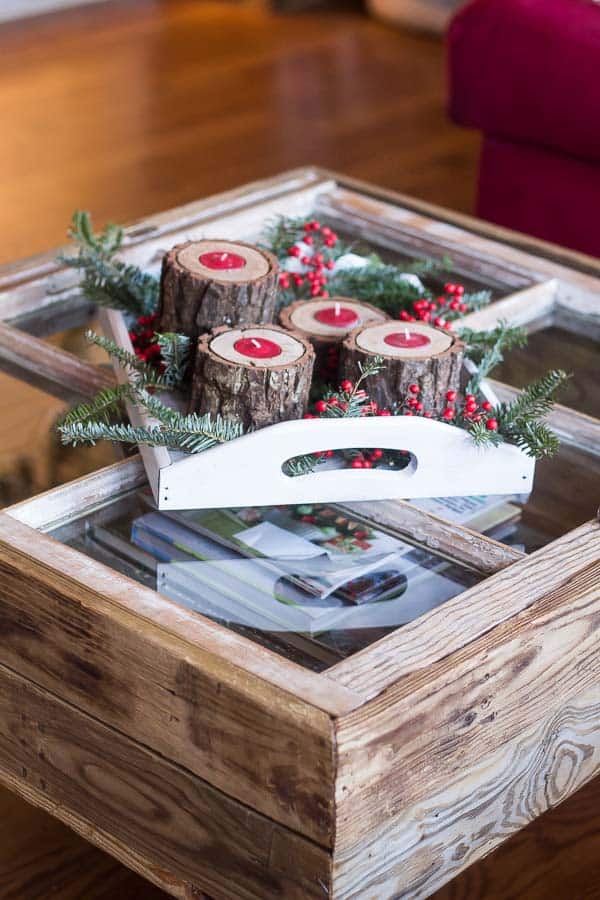
Marty: Even though we’re in the middle of gutting our kitchen and creating a totally new space in this room (you can read all about the dream and how to save thousands of dollars here) the one thing that will remain is the window table!
The DIY project that inspired our journey continues to hold a place in the center of our home and hearts.

Question!? How much gap did you allow from the frame to the outside to the window?! So you were able to make it open rather than just a box.
Thanks!
Hi, Sandy. My husband gave me the info you’re looking for in this project. “I believe my gap choice was a totally random size. I used a 5-gallon paint stick to keep it consistent all the way around. You could decrease it by using screws or 16 penny nails. You don’t need a lot but you do want to be consistent all the way around.”
Hope this helps!
Nice, I did this 10 yrs ago then last year I took the window off and turned it over, famed in the ends of the legs and made a canopy dog bed out of it. Someday it might become something completely different.
Hi, Nancy. What a great idea. I know you have one happy dog!
Love this! Thanks for sharing! Now I just need to find myself a single & handy man!
MountainBillyMercantile.com
Impressive craft. I will give it a go but on a rectangular shape I think !
very nice table, thank you for showing.
I came to your site with the intention of learning how to make this window table, but I was so distracted by all the advertisements I decided to find another site without all the advertising. Is it so necessary to have all these pop up ads on your site? It is all about the money, and not much else. I will post to others to stay away unless they like being bombarded with advertising…
Hi, Phil. I appreciate you leaving a comment. I completely understand how you feel and I’m actually in the process of removing some of the ads. Unfortunately, ads are one of the few ways I make income on my blog at the moment. I offer completely free content and hope my readers will enjoy that fact. There are very few sites that don’t have ads on them these days but I agree they can be overwhelming. Check back in a couple days and hopefully there will be an improvement. Marty
I am laughing at your post about sitting in the mini van hoping no one sees you..that was me today! LOL! This table is amazing! I love it!! Going to file it away in my to do list for summer projects. Thank you for sharing!!
Hi, Mitra. I was so sad when we sold the mini van I’d had for 20 years! We had bonded and it was part of the family! I’m glad you like the table and you keep filing those projects away!
This is so pretty! What a great piece!
Thanks, Kim! It’s still one of my most favorite!
Great job. Just love your work.
Thanks so much, Leslie! I appreciate you reading my blog!
What was the spacing you needed around the window to keep it from binding?
Hi Marty!
My name is Anna and I am the Digital Marketing Specialist at Feldco Windows and Doors. I am writing an article for our blog titled “12 Creative Ways to Repurpose Old Windows”.
I loved your window coffee table idea, and I referenced your blog in my article. I was hoping to use an image from your site to compliment my article.
Thanks for your awesome inspiration!
Anna
Love this. I plan on making a couple.
Good luck, Tami. I still love my window table!
May I just ask – is the glass form the window pane strong enough for usage as a coffee table? I’ve been considering making one myself but concerned that a small act like putting a coffee mug down on the glass might cause a break
Hi, Clayton. Sorry it took me a bit to get back to you. With this particular window the pane is definitely strong enough for a mug or glass or some books. I would just test out the window before I went to the work of making the table. When my toddler grandson comes over I put a card table over the top to prevent him from breaking it or getting hurt. Let me know if you decide to make it and how it turns out.
This is the best idea ever for a coffee table! I have to say with 3 boys my table is shot. I hope to try and make one of these. This way if it gets banged up, it will add to the vintage look.
Great Job!!
Lesley
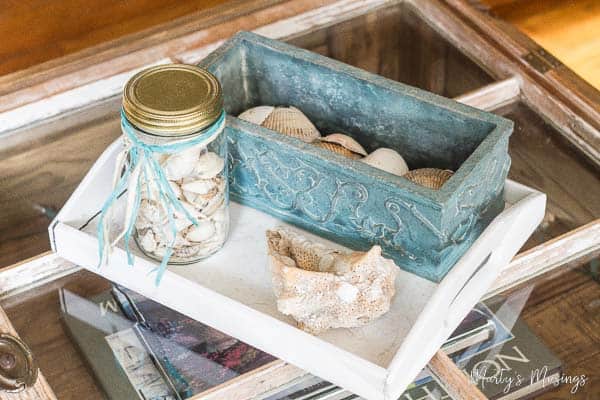
I’ve seen some great uses for old windows but I have to say this is one of the best. Since I live by the sea, I would put seashells under the glass. Great job!