Easy Family Scrapbook Ideas: Print Those Pictures!
This post may contain affiliate links which won't change your price but will share some commission. Read more here.
I was away scrapbooking this weekend, trying to catch up on my Project Life album. These weekends usually consist of a little blogging, some extra sleep, a few delicious meals and some easy family scrapbook ideas.
When I started scrapbooking 18 years ago I labored over the pages (and cut many a kid’s head with patterned scissors. Can anyone relate? Now I document our everyday lives with Project Life pages, a memory keeping system composed of pocket pages with slots for everything from 4×6 pictures to instagram photos. There is a wide selection of brands and sizes of page protectors which gives you a variety of options. You can make the pages as simple or as complicated as you want by adding precut papers, embellishments, journaling and memorabilia.
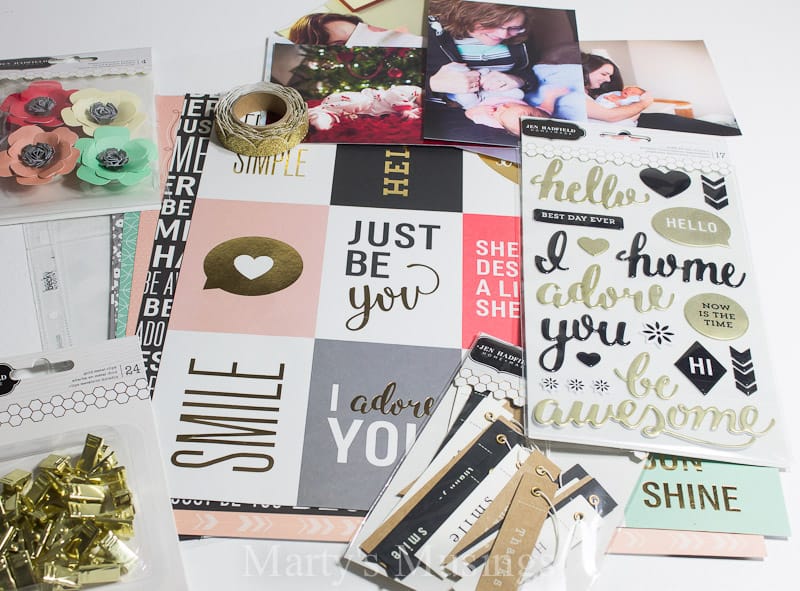
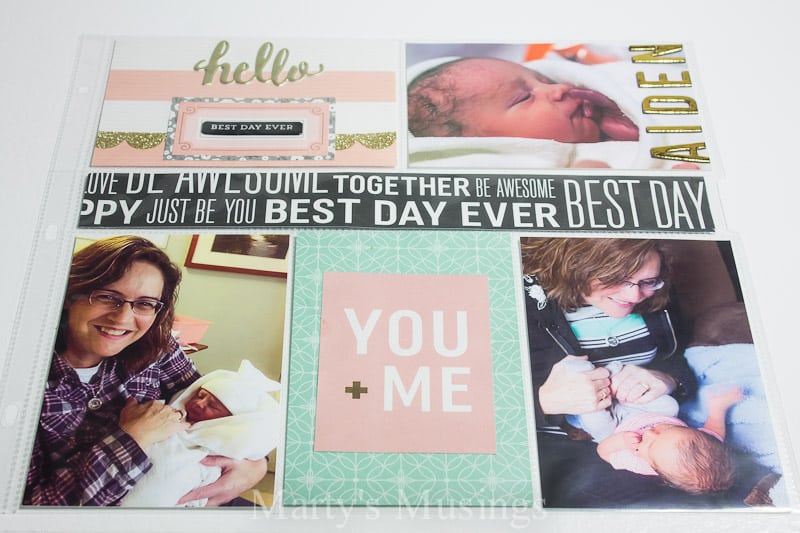
For this project I combined two different size pocket pages and a variety of elements from the Jen Hadfield Home+Made Collection. One of the many things I love about this collection is that the papers mix and match well together. Even though I was using pictures of my first grandchild I wanted to stick to a more neutral palette and I loved these colors! Pattered papers speak to my heart!
Supplies:
4×6 pictures
12×12 Page Protectors
12×12 Scrapbook Paper
Puffy Stickers
Decorative Tape
Thickers Letters
Paper Cutter
Step 1: First I selected the scrapbook papers and embellishments.
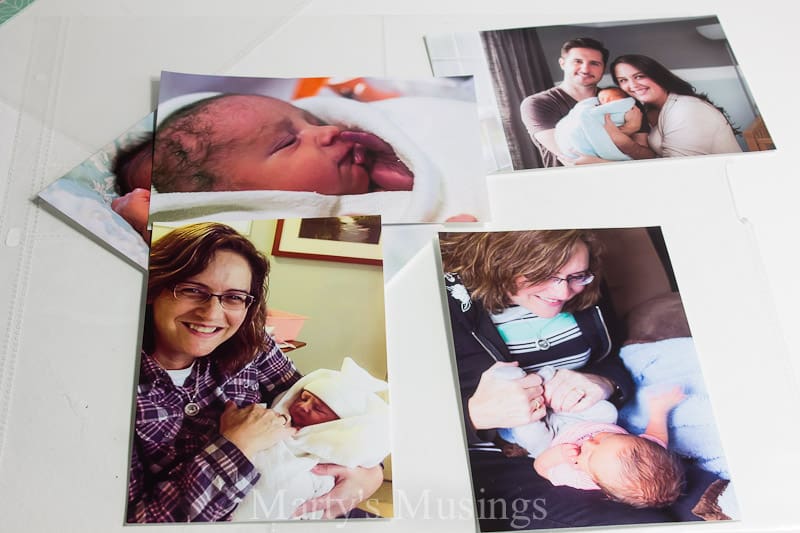
Step 2: I chose the pictures I wanted to scrapbook and the page protectors to fit those sizes. This layout was about the birth of my first grandson but you could also do a layout covering a week in your family life, a specific topic or even several pics representing years in a row.
Step 3: I then cut a 12×12 sheet of cards into 3×4 sections.
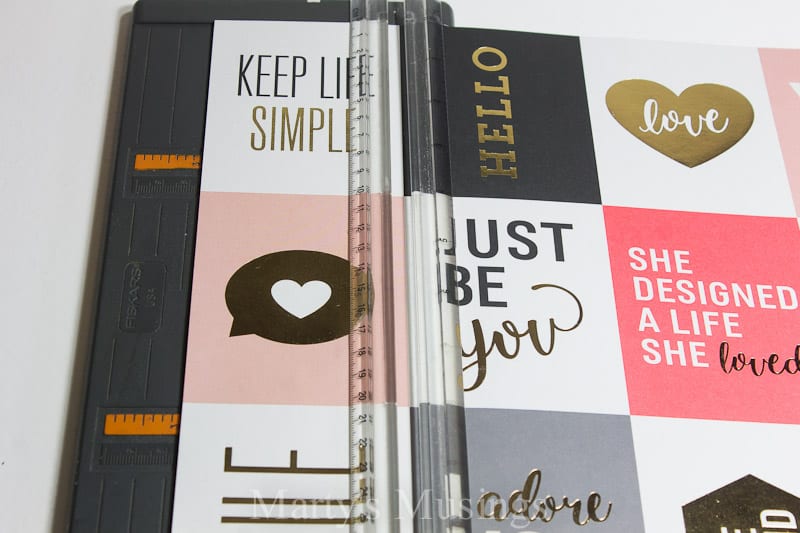
Step 4: I cut a couple of frames out of the cardstock sheet.

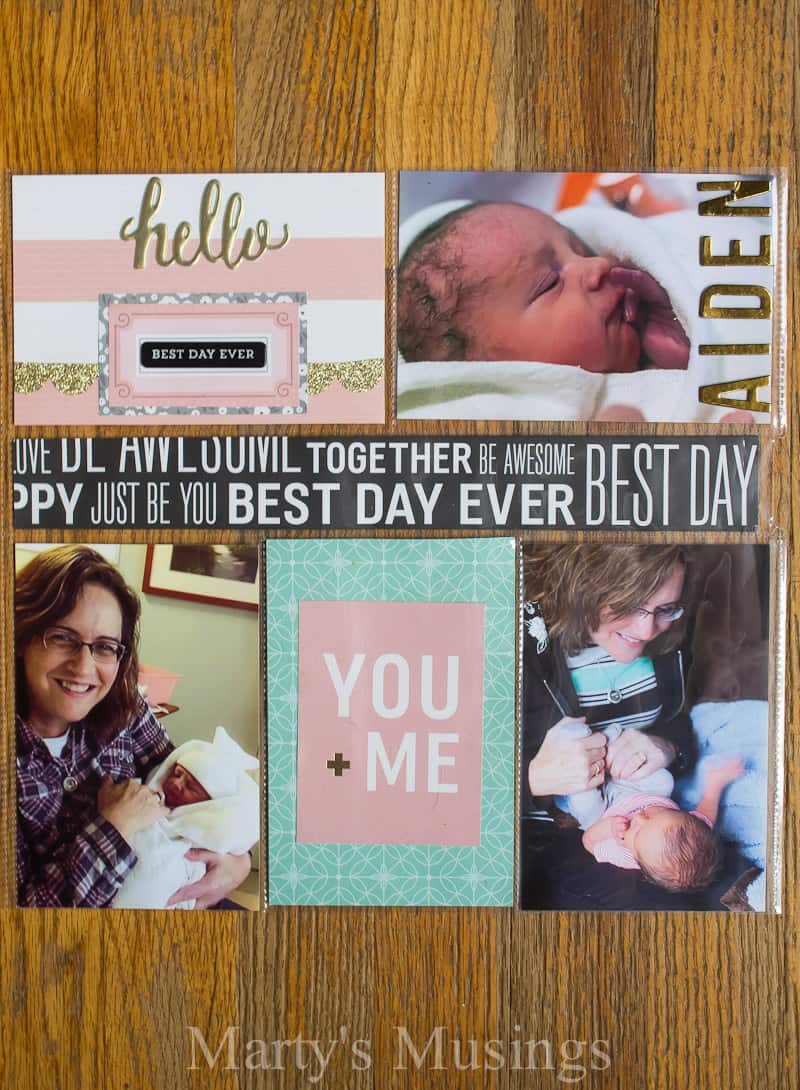
Step 5: I then added a puffy sticker to the frame and matted with coordinating paper. I cut out a 4×6 piece of paper, added the hello sticker, frame and a strip of decorative tape.
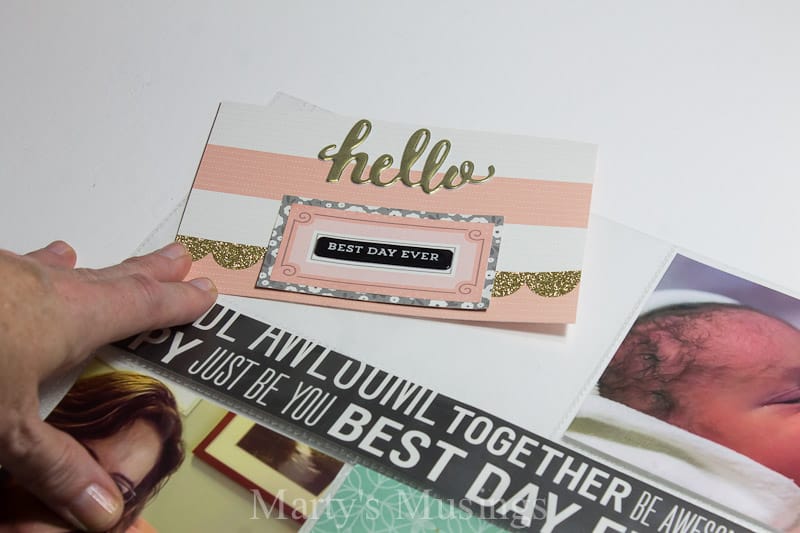
Step 6: I added Thickers to the outside of a pocket (my grandson’s name) and a narrow strip of cardstock for the open center section. I then glued the 3×4 card to a 4×6 piece of cardstock and inserted everything into the pockets.
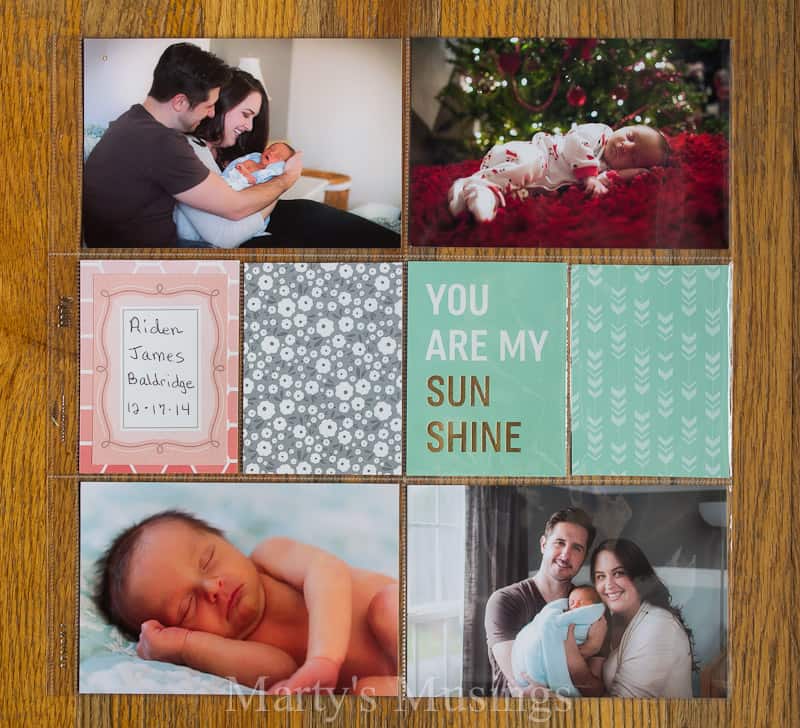
Step 7: I matted another frame and wrote out my grandson’s full name and birthdate. I like to have my handwriting in my scrapbooks even if it’s not pretty!
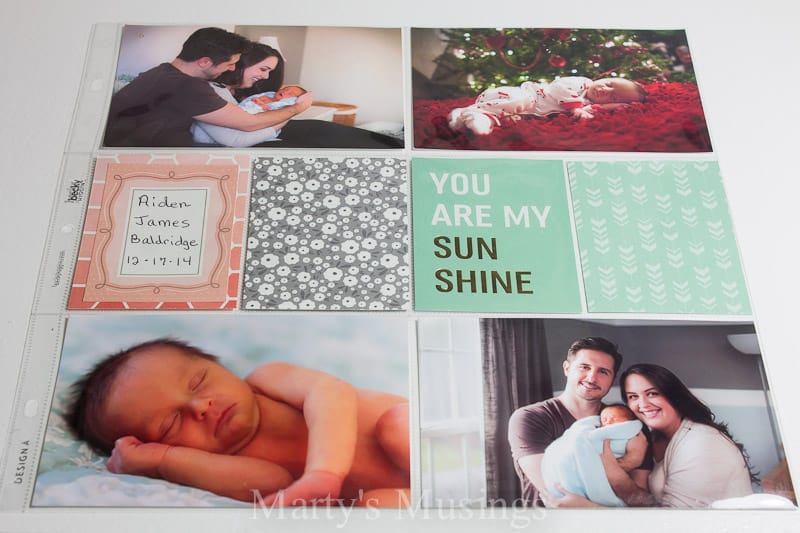
I added the rest of the cards and pictures and the pages were done!
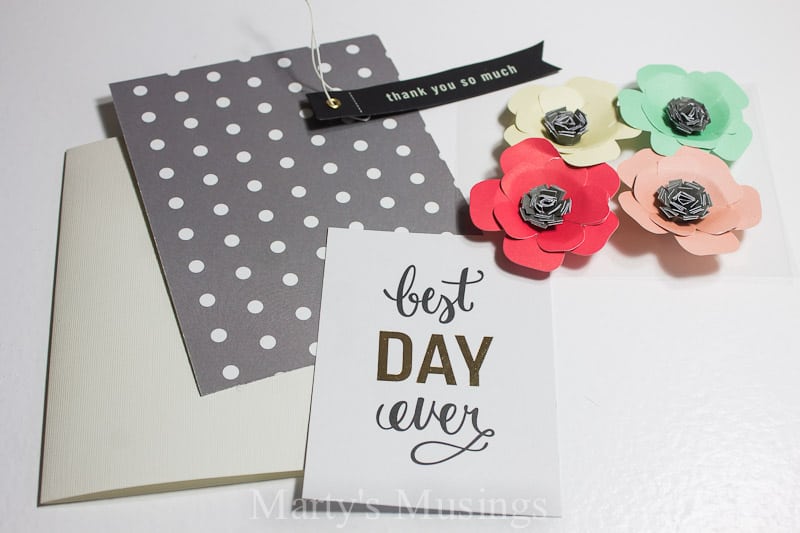
For a little bonus I threw together a quick little card from leftovers! I save my scrap papers and embellishments and whip up a card whenever I can.
Card Supplies:
8 1/2 x 11 cardstock
Scrapbook Papers
Tag
Flower Embellishment
1 Brad
Glue Stick
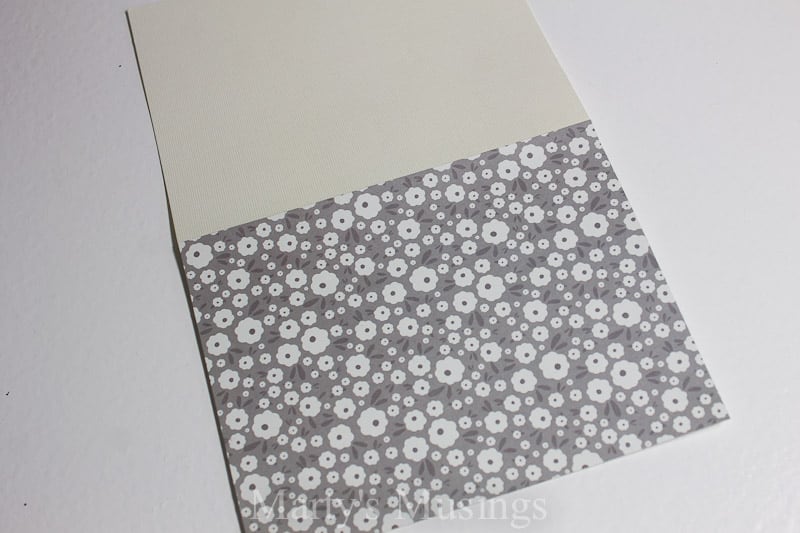
Step 1: Cut the 8 1/2 x 11 piece of card stock in half and glue a 5 1/2 x 4 1/4 piece of patterned cardstock to it as shown.
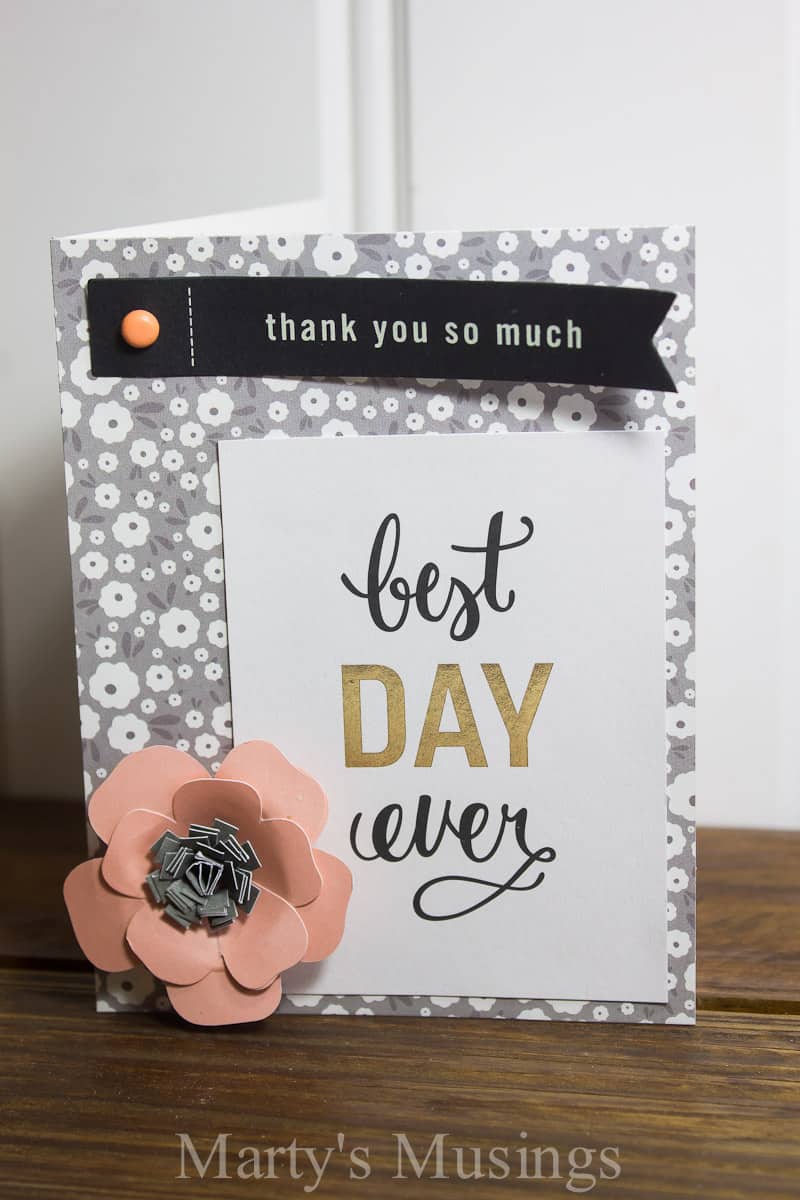
Step 2: Glue one 3×4 saying and add one tag attached with a brad. Add a flower embellishment.
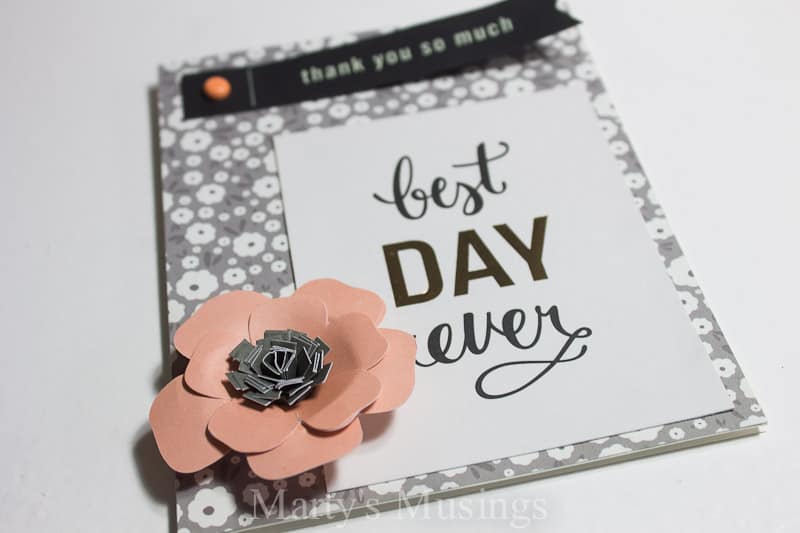
You’re done! This card would be perfect as a thank you for a wedding or baby gift.
This post contains affiliate links.

Hello! I love that layout, the two horizontal and three vertical. I pocket scrapbook too, but I can’t seem to buy this layout style anywhere. Do you know who makes it? Can you tell me? I need to buy more so badly! Thanks!
Hi, Elizabeth. I couldn’t find the exact protector but this one is similar. https://amzn.to/3aNuUVk I think the brand is We R Memory Keepers but I’m not totally sure. Hope this helps!
I always have loved the idea of crafting. I have loads of ideas but never seem to find the time to do them. I have notebooks of ideas from way back when. Maybe some day I can actually get around to doing all the things I want to do. Sort of my bucket list I guess it would be, wouldn’t it? It looks like I better get started. Times a wastin’.