How to Tile The Shower Yourself: Part One
This post may contain affiliate links which won't change your price but will share some commission. Read more here.Disclosure: I was given product from Bondera Tile Mat Set to use in tiling our shower. The opinions expressed here are my own (or my husband’s!)
Don’t forget to check out Part Two of our DIY Shower Tile project!
If you follow me on Instagram, Facebook or Twitter you know we gutted our bathroom a few weeks ago, minus the toilet and tub.
It was our first bathroom remodel and I can’t wait to show you the reveal. But for now, I wanted to share the project that makes my heart flutter.
(Yes, I’ve discovered my love language is DIY!)
~drum roll~ it’s our bathroom shower!
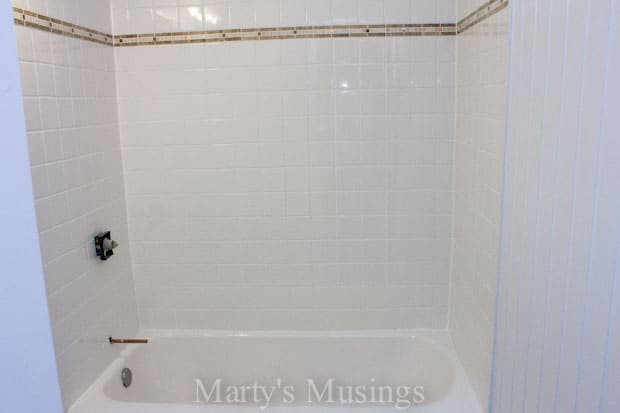
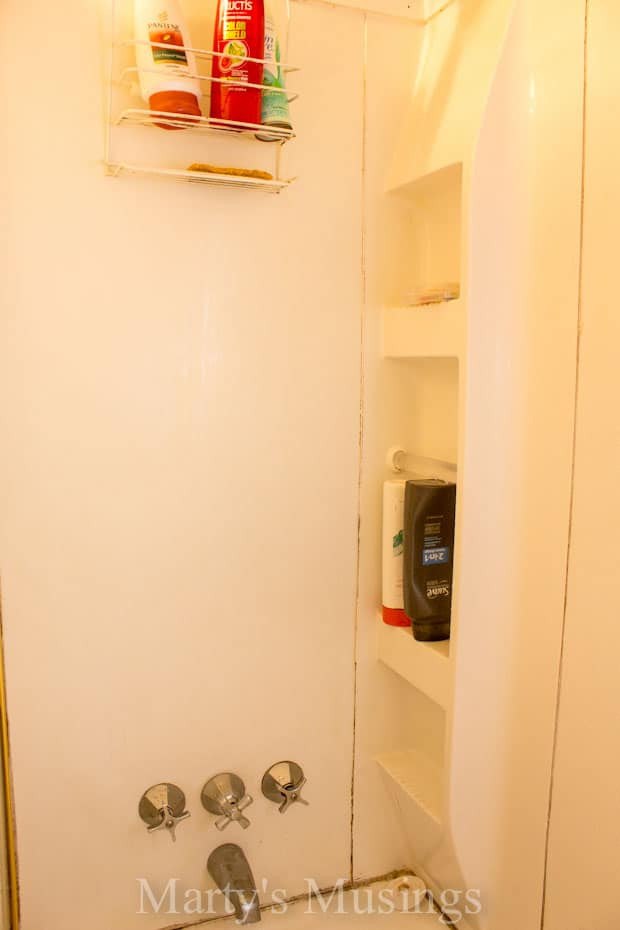
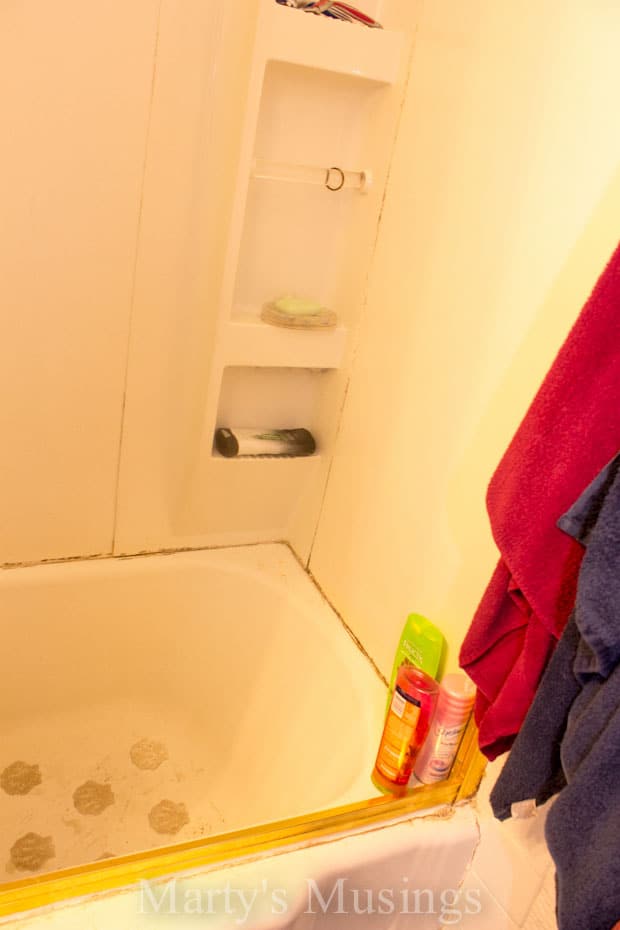
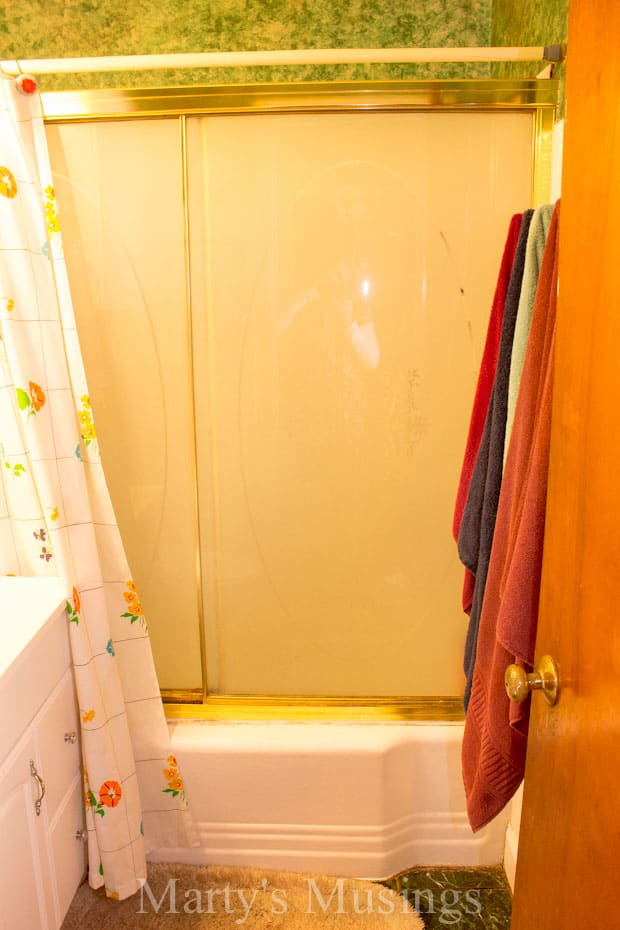
Don’t you just love a good before and after? Well, this one just makes my skin crawl! Please don’t judge me on these before pictures. I really did clean the shower, but the caulking wouldn’t come clean and the shower kit was so trashed.
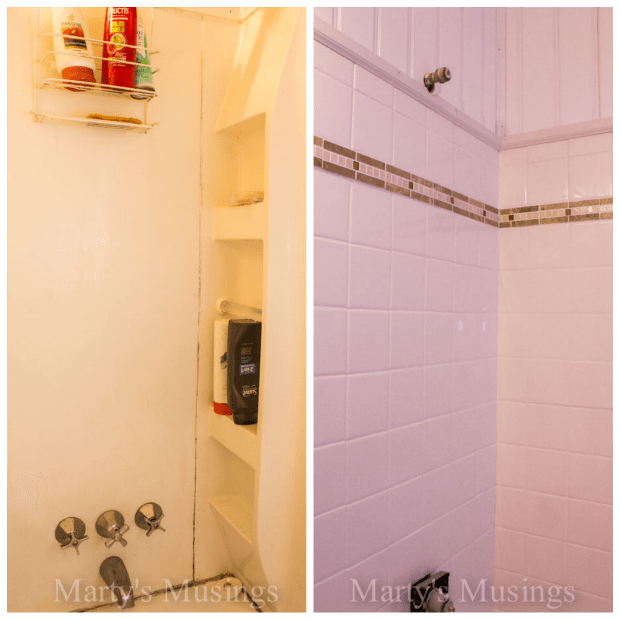
The whole reason for gutting the bathroom (minus the tub and toilet) was because this horrid lovely shower kit had a leak that was rotting the floor beside the tub.
Tim and I struggled back and forth about whether he would tile it himself (something he’s never done before), try to find another shower kit or just gut it and hope for a miracle intervention.
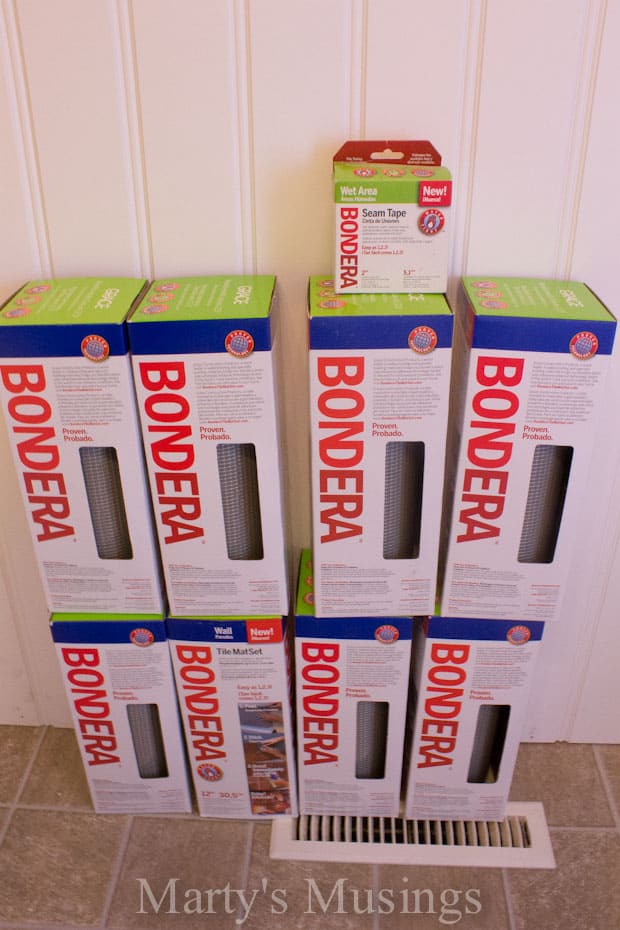
At about that same time Bondera offered to supply the adhesive for us and we snatched up that deal before they could change their minds!
And because the tutorial is so involved I’m going to just have my hubby start with part one.
HUBBY HERE:
If there was ever a DIY project in our home that demanded imagination and vision beyond the present condition, this was it! This little bath had undergone some minor facelifts over the years, but the time had finally come to go big and go deep. For me, that meant all the way to the studs! And I will confess to being quite apprehensive at virtually every step. Each process, each hammer blow, each revelation took me deeper into the unfamiliar. And yet, isn’t that part of the thrill for us DIY-ers?!
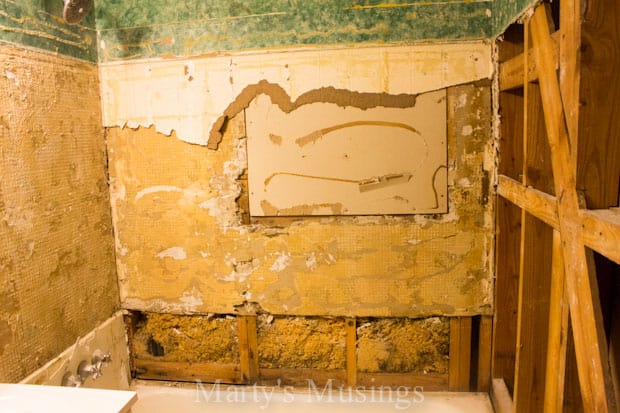
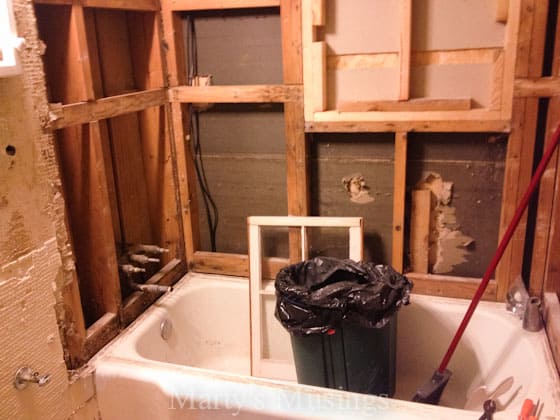
I was well into the horror by this point! I was guilty of putting the cheap shower surround in years ago out of necessity, but I was shocked to recall that underneath was just plain old sheet rock and that tempered masonite that is supposed to look like tile. With zero tile experience, I was already beginning to feel the hairs on the back of my neck stand up. But at this point, it was still demolition.
That big square on the wall used to be a window apparently; that wall was originally the exterior of the house but now backs up to two bedrooms and a large den and hallway. That explains that old insulation you see at the bottom, right above the tub line. Oh, and the two holes in the bottom left corner of the insulation…critter homes. Nice!
(Marty here. My hubby did not tell me there were critters in our walls! He let me read it on my own blog. Dastardly, that’s what he is!)
There was such a mixture of surfaces and sub-surfaces in this space that we really had no choice but to gut it and start over. Here is a good shot of part of the vinyl tub surround, the old 4″ x 4″ ceramic tile, and the pattern left by the little mosaic tile that ran 5′ up every wall…with about eight coats of paint on it. This gives you a pretty good idea of the general nastiness of the project.
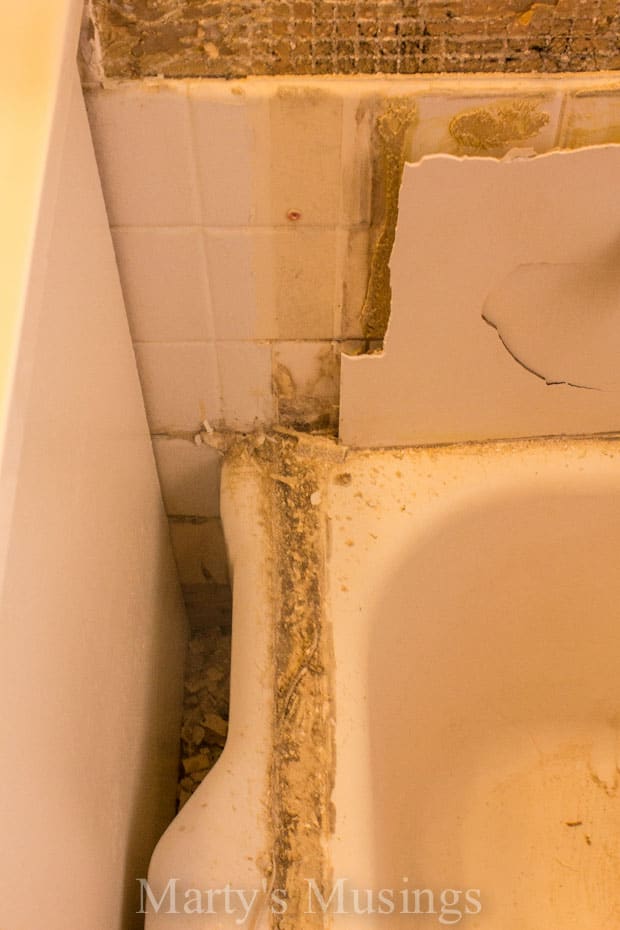
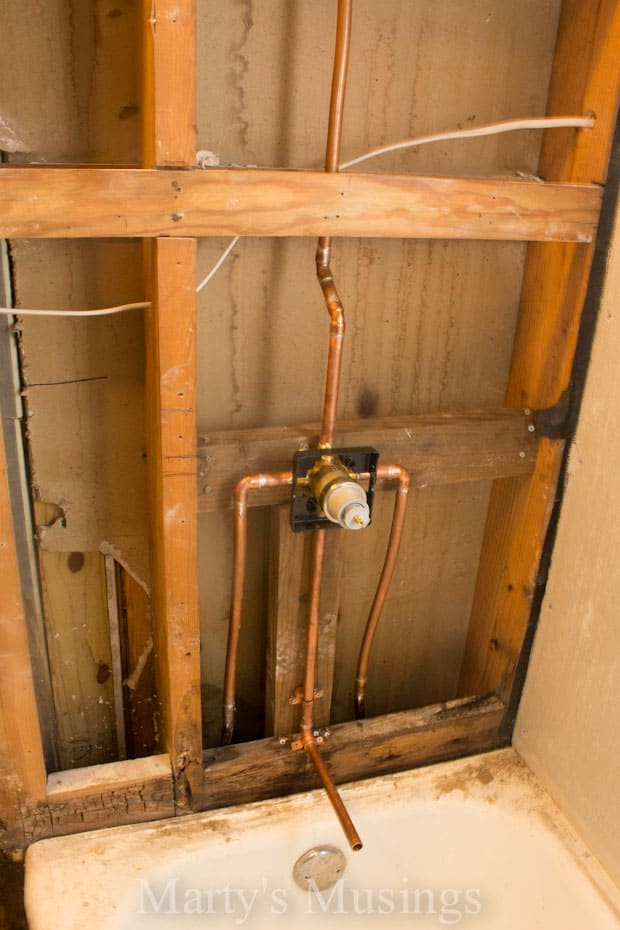
The only things we salvaged was the tub and the toilet. Amazingly, the floor under the tub was solid and the tub itself was astonishingly level in every direction. I would later discover that this is critical in tiling. This home was built in the late 1940’s, so the decision was made to go ahead and replace as much of the original plumbing as possible and also update all the electrical. I don’t do plumbing…hate it…too large for small spaces…can do everything right and still get it wrong. Hired a plumber. So, we’re close to beginning the re-build here and just taking advantage of the open walls. I also installed a GFI receptacle near the sink and put a ventilation fan and light in the ceiling.
Just some of that plumber’s nice work. Notice we went from a three-handle setup to a single-pull Delta unit. The reason? I knew that just down the road I was going to have to cut holes in the cement board and the ceramic tiles. Three holes – bad. One hole – very good.
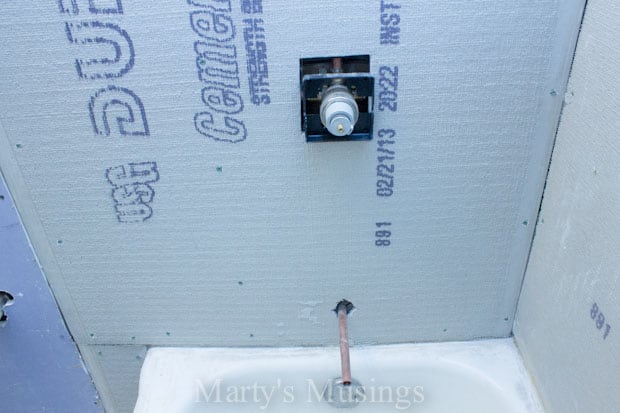
Things began to get a bit exciting here! Installing the Durock was not difficult, but it does need to be cut outside and you do need to protect yourself from the air-born particulates. The only real concern at this point was to establish where level was and then maintain it. Since the tub was true, I just ran everything off the tub line. This was a real blessing, since everything else could have gotten pretty squirrely and more complicated, especially using the Bondera product, which I’ll explain shortly.

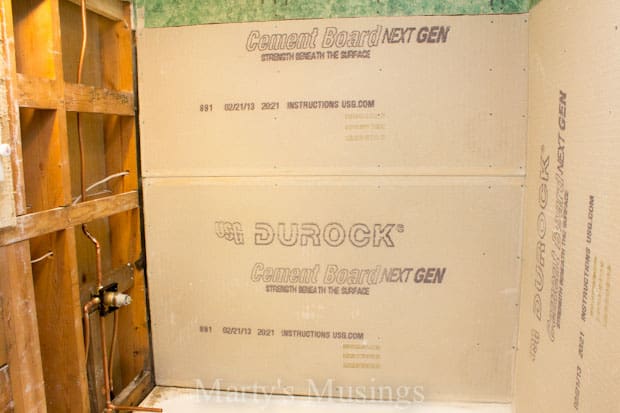
Yup! That one hole cut was just the right idea. The lower hole is the spigot. I don’t know why the color is so different on the walls in this picture, but it is all the same Durock product (1/2″ to match the sheet rock that I decided not to remove). I used #2 square head screws to fasten the cement board to the studs and actually stapled roofing paper underneath first (that black stuff that goes under the shingles). I had some left over from a previous project and thought it sounded like a good idea. No picture of that step, sorry…the photographer was on an errand.
Notice that I ran the cement board down beside the tub all the way to the floor. This seemed like a good idea so that I could continue the ceramic tile there as well and maintain the water barrier. It is also important to note here that I ran the cement board OVER the turn that was built in on the tub line. So, where the tub stops it makes a slight upward turn in an L-shape to direct water AWAY from the wall. Installing the cement board over that turn assists that premise. I also caulked along the tub line right after the cement board was installed. There is an old saying that goes, “Water always wins.” Well, not in my tub!
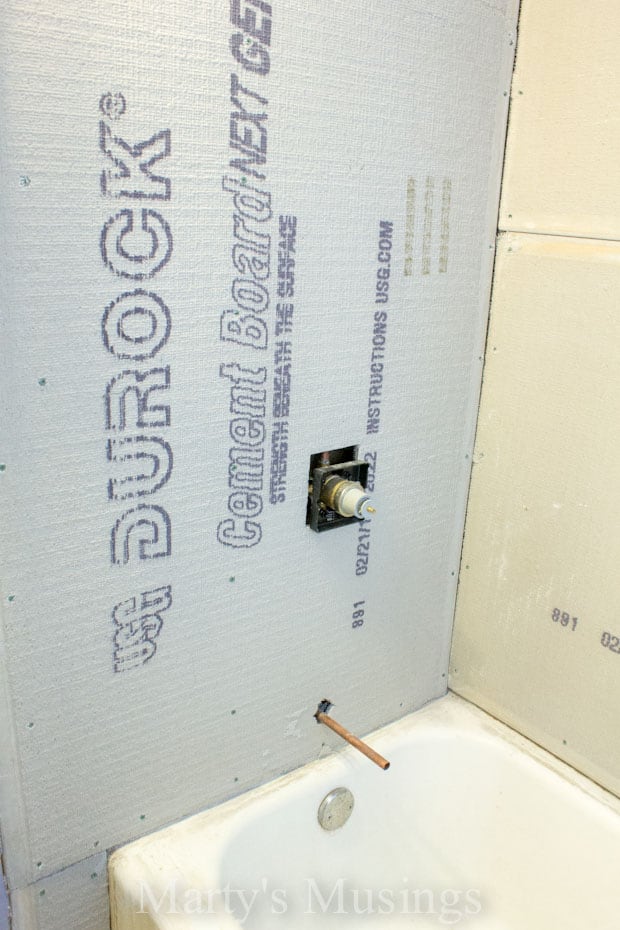
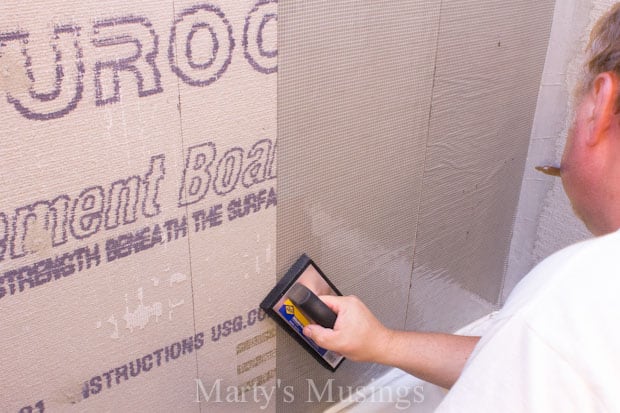
There is a lot going on at this step! The cement board is completed and all the seams have been covered with mortar. The installation instructions for the cement board insist that the corners NOT be caulked – they also must have mortar. I have also covered all the screw heads with mortar and anywhere I even thought the integrity of that surface might have been compromised. Cement board is quite brittle and can crack if mishandled, especially in the cutting process.
The green faux painted area is sheet rock that I decided could stay and just match up to the cement board (1/2″, remember?) The black lines are where I had marked the studs to insure proper placement of screws. You can also see the caulk line right where the cement board meets the tub.
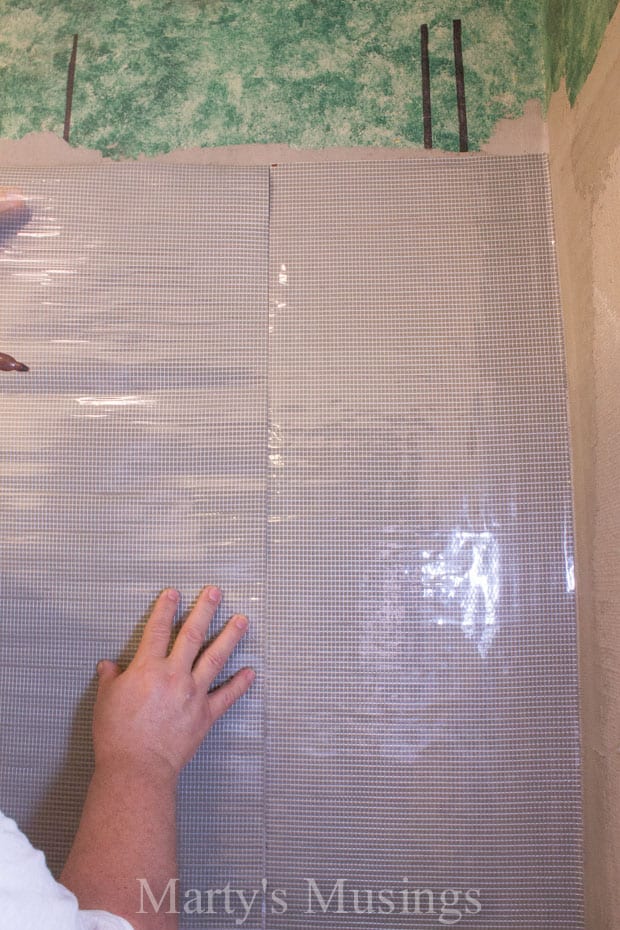
That shiny silver column is the fabulous Bondera product! It comes in a 12″ x 10′ roll (so it covers 10 square feet). It is double sided with super sticky stuff that allows it to stick right to the cement board but also receive the ceramic tile. For installation, both sides are covered with protective film.
Measure out how much you need and cut it (I just used a razor blade), remove the backing from the back side and press it to the cement board. It is CRITICAL that you not let this stuff stick to itself! Bondera gives you little sticky tabs to apply to the corner of the protective film to get started. As you peel it off at a diagonal, you apply it to the wall. Do NOT remove all the film off and then try and apply! Their instructions are great and quite clear on installation tips and techniques.
I need to contact Sherwin Williams about free publicity!

The folks at Bondera also tell you not to overlap the seams. Just get it as close as possible and straight. They highly recommend using their seam tape in waterproof applications and that is what I did. Every seam got tape and every corner got tape. Unfortunately that tape is clear, like packing tape, so you can’t really see it.
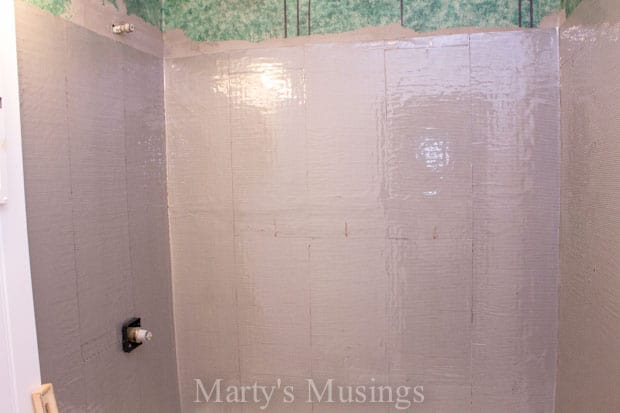
Just applying the next row here. Notice that I actually ran the Bondera above the end of the cement board and onto the existing sheetrock. I wasn’t going to tile that high, but I wanted the waterproof seal. Not sure if I’m supposed to mention this now, but everything above the tile line would all get covered with beautiful premium bead board!
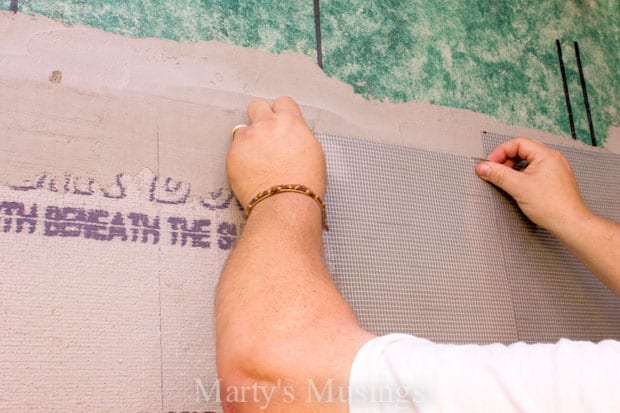
The only reason that these two rows don’t match up is that I was running tile 5′ up the wall from the tub line and I actually went a bit higher with the Bondera. Since it comes in a 10′ roll, I just cut a small piece and evened everything out.
It is also suggested that you press the Bondera into place for 5 seconds to secure it. Here I am using the grouting float to do that. They also want as many of those wrinkles gone as possible.
Cutting the marked Bondera on the side of the tub with a razor blade. No worries, the tub would later get re-glazed.
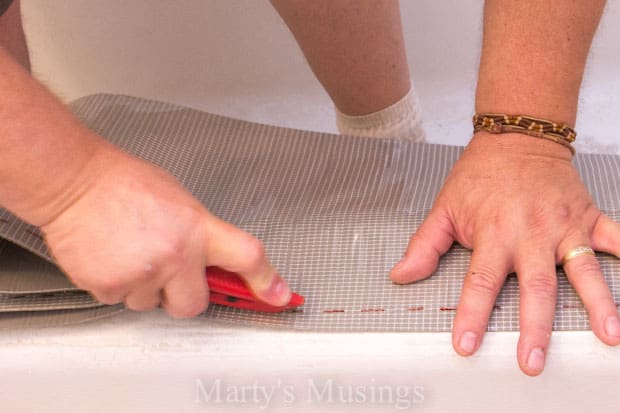
I decided to mark all the seams with a marker so I didn’t forget any in the taping process. It really wasn’t necessary since I remembered where they were, but I tend to be a bit more anal particular as I go through some of these DIY projects. Besides, I was determined to not have any water problems in this tub years from now. Taping every seam made perfect sense to me. Plus, you actually peel the front protective film off BEFORE the seam tape is applied, so all the marks disappear! Duh…
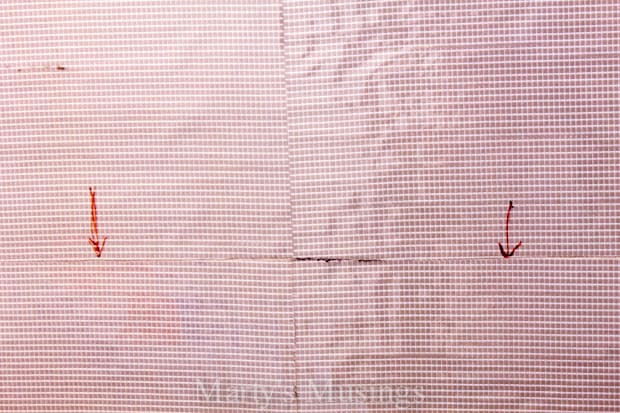
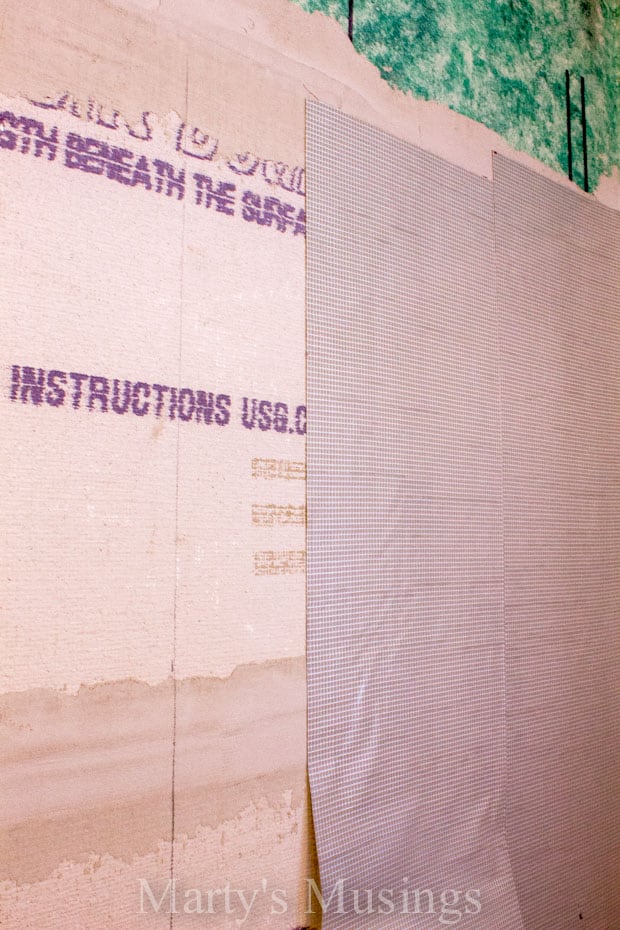
So, here we are, ready to receive the tile! It is important to note that Bondera only allows tile up to 6″ x 6″ for vertical applications. So, for those of you professionals that like the 12″ x 12″ stuff, Bondera is apparently not an option. My guess is that it is just too heavy.
Anyway, the front protective film has not yet been removed here, nor has the tape been applied (see the arrows where the seams are?). The film is removed and tape applied only immediately before the tile is applied. This prevents the outer surface from drying out and preventing a good bond between Bondera and tile. I found the Bondera to be remarkably easy to use, even though I had no previous tile experience of any kind. For this type of application I would highly recommend it!
Marty here: Wow. After reading my hubby’s tutorial I’m even more impressed, and I don’t even understand a thing he said! He’s so analytical and detail oriented. I can’t even cut a straight line on a piece of scrapbook paper! I guess that’s why we make a great team. This bathroom remodel was a total team effort, and I’m lovin’ the results!
So stay tuned for Part Two! (Go here to read the rest of the story!)
READ ALL THE POSTS IN OUR SMALL BATHROOM REMODEL:
- Rustic Small Bathroom Reveal
- Fence Board Bathroom Cabinet
- Bathroom Old Window Mirror and Glazing Tutorial
- Built-in Bathroom Storage
- DIY Shower Tile Part One (you are here)
- DIY Shower Tile Part Two
- How to Install a Bathroom Exhaust Fan and Electrical Outlets
- How to Install Beadboard Paneling
- How to Install an Interior Door
I love your blog and I came immediately to this post as I’m looking to help my sister with a bathroom re-do as well. It was very informative and I’m looking forward to Part 2! I love DIY too! 🙂
Hi Anita! Thanks so much for visiting Marty’s Musings, and I’m glad you found some helpful posts. The rest of the shower retile should be up soon! Have a great day!
Everybody I know who’s used this product says they’ll never go back to thinset!
Can’t wait to see the finished product!