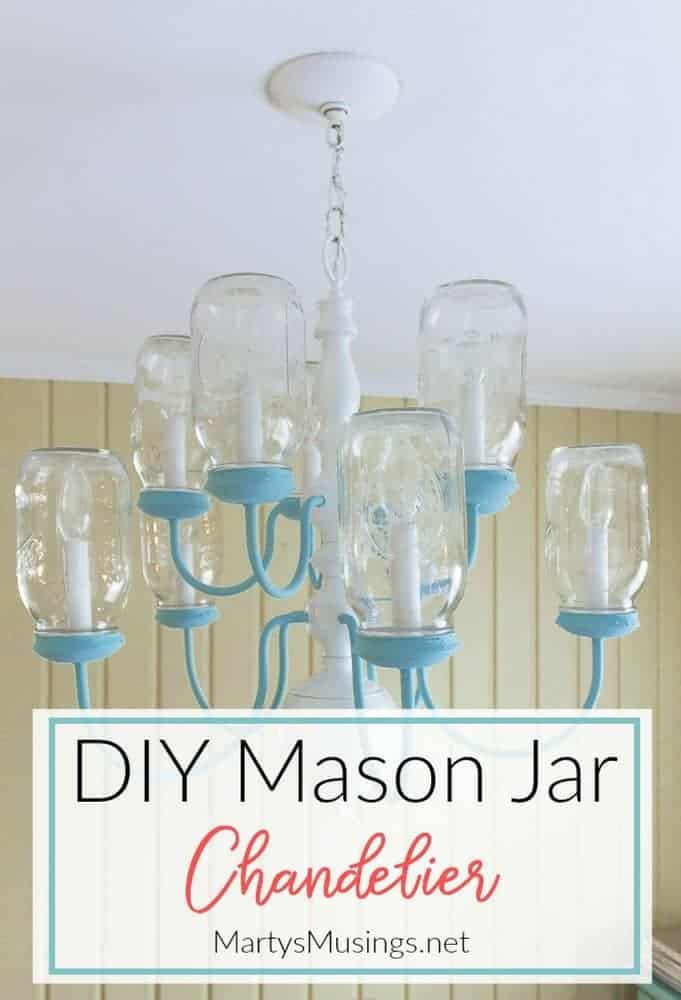
DIY Mason Jar Chandelier Tutorial
This post may contain affiliate links which won't change your price but will share some commission. Read more here.Have some extra mason jars and an outdated chandelier? Turn them into a clever chalk painted DIY Mason Jar Chandelier for a unique shabby chic look!
I’m so excited to finally be sharing our DIY Mason Jar Chandelier! With all the seasonal projects I’ve been working on I was waiting until I had enough time to devote to this post. So here it is from my handy hubby Tim!
DIY Mason Jar Chandelier
Tim: Let me start by saying that this DIY mason jar chandelier is not for everyone, for a number of reasons.
Not everybody has a spare chandelier hanging around (hah! get it?), nor a design template to accommodate a mason jar conversion. But the difference was quite amazing and was perfect for where we were going in our kitchen.
As a painting contractor, I have access to a lot of throw-aways as people undertake a remodel. Their trash – our treasure! The only difference is imagination…and Pinterest!
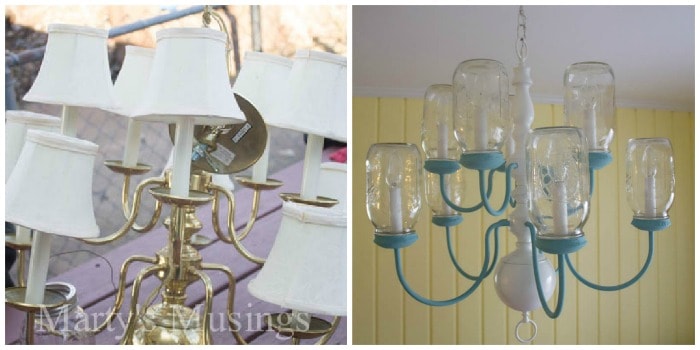
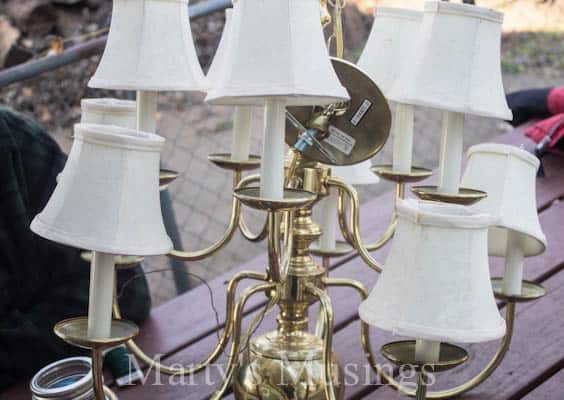
I got a number of fixtures from a client that replaced many of the older fixtures in their new home. This was a 10-light brass chandelier with cloth shades; pretty, but pretty dated. With some Pinteresting launchpads, I went to work fleshing out just how I could make the transformation.
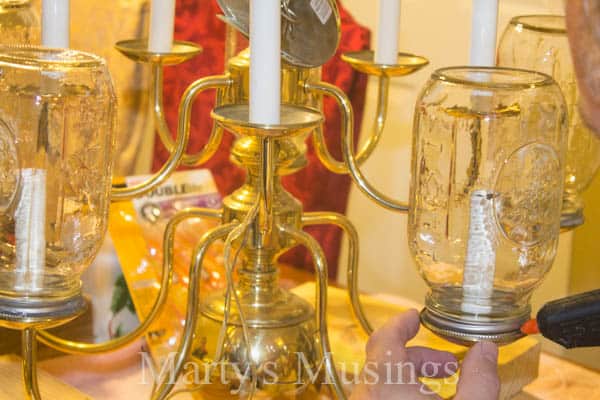
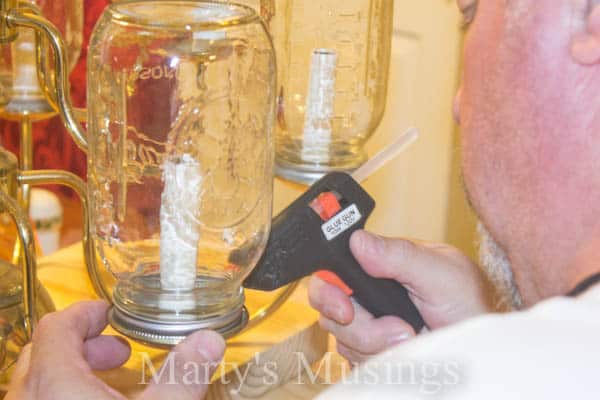
The big challenge was how to make the mason jars work. Incredibly, the little platforms around the fake candles were the perfect size to accommodate the rings for the mason jars. This was HUGE, and set the stage for the entire fixture.
I began by hot gluing the rings upside down onto the platforms and checking to see if they would support the weight of the quart jars. I was also concerned about the added weight of ten jars, but neither turned out to be an issue.
There was some concern about heat, too, but I backed off the bulbs and reminded my bride that mason jars are made to withstand the sustained heat of the canning process. I would also decide later to install a dimmer on this fixture.
An important consideration while working is balance; it’s almost like tightening lug nuts on a tire! You install on one side and then work on the opposite side. This keeps the fixture balanced and insures stability as you work.
Worthy of note here as well is the fact that I had to select a very specific bulb that was short enough to not touch the mason jar. Not a big deal, but important if you are using this as a tutorial for your project.
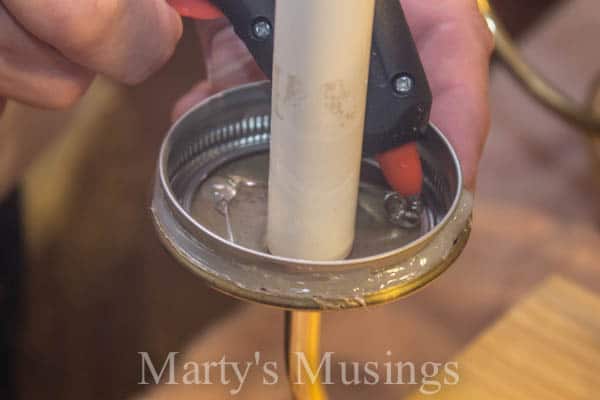
This doesn’t have to be really pretty at this point, since there was painting yet to be done. You want a good bond to support that jar, remembering that you still have to unscrew it to install/change bulbs.
Yikes! Look at all that glue! Not to worry – remember there is paint to follow.
I made the decision that I would use caulking (yes, painter’s caulk) to smooth out the transition between ring and platform and it worked beautifully. That step is down the road a bit.
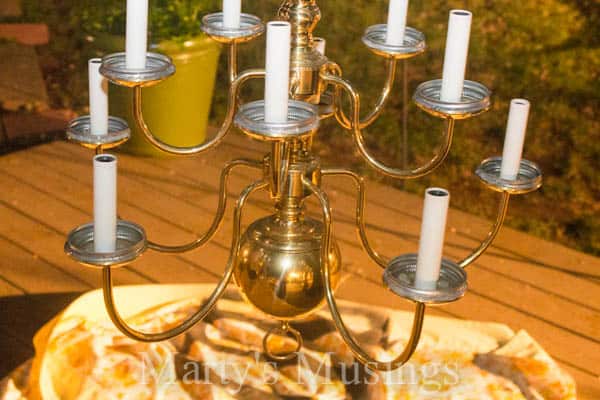
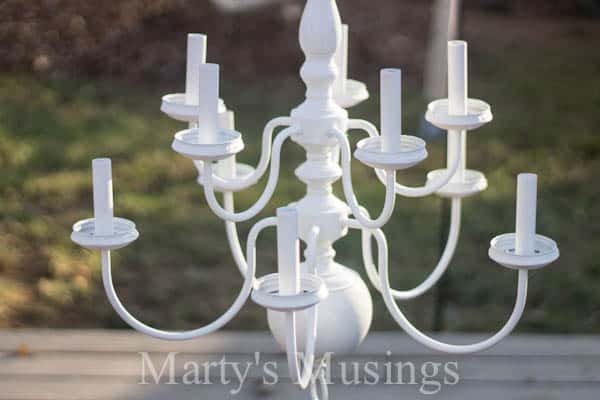
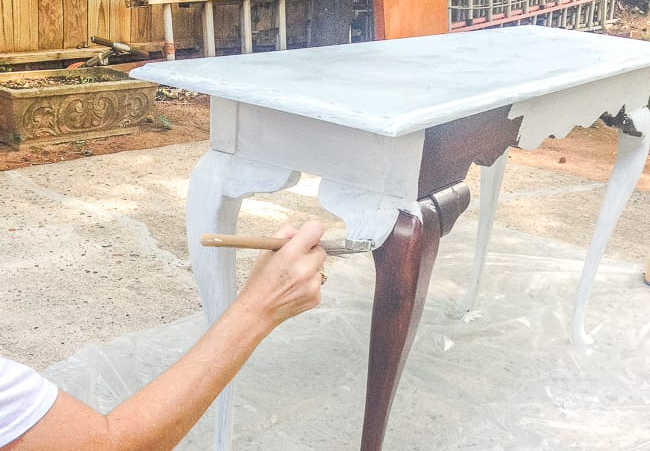
So, here we are, ready to begin the painting step. All the rings have been secured, jars removed, and the fixture now hangs from a tree above the deck outside. The key word here? Outside! (Yes, it was at night.)
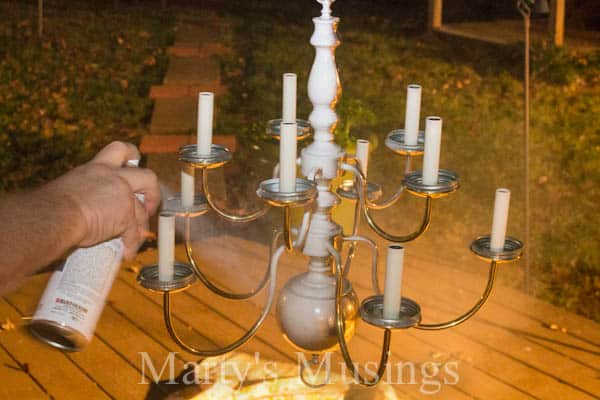
I used a Zinsser aerosol primer over everything first. Notice that nothing was taped off. I wanted a coat on everything, even the white “candlesticks”.
You don’t, however, want to spray down into the bulb sockets – it almost looks like I am, but they are being avoided. I also did not sand or distress the brass at all. No need, as you’ll see.

After the prime coat, everything was top-coated with a gloss white aerosol. No specific choice, just something I had in the shop. You may notice some imperfections still obvious around the platforms. Remember the caulking? Now’s the time!

Probably the messiest part of the project, the caulking was the perfect solution to finish off the platforms. I was also confident the caulk could handle the heat of the fixture.
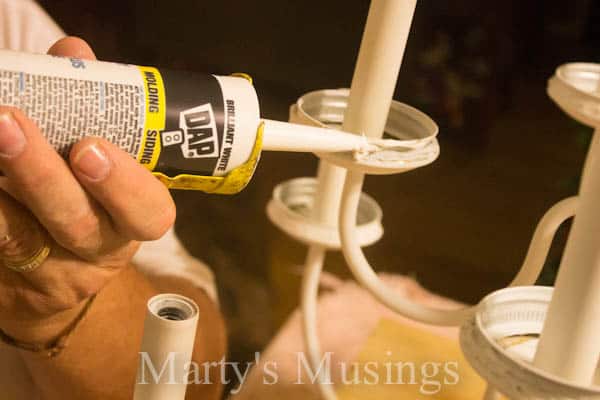
Apply liberally and then smooth with your finger. I went around the entire fixture twice with this step, just to get as smooth an effect as possible. I also have one more layer of paint in the accent color, so any wiggle room disappears after this process.

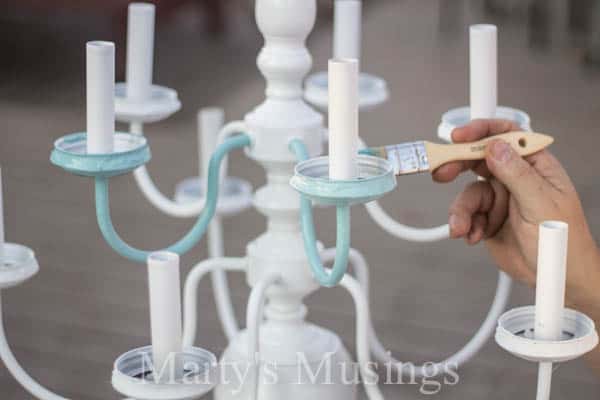
Because the accent color would be applied to all the arms, I needed to go back outside to the tree and suspend the fixture. There was also some white touch-up to cover that caulk.
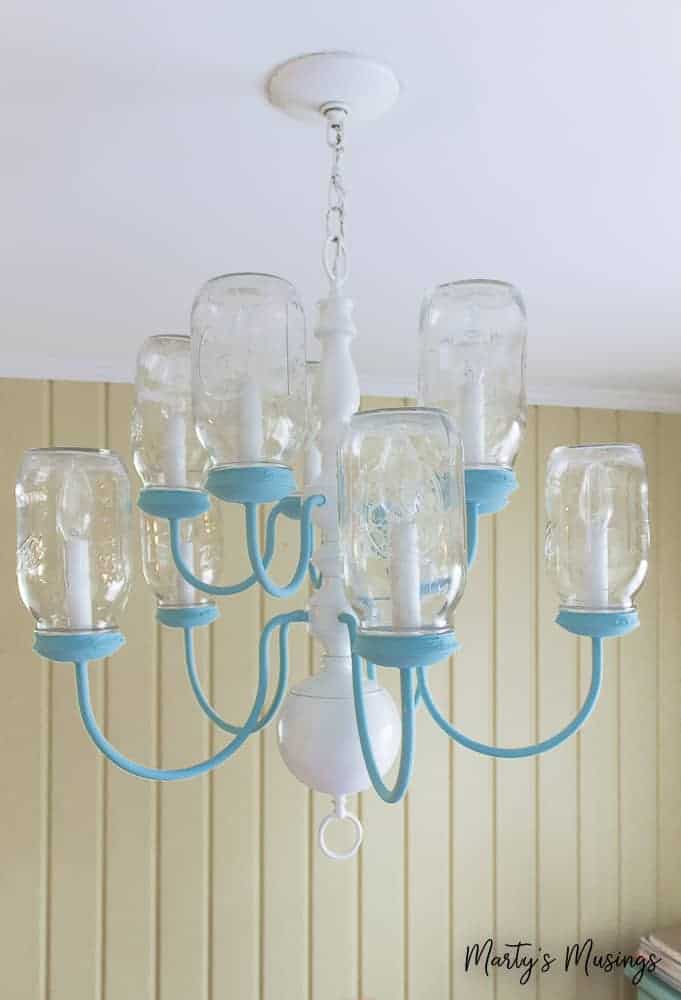
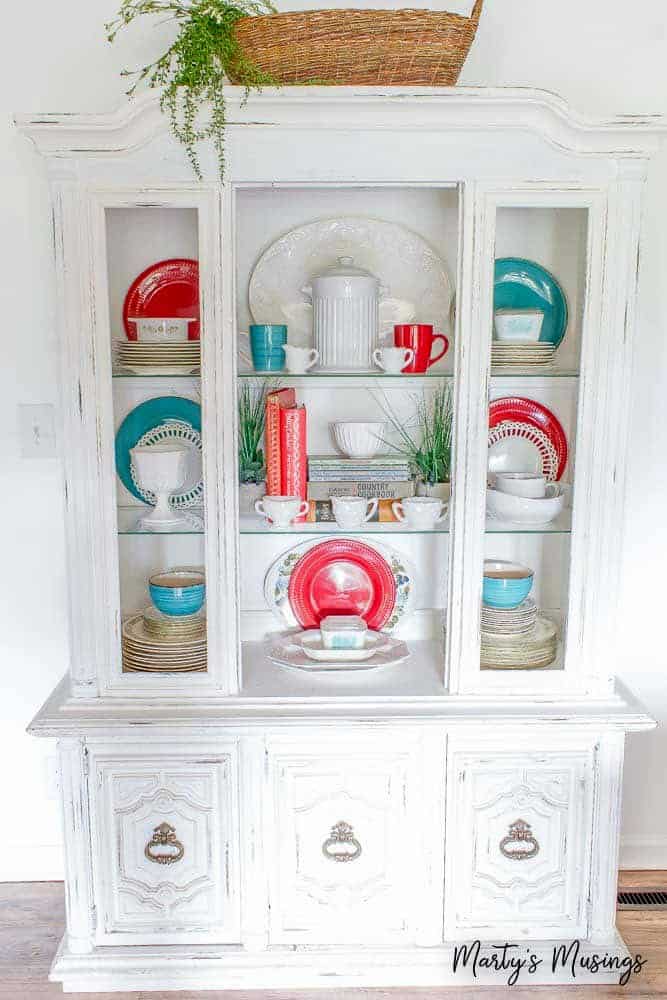
The accent color is actually leftover chalk paint from our china hutch makeover. VERY tedious and intricate at this step, especially since two coats were required, but the end is in sight!
An added bonus of the chalk paint is the flat finish in contrast to the glossy white on the rest of the fixture. The consistency in design color was not accidental, either!
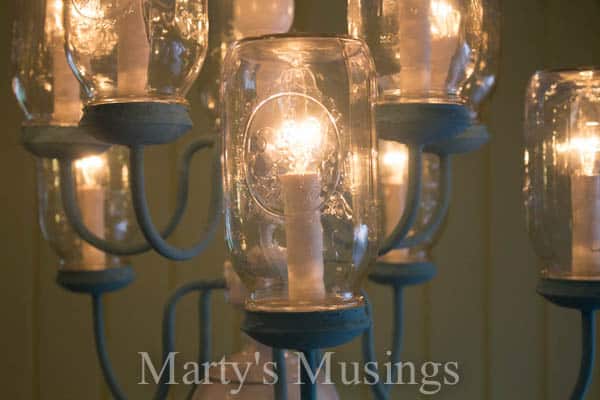
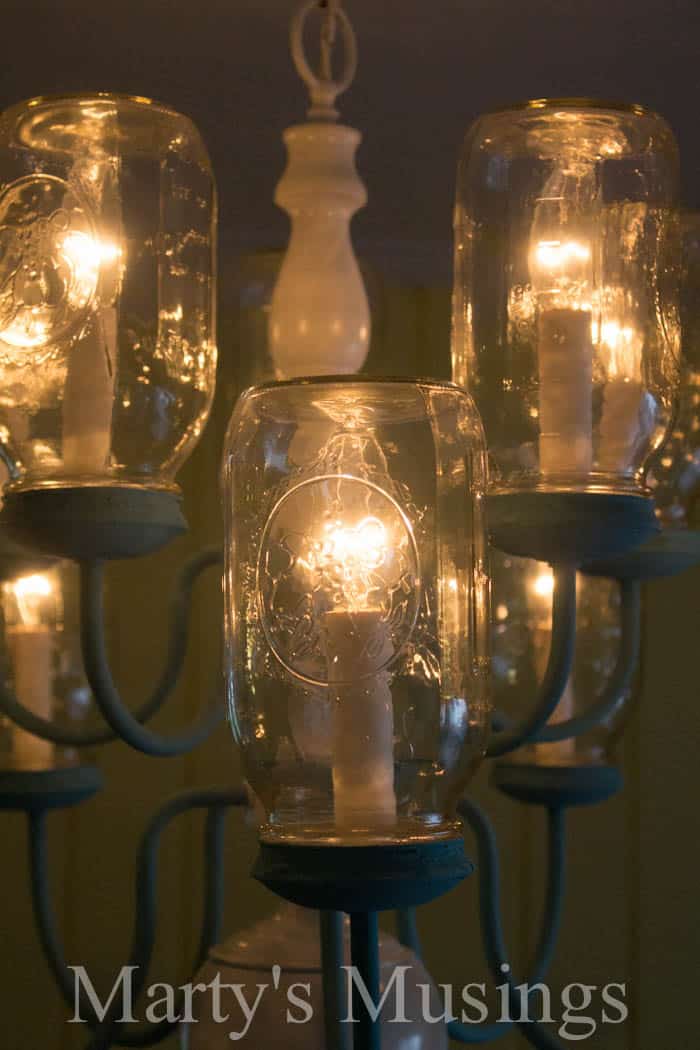
And yet another bit of Pinteresting perfection perseveres! This is such a unique addition to our kitchen and works very well in the space. The light passing through the mason jars creates wonderful patterns in the room, and the dimmer switch simulates candlelight beautifully.
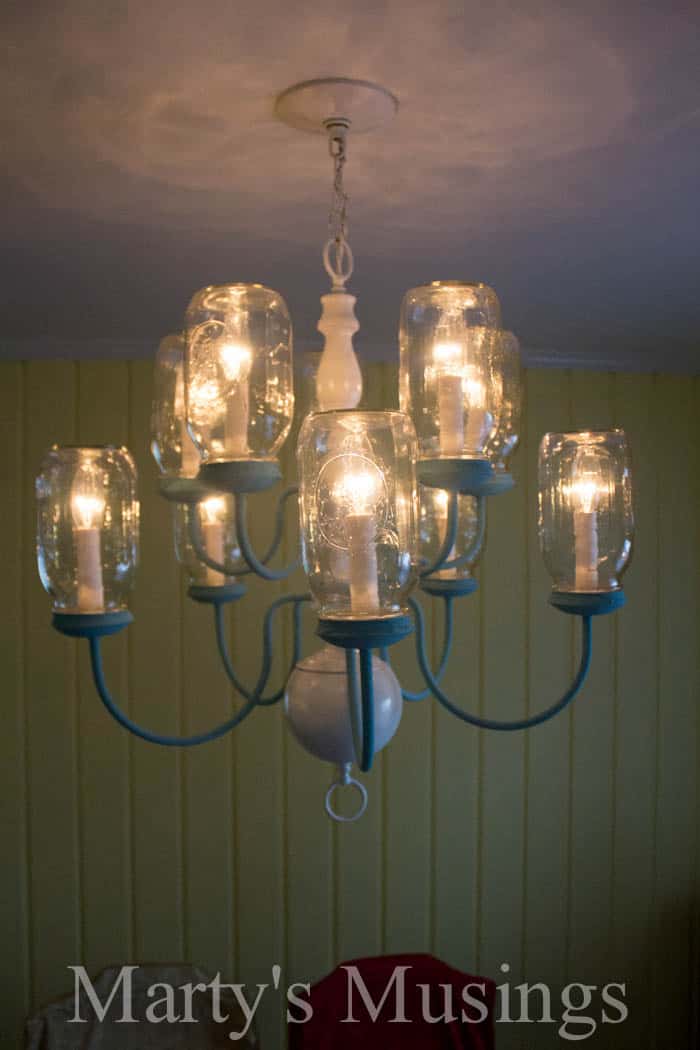
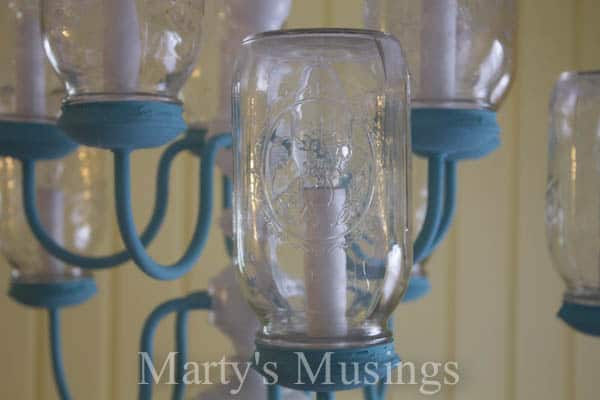
We did briefly consider blue jars, but I was concerned about an artificial overtone that those jars would create. We stayed with the normal quart jars from the local grocery store (and good luck trying to find some out of season!)
So, go get that dusty old chandelier, dump the nasty green beans out of those mason jars, get you some spray paint and go for it! After all, the only thing missing is your imagination!
I absolutely love the dimmer switch Tim installed. We’ve never had one before and it allows us to set the tone when we entertain or enjoy dinner as a family.
I send my hubby Pinterest projects, he creates, I take photos, we write, I edit and together we make a pretty good team.
Cost of DIY Mason Jar Chandelier:
Chandelier free
Mason Jars and rings $10
Chalk Paint (leftover)
Light bulbs $12
Primer $8
Total: $30
That’s a lot of bang for the buck!
***Since we created our DIY Mason Jar Chandelier we’ve totally changed our kitchen! As in, taken down the wall between the living room and kitchen and gutted the entire room, Fixer Upper style!
More Chalk Paint Ideas
Practical painting tips for the home that anyone can use, including chalk painting, accent walls and choosing the right colors.


Very cute Marty!! Thanks for sharing this at my Pin Me Linky Party.
Oh, I love this! What a great upcycle.
Hi Marty ! I just wanted to let you know that we featured your beautiful chandelier at The Inspiration Gallery.http://www.craftberrybush.com/2013/02/the-inspiration-gallery-features_9.html.
Thank you so much for taking the time to share with us….xo
This is very cool and unique. It makes the room look so cheery! Great job.
I love this project. And the best part is the cost!
I love how bright and creative this is. It looks like it puts out even more light with the jar globes.
Thanks for leaving a sweet comment on my mason jar chandelier. I hope you find some other things you like at Marty’s Musings.
Marty
Love this, Marty! Totally charming. I’m pinning 🙂
Jeanette
Looks great, it has a country feel without being overly country if you know what I mean. Thanks for sharing.
Hi, Ches. Thanks so much for stopping by Marty’s Musings and my mason jar chandelier. We love the blue and yellow together and love the casual and bright feeling.
Marty
Very cool up-cycle, and I love the color! Pinning!
I love it! Great job!
Now I’ve seen a lot of mason jar lights but this is by far the neatest. Great job!
Thanks so much, Nancy, for leaving a great comment on my blog and my mason jar chandelier. So glad you liked it!
Marty@Marty’s Musings
This is such a fabulous chandelier idea! I love how you used mason jars and painted it a fun blue color! Great job!
Karin
This is just an amazing project I would never have thought to use Mason Jars on the Chandelier. I will not pass one of these by again and think I can’t do something different with it. Your tutorial is really well written, I think I could even try this! Visiting from Roadkill Rescue.
The color is perfect against that yellow wall. a truly amazing transformation.
Wow, this is probably one of the best mason jar chandeliers I’ve seen so far! Love the light blue color, too. It would be fun to try some sort of mason jar lighting project someday, but I don’t know if I’ll ever be that ambitious. Lovely job! Found you at the Frugal Friday party @ Shabby Nest.
Hi, Amanda! Thanks for stopping by Marty’s Musings and leaving such a nice comment on our mason jar chandelier project. I love it and thrilled other folks like it, too (plus my husband likes the happy comments, too!) I hope you’ll visit again soon!
Marty
LOVE this! Simply love!
Aren’t you the lucky person to have a painting contractor for a husband. I love my husband dearly but I have nicely asked four days in a row to help me move some furniture. Nada!! LOL So you can see I’m a bit jealous!! Very creative project and I bet it wouldn’t be too difficult finding one of those chandeliers at Goodwill or some other thrift store. Thanks for sharing your expertise! And would you want to share your husband? I still need that furniture moved!! LOL
Marty, I love your blue and white chandelier! Beautiful color choice.
Hi, Denyse! I’m so glad you liked our blue mason jar chandelier. It has been fun to try new things and learn exactly what I like (and don’t like!)
I hope blogging is going well with you, too.
Marty
Wow, love this project…and it is perfect chandelier that gives light while you celebrating a valentines to your special someone.
Hey, Emma! Thanks for commenting on our mason jar chandelier project. I’ll definitely be using it this week for our 26th Valentine anniversary!
Marty@Marty’s Musings
A.W.E.S.O.M.E. Hubs and I were talking earlier about how much we love mason jars. The yellow is beautiful with the fabric you chose for your window treatment. How far do you live from CT? 🙂 Since I won’t remember unless I get to read it on the 14th, HAPPY ANNIVERSARY!!!!! Got you beat though, we’re coming up on 36 in May! Of course we’re also older 🙁
Janet
I love it! I wonder if the chandelier in the dining room could handle this process? Hmmm you’ve really got me thinking and wanting this for our home! Thanks, I’m pinning.
Debbie 🙂
Hey, Debbie! Thanks for commenting on my mason jar chandelier. I hope you enjoy it as much as I do if you tackle that job!
Blessings,
Marty@Marty’s Musings
Love, love, love it!! It’s so pretty. The color, the mason jars. Super cute guys!!
And HAPPY almost 26th anniversary to you both!! 🙂
Hey, Shannon. I was going to comment on your blog but it gave me an error message. Thanks for visiting Marty’s Musings and commenting on my mason jar chandelier. It was so fun and I’m so thrilled with my husband’s work. Thanks for the anniversary wishes, too!
Marty
Oh, and love those yellow walls. And, yes, yellow is tricky, but that looks really nice, happy, refreshing, and springy.
Thanks for commenting on my mason jar chandelier and I”m glad you liked the yellow walls. They are certainly tricky, as you said, but I love it! Please come back and visiting Marty’s Musings again soon.
Marty
I’m thinking about using the 12 oz quilted jam jars with LED bulbs to transform our old builder grade brass fixture. I can’t decided if I should attempt to cut the bottom off the jars or not.
Here’s what my husband says, Paula: Cutting glass is always really tricky…and dangerous, of course. I know the jars you are thinking of and the lights certainly wouldn’t be a problem. Ideally you would flip the jars and install the lights into the lid end. However, given that you are asking about cutting off the bottoms, I assume that the first method won’t work for you.
I have had these jars explode in the canning process and, while the breaks were never clean, the bottoms usually came off. It did leave a pretty jagged edge…nothing you could work with in this application. I don’t know how you would cut the bottoms off; grinder, cut-off wheel, or something of that nature. This is thick glass meant to withstand high temp’s, so it is not going to be easy. If you are a DIY-er, use EXTREME caution with full protective gear. If not, take it to a glass pro and see if they can cut you a deal. You’ll also want them to smooth the edges to be safe.
Really cool! Great job!
LOVE it! I think we got a peek at some new valances . . . that pull the yellow and blue together. Looks good!
Can’t wait to see the whole kitchen reveal.
🙂 🙂 🙂
That is so cute! We have a mason jar chandelier that is made from an old wagon wheel. The mason jars face down instead of up. 🙂
This is too cool! The blue looks great against your yellow walls. Great job 🙂