Fence Board Backsplash
This post may contain affiliate links which won't change your price but will share some commission. Read more here.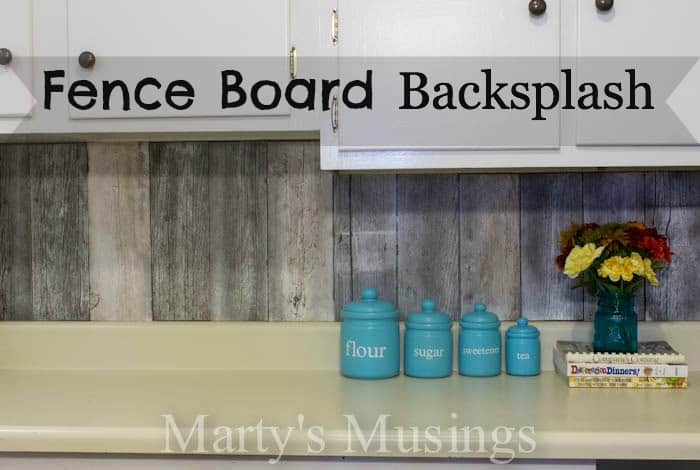
To think it all started from this little jar I bought at a thrift store.
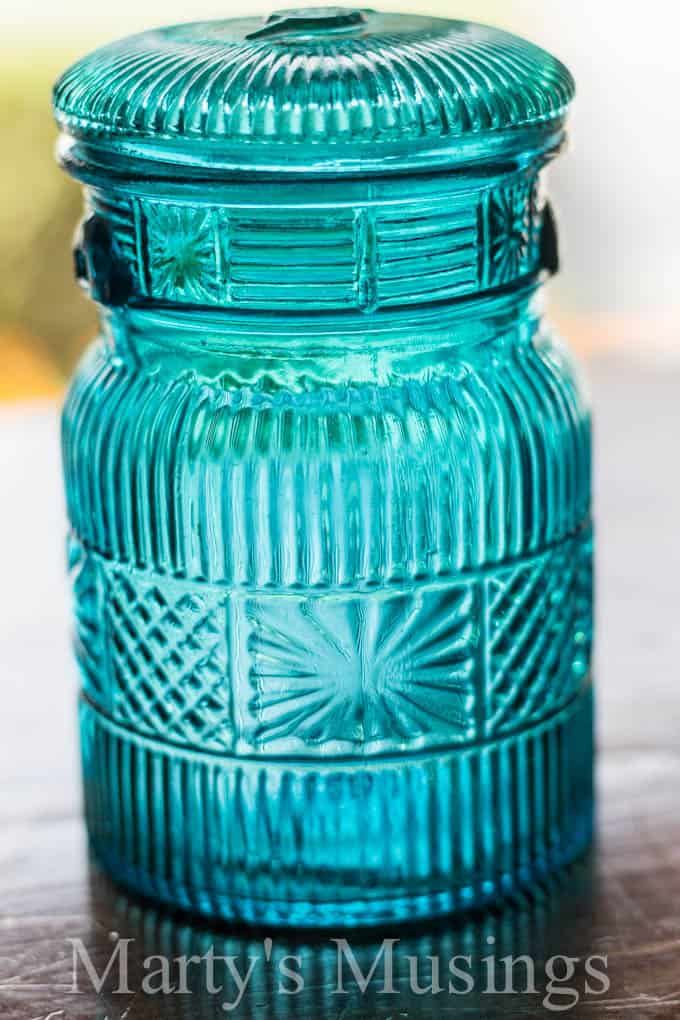
Yes, the inspiration for an entire kitchen makeover came from this simple jar.
I fell head over heels in love with the color.
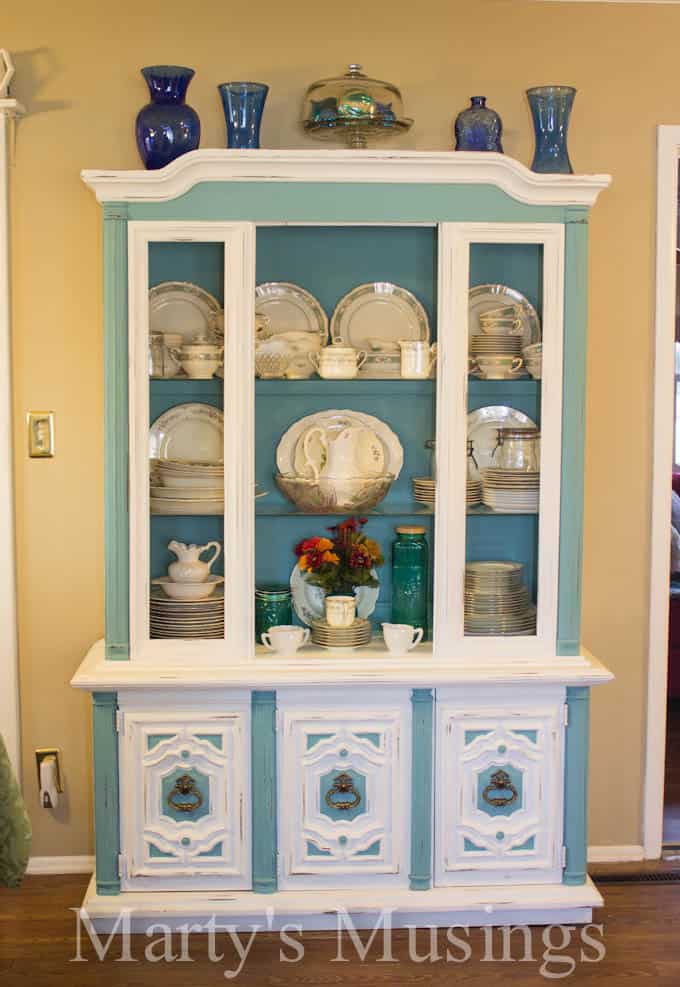
I’ve showed you how it all began with this piece, a chalk painted beauty transformed from a 1970’s dated china cabinet.
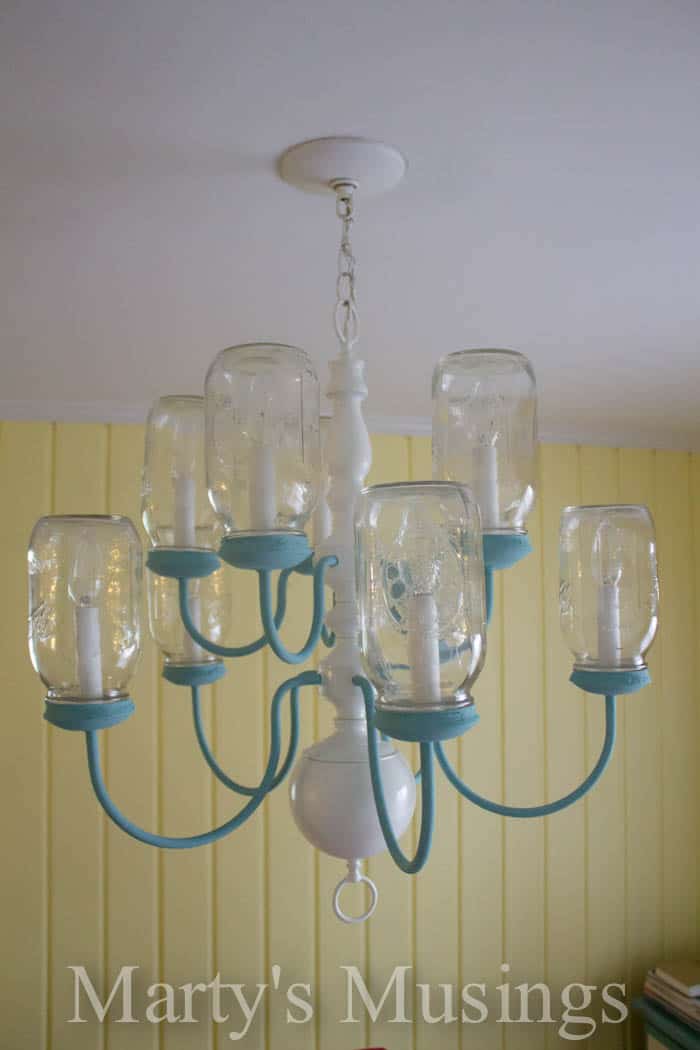
The next project I showed you was this incredibly creative mason jar chandelier, made by my DIY husband.
We’re not done (huge empty wall behind the chandelier for starters) but we have now moved to the other end of the kitchen. This fence board backsplash project replaces what we once thought was a really cute peel and stick tile for the backsplash (just last year) now is an eyesore with the new yellow walls.
My hubby explains his process:
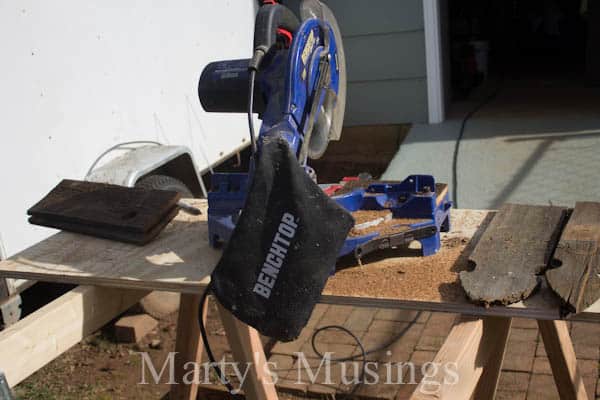
I call this my Pinterest Pile and it is nothing more than raw material screaming for a project! Can you hear it? I salvaged this rather grim looking fence wood from a neighbor’s yard, not knowing what to do with it but not being able to stand the thought of leaving it on the trash truck. Using it to make a table, or something requiring at least some degree of structural integrity, was out because it was a thinner wood and just too far gone. But, the possibilities were endless for decorative use. Let the project begin!

The key to using salvaged wood is to at least try and use absolutely every available inch. I don’t throw anything away until the very end and preserve everything in between. This particular wood ended up being quite fragile, and (honestly) I wasn’t even sure I had enough to complete the entire project. Generally, that’s a really bad idea!
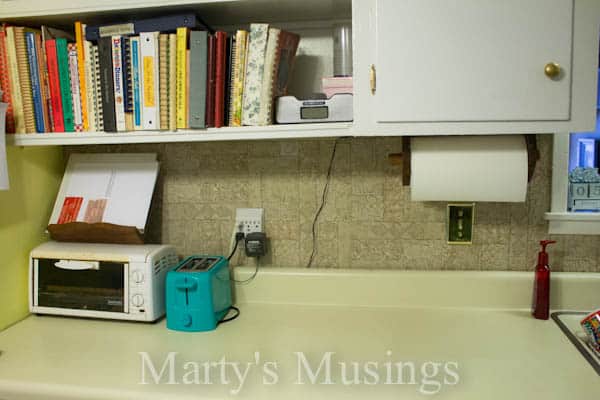
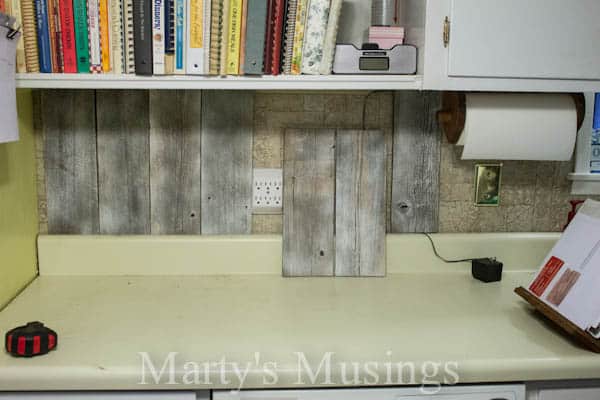
So, the challenge was really to just get “pile A” transformed and installed onto “wall C” via my Pinterest magic at “point B”. The picture below is the backsplash we were covering up.
By the way, that was another great idea – peel and stick flooring applied to the wall! Super cheap and, at the time, looked great. But, alas, its season was over with the new decor. These are 12″ x 12″ squares from the big box store with adhesive on the back. You peel the paper off and stick it where you want it. I had reinforced with finish nails, since the tiles were applied vertically.
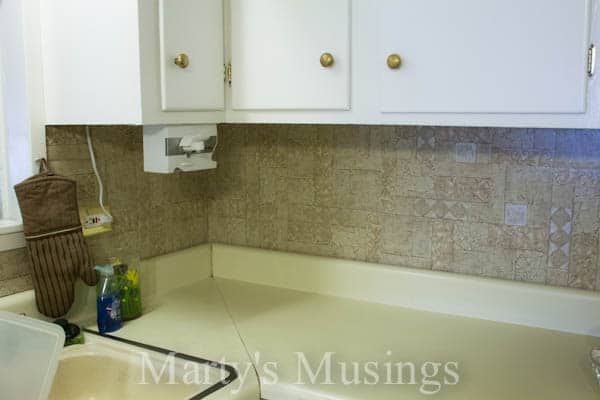
The tiles were easy to score and cut but just couldn’t hang with the new yellow color on the walls. No need to take them down, and they really were an appropriate back to what would come next.
This was the, “Hey, whatcha think about this?” stage. I had cut the wood to go from the bottom of the cabinets to the top of the turn on the counter top, then lightly sanded each piece to eliminate slivers and splinters. Clearly the dark color was too much and pulled too much focus, but the effect was awesome!
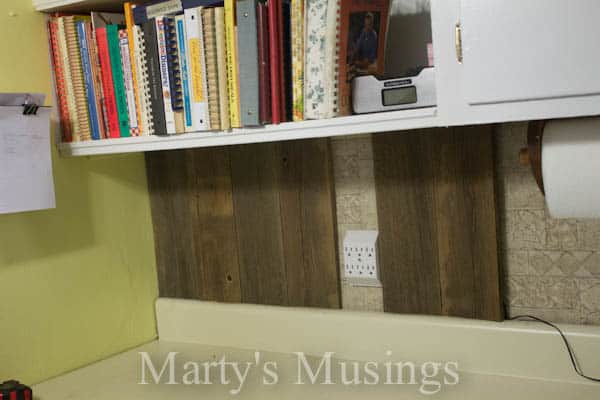

So, I lightly sprayed each cut and sanded piece with an aerosol primer, just enough to lighten the wood and retain the beautiful character of the weathered surface. This also allowed for a degree of uniformity that I could control. I didn’t fill any nail holes and actually preserved knot holes and cracks. The more imperfection the better!
One very important allowance was that I did NOT remove the light switch and receptacle covers as each piece was fit into place. Because the wood was thick enough to render the covers useless if installed behind them, I just made a hole for them. They were then recessed, in a way, and still totally functional. We would later make them all a uniform color – the same “Rustic Mist” color we did on the cabinet knobs. I just nailed each piece to the wall with finish nails – one at the top and one at the bottom. No glue.
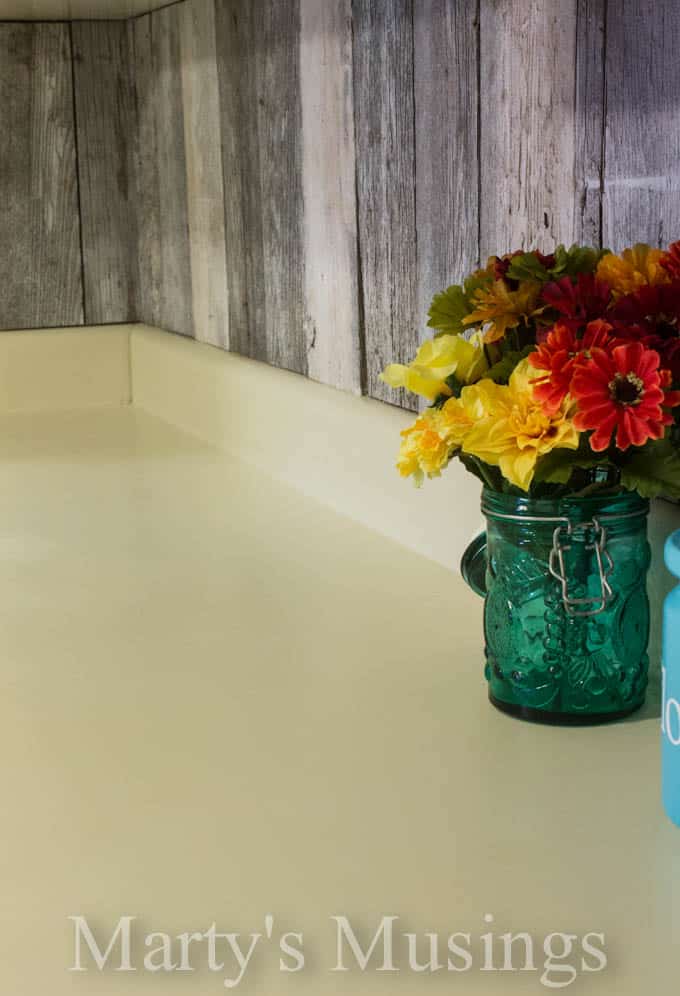
Now, you might think that we sure are going to a lot of trouble and still not addressing those gross countertops. You would be right! That is still down the road and will surely be another post. But I can tell you that it will involve a transformation kit and new sink and faucet…woo-hoo! For now, the fence wood backsplash is totally unique and a great addition to where we are headed with this re-do.
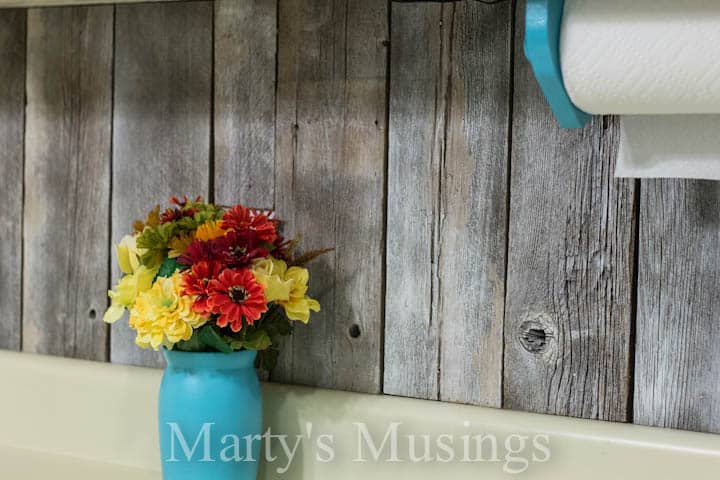
I love the character of each piece of wood! The blue accent really pops and is such a nice contrast to the natural roughness of the backsplash.
Marty here: the finished product is amazing! My husband took some castoff wood and turned it into a beautiful backsplash worthy of a beach cottage.
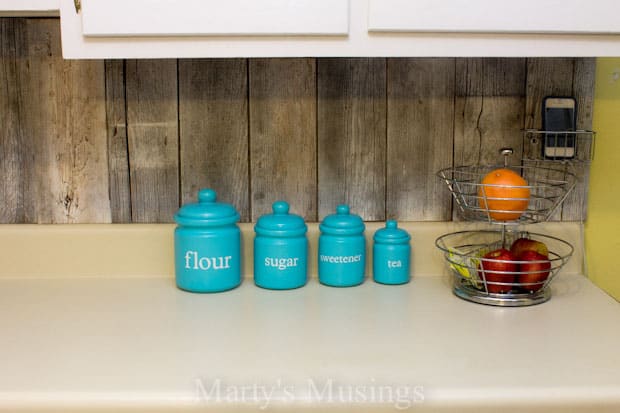
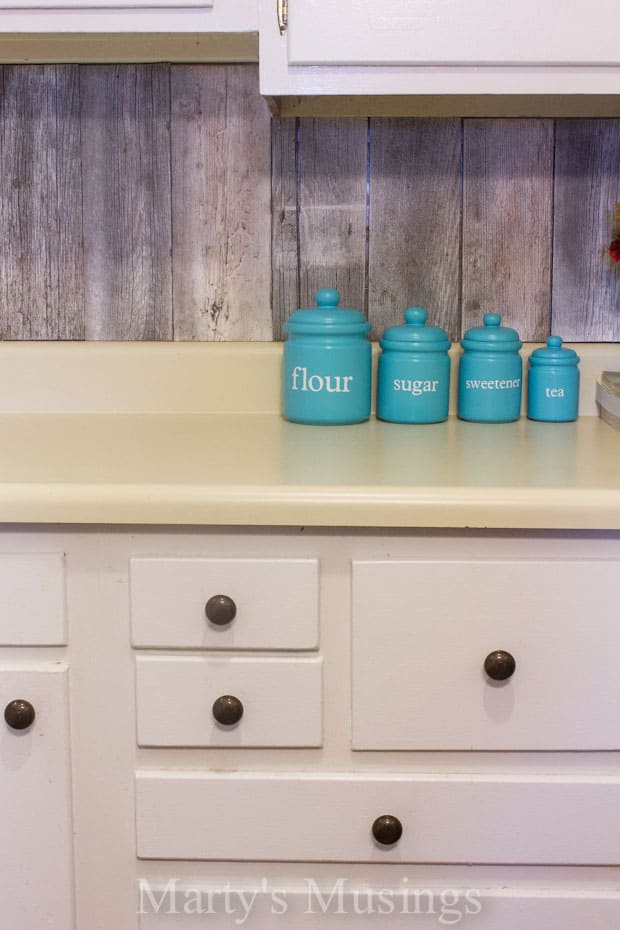
Don’t you just love these whimsical canisters?

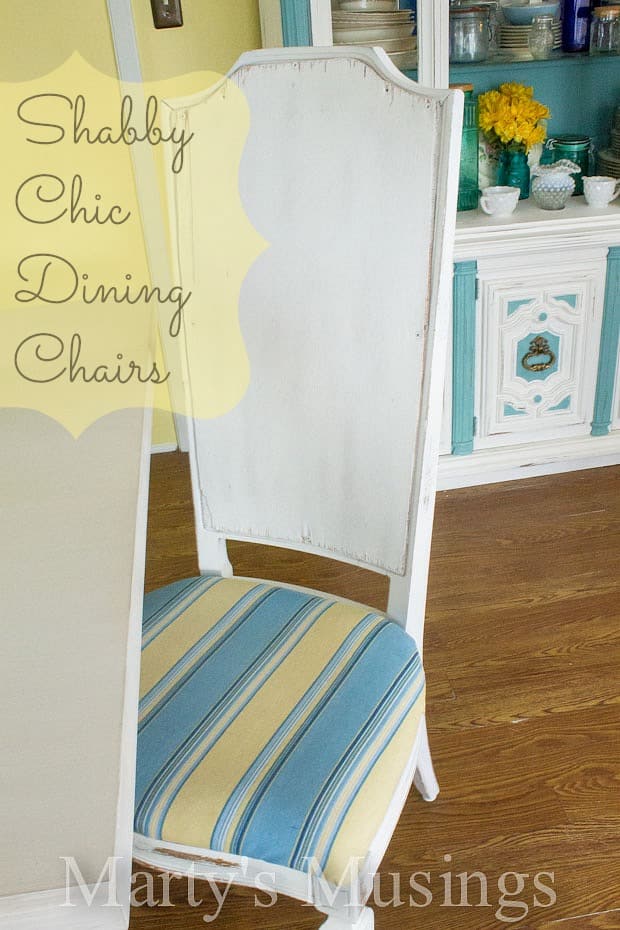
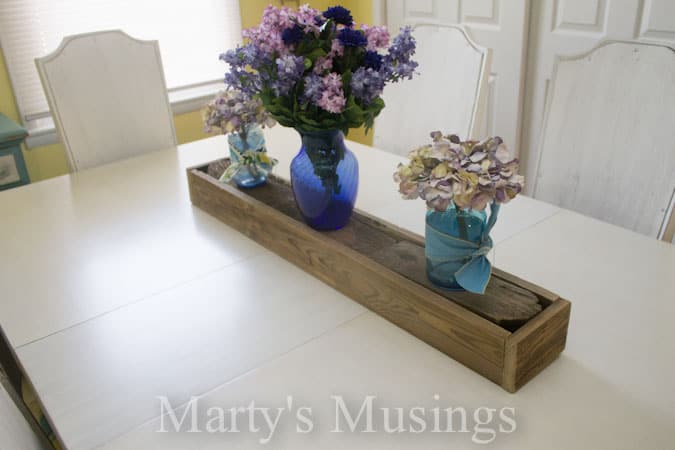
There is so much more to come! I have used blue and yellow accents throughout the kitchen and tied it all together with fabric! The kitchen table is getting a facelift and the ugliest kitchen chairs on the planet are getting made over from top to bottom with fabric and paint.
Like my husband said, the countertops look even worse now, but they are 22 years old and are ready for a new do!
If you haven’t read my husband’s hysterical post on Surviving a Blogging Spouse you should give it a look see! I’d also love it if you’d take a look at some of our other projects, including our den makeover, scrapbook room update, theater wall and window table.
Or, click on each picture below to go directly to the original post.


Linking with: seven thirty three, Stone Gable, French Country Cottage, Crafty Scrappy Happy, 504 Main, Beneath my Heart,, I Should be Mopping the Floor, DIY Showoff, Craft-o-Maniac, Skip to My Lou, Between Naps on the Porch,, Home Stories A to Z, Today’s Creative Blog, Chef in Training, Crafty Texas Girls, Savvy Southern Style, Seven Thirty Three, Stone Gable, 36th Avenue, mom4real, East Coast Creative
WOW! This project grabbed me right away. I have old barn boards coming off my barn all the time…I am going to see what I can do with them. If that doesnt work, there are always all those fence boards in the loft! Thanks for the idea!
Hi, Terri. So glad you loved this project! We’ve actually totally gutted our kitchen, taken down a wall and started over since that post! I guess our homes are always evolving 🙂 Good luck on your project!
Love the backsplash. I had my husband get our neighbors fence that fell down from the last hurricane. We did a wall in the living room & I think we have enough to do the backsplash. Did you seal it with anything & how has it healt up. My husband is concerned about stuff getting on it & cleaning it up.
Hi, Gloria. Here’s what my husband has to say: T hese boards have a great deal of “character” so any treatment in the form of a sealer or polyurethane would serve little purpose. They are not smooth at all. If you used a smoother board, or even sanded them, a coat of polyurethane could help in wiping off spills and explosions. Minwax makes a number of poly’s that would serve your needs, and it sounds like a satin finish might be your preference. You could even add some color at the same time with a product called Polycrylic, a poly/stain combo available in several variations and sheens. Me again: It held up well and I’m not a messy cook so spills and things weren’t a problem. I just wiped it down with a damp sponge. Good luck!
I love this backsplash. And would love to do this in my tiny home. I just have a quick question, did you treat the wood with a sealant of any type? Sorry if you have already addressed this in any other comments.
Hi, Cindi. Here’s what my hubby says: These boards have a great deal of “character” so any treatment in the form of a sealer or polyurethane would serve little purpose. They are not smooth at all. If you used a smoother board, or even sanded them, a coat of polyurethane could help in wiping off spills and explosions. Minwax makes a number of poly’s and you could even add some color at the same time with a product called Polycrylic, a poly/stain combo available in several variations and sheens. Thanks!
love this! did you put any kind of sealer on it once it was finished? just curious if cleaning this would be tough? thinking about trying a project like this in our kitchen and just wanted your opinion on how functional it is for you. thanks 🙂
Hi, Kristen. Here’s what my husband had to say: The only thing I did was to lightly spray each piece with an oil-based aerosol primer to give a white-washed look. Cleaning was a commented concern, but, honestly, our splashes don’t get that dirty. If something exploded you could remove that piece, flip it over, re-spray and use. The beauty of the texture is that it does hide everything, but you do want to keep it sanitary. A sponge would do the trick.
love this Marty! What a great idea!!! thanks so much for linking up with OPC and Shaken together to support Habitat. Sharing on FB later today. 🙂
Thank you for sharing on your fb page, Jocie! I have linked up all summer because I love your party! Have a great day!
Hi!
Just wanted to say what an awesome job you did in coming up with the idea AND making it happen! I love visiting DIY Bloggers, because they really know how to get creative in a pinch! I also can’t wait to see how your tile shower comes out!!!! Can you post on Stacy’s Not Just A Housewife “Show me whatch got” again??? That’s where I found you!
Best wishes!
Sincerely
Danita, thanks for taking the time to comment on my fence board backsplash. It’s been fun DIYing our way around the house, and yes, it has made us be creative! If you want to keep in touch with my blog just click the email subscription and you won’t miss a thing! Have a great day!
http://www.martysmusings.net and the email box is in the header.