How to Avoid a Paint Can Mess
This post may contain affiliate links which won't change your price but will share some commission. Read more here.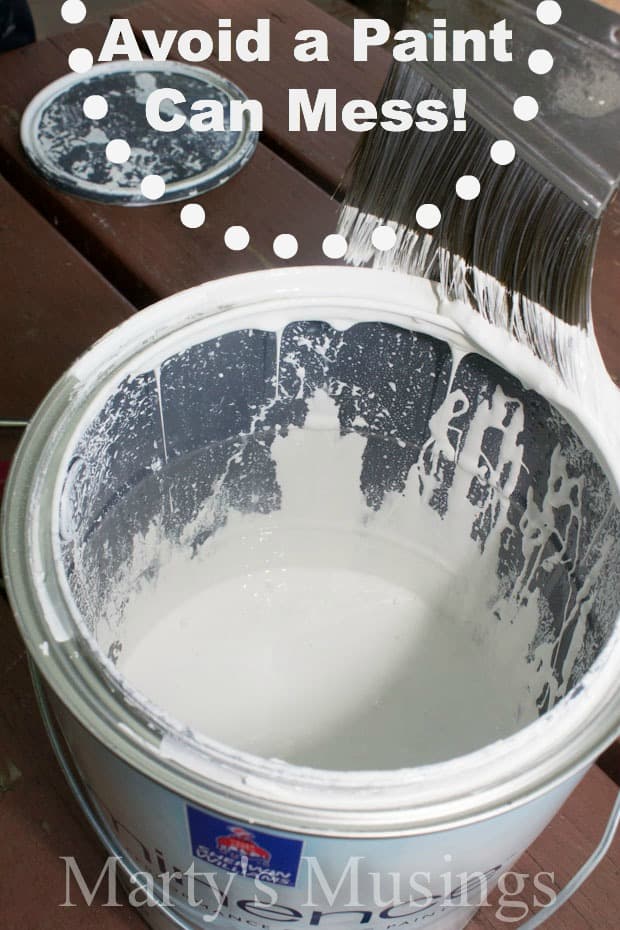
My DIY husband is back with a request to help a reader avoid a paint can mess. You’ll love this easy and efficient tip from a professional painter.
From Tim: Let’s talk about that paint can. Many of you may have heard of putting a layer of plastic wrap over the opening before tapping the lid down. Not a bad idea, but not fool-proof. The brave among you may even combine that tip with storing the can upside down. Potentially disastrous and still not a complete fix.
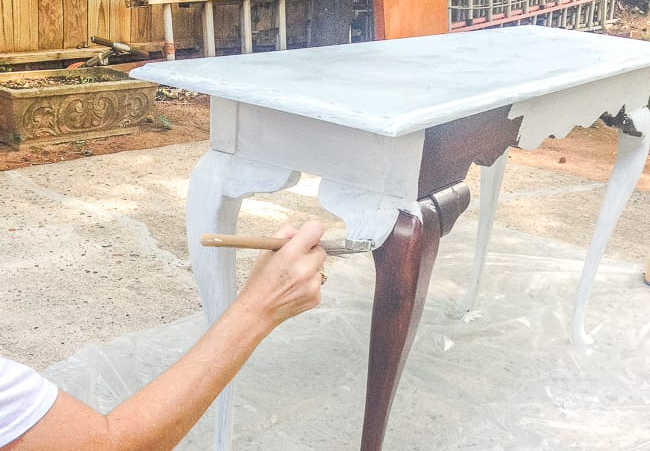
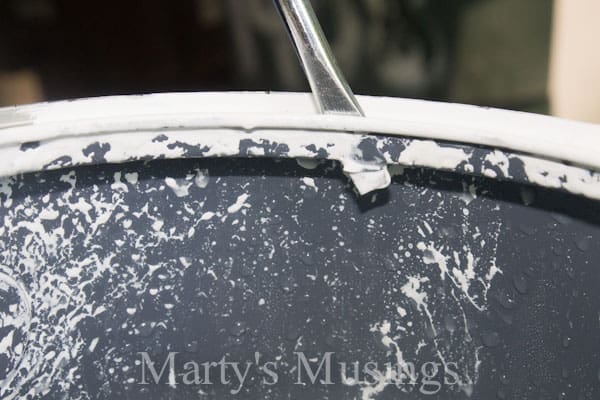
There is a step prior to closing that lid at the end of your project that can make a HUGE difference, both while you work and long after you’re done. The trick is this; metal paint cans have a groove all the way around the top. This is designed to accommodate paint that is rubbed off your brush after you dip into the paint. It does the job, but most DIY painters are notoriously messy here. Look at the side of the can! Catastrophic.
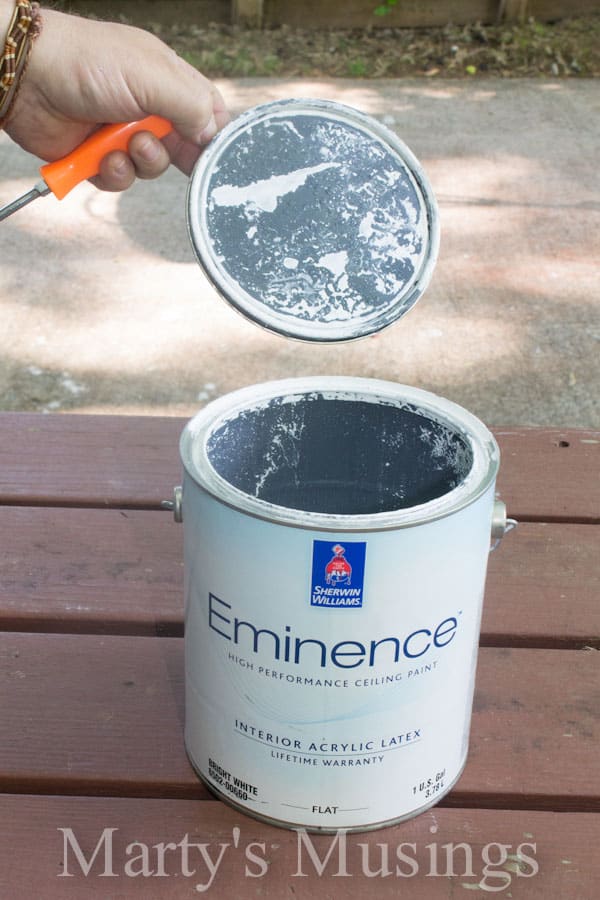
So here’s what you do: immediately upon opening the can for the first time, Get a standard sized slotted screwdriver (not the one that looks like an asterisk, the other one) and a hammer.
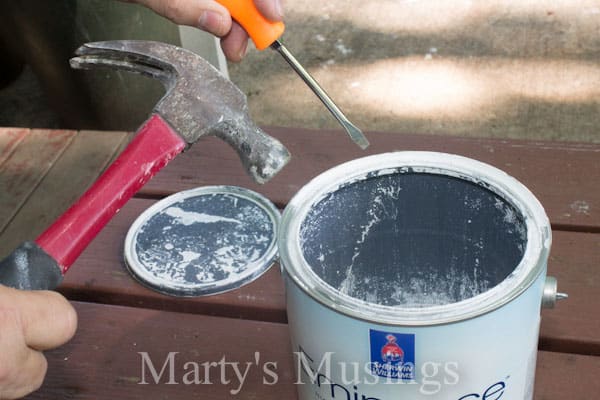
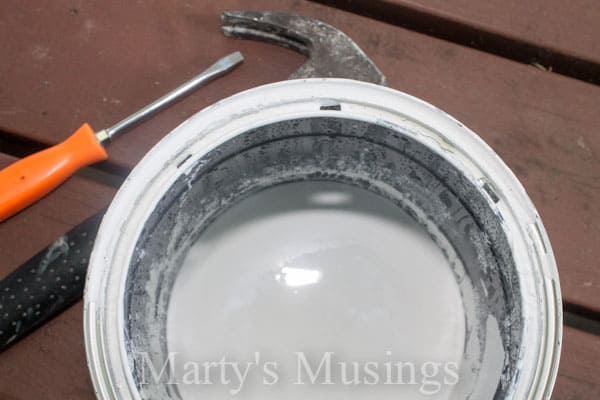
Punch three holes in that groove along the top of the can.
Space them about three inches apart, lightly enlarging each one after the screwdriver penetrates the can.

DON’T do this all the way around the lip! These holes will allow the paint to run back down into the can!
Occasionally clean the groove with your brush tip and the excess will be directed to the holes and drain away.
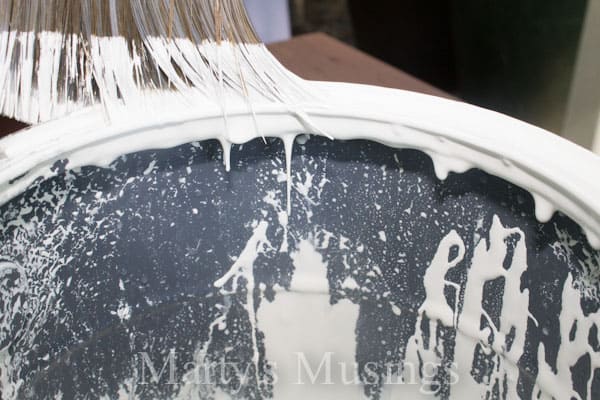
If you force yourself to only drag the brush across the side of the can with the holes (I consistently make that the label side with all the instructions), your can will stay clean, you will have FAR less drips as you work, and, with a much cleaner groove without a bunch of dried paint interfering with the seal, that lid will fit nice and snug where it’s supposed to go.
Good luck!
More Painting Tips
Practical painting tips for the home that anyone can use, including chalk painting, accent walls and choosing the right colors.