Painting Over Dark Colors
This post may contain affiliate links which won't change your price but will share some commission. Read more here.Painting over dark colors with a lighter one requires more than just slapping on the paint. Great tips for preparation, product and technique.

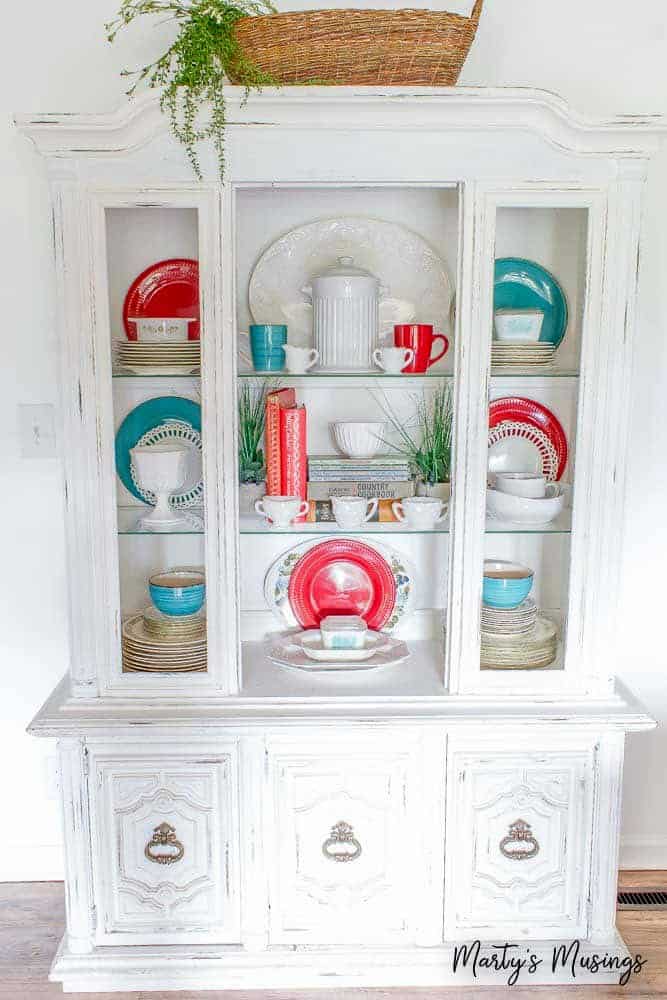
I have been a bright color girl in my home decor for most of my adult years. Probably because I spent so many years in college and early work life in bland rooms with cream walls and I was ready to spread my wings! It’s always fun to try dark paint colors but it does require some work if you change your mind!
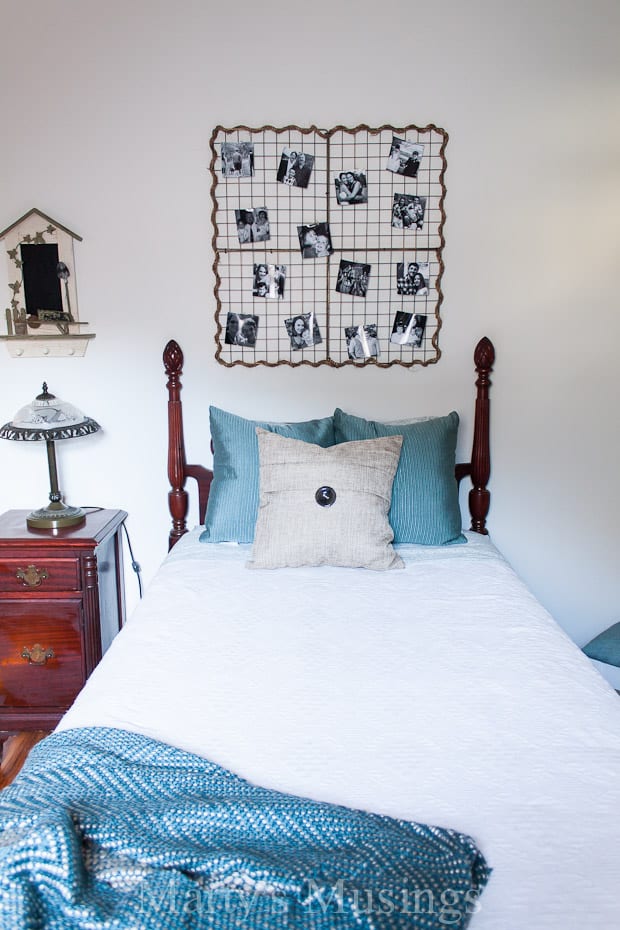
But now I’m older and wiser and back where I started! I want my walls white, whiteish or an option with a grey tint.
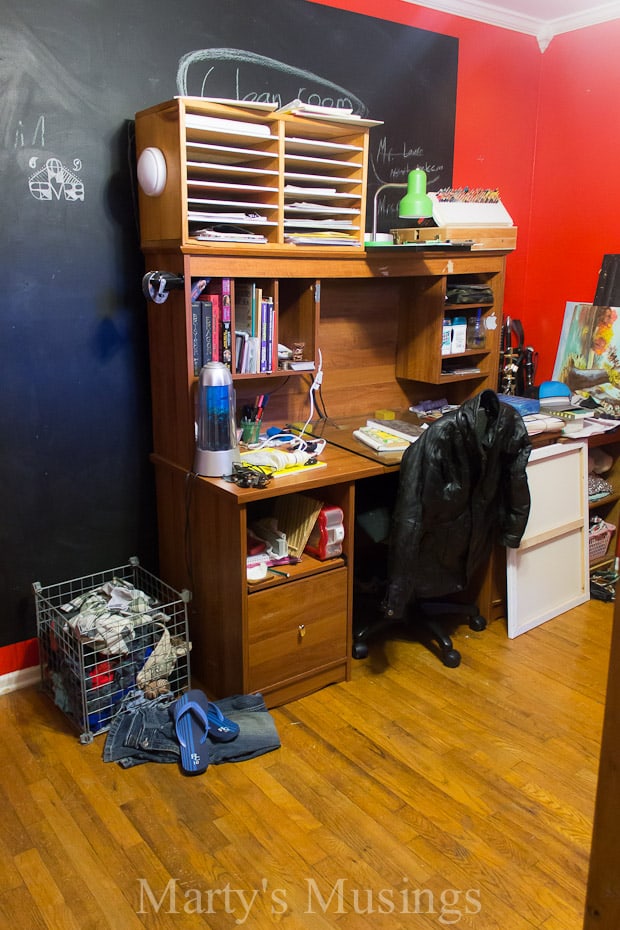
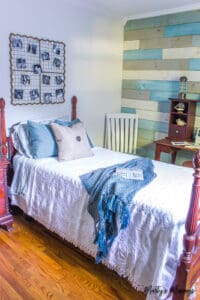
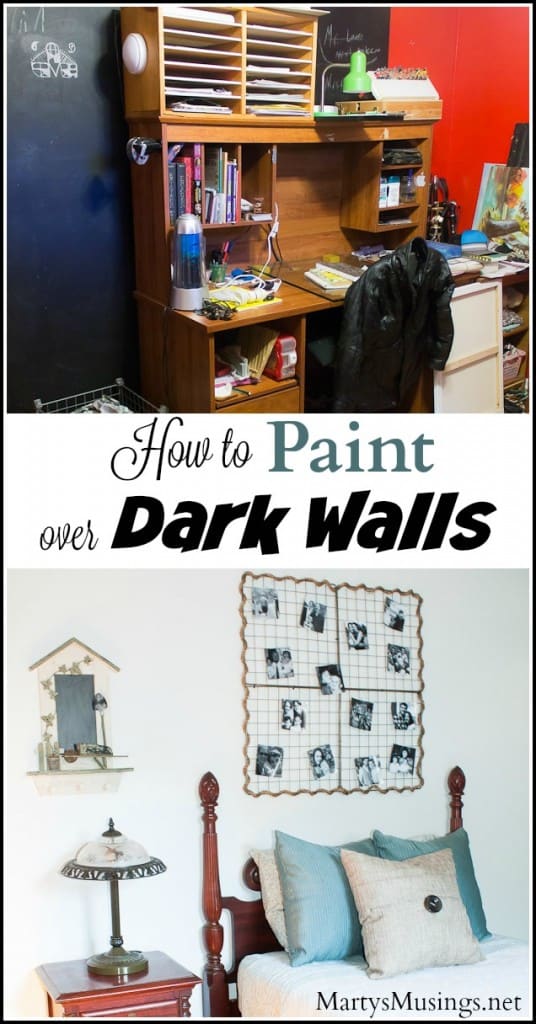
This bedroom belonged to our youngest son and was painted bright red with one wall chalkboard paint. Since the room underwent a huge transformation I knew I wanted to go for lighter and brighter!
This makeover over was a challenge because it required painting over dark walls (both red and chalkboard paint.)
The two most important factors to remember when covering a darker color with a lighter color are patience and product.
The more extreme the transformation the more likely your project will require multiple coats of paint. If you go into it with that mindset, patience will see you through that second coat (or however many it takes!)
Materials you’ll need


1. Spackle holes or cracks on surface of walls.
Preparation is key here so don’t skimp on this process. Think nail holes, kid damage or wall cracks. The smoother the walls the better the paint job in the end.
2. Clean the walls.
This can be anything from wiping down the walls to actually using a cleaner for difficult spots. Make sure to let dry before continuing on.
3. Sand surface in preparation for painting.
Next, you’ll need to sand the surface of anything you’re going to paint. Just give everything a good “scuff.” Roughing up the surface gives the new paint something to adhere well to.
Step 4. If necessary, use painter’s tape on baseboards or casings.
Drop cloths can be your friend as well! Do whatever you need to do to protect other surfaces and items.
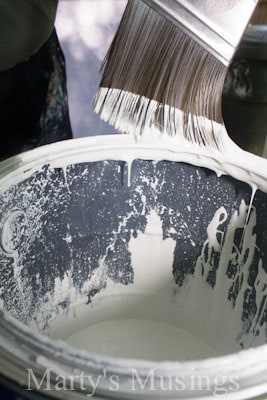
5. Can you paint over a dark wall color without priming first?
Primer has three specific purposes. It prevents stains and difficult to cover colors from bleeding through the topcoat, allows for one-coat coverage and enhances the paint’s adhesion, which reduces the chance of peeling and blistering.
Because you are tackling a difficult color change, don’t skip the primer!

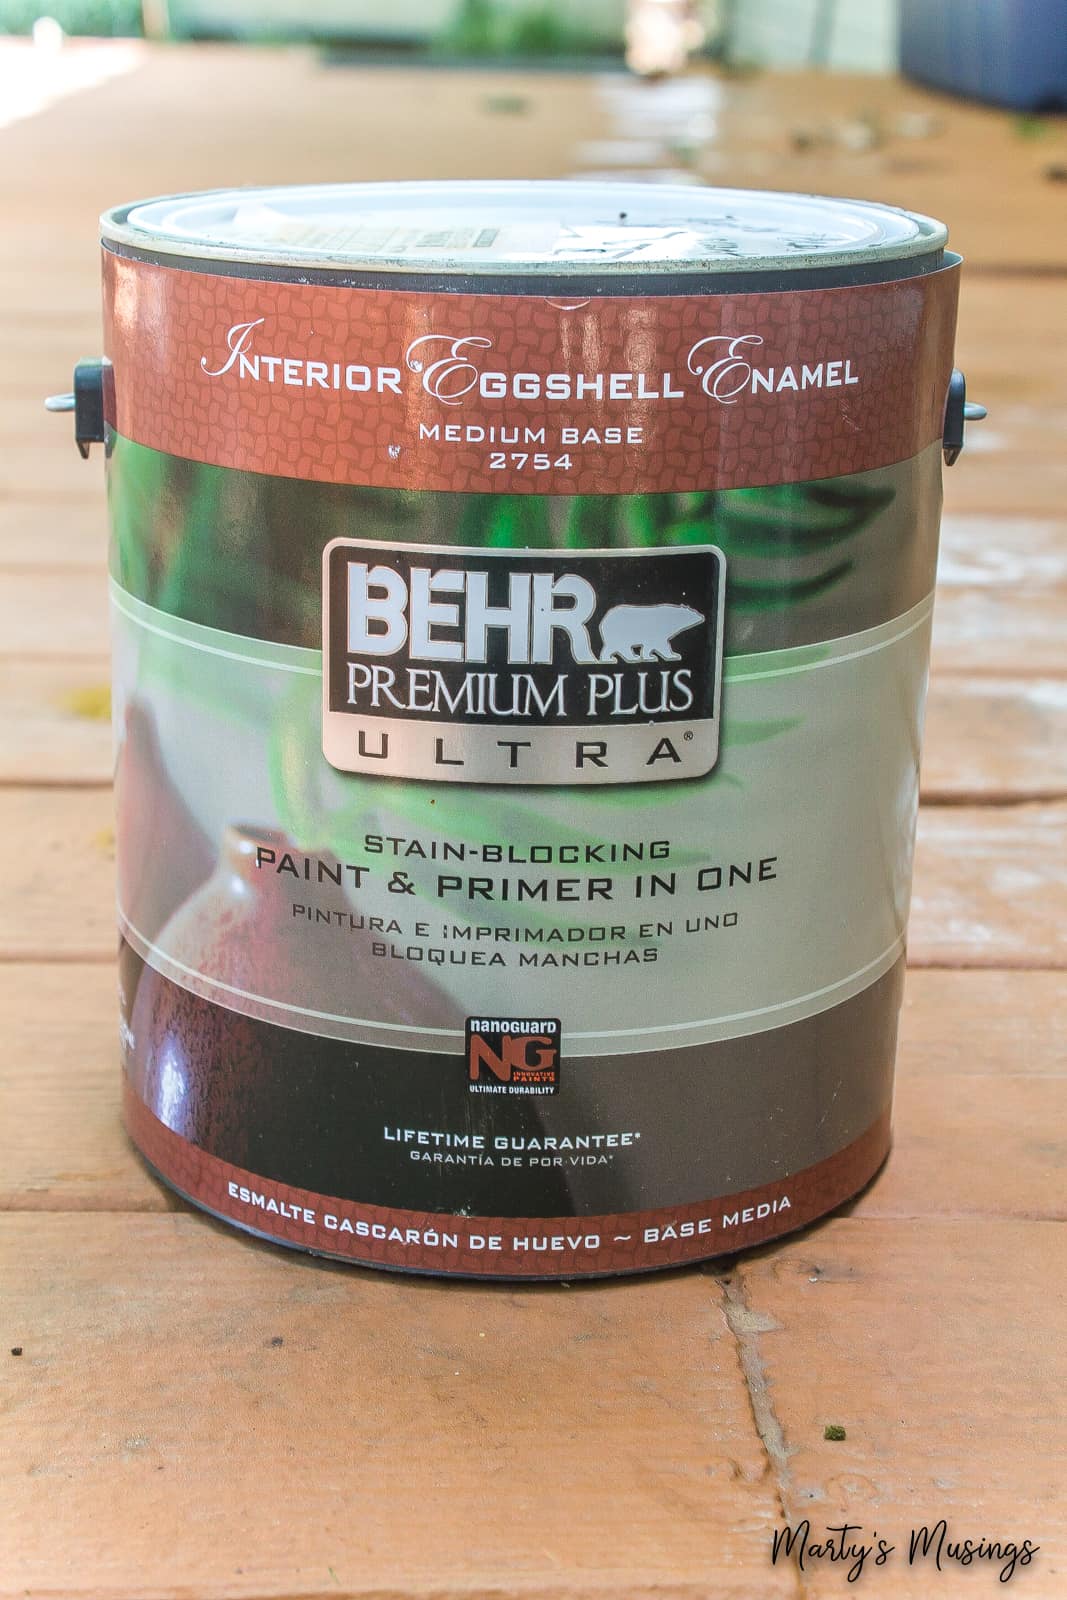
6. Use a stain-blocking paint and primer.
Today there are also paints that come with a stain blocker and primer in one product. This will definitely help shorten this time consuming process.
To achieve the best results with your wall paint use a high-quality, dedicated stain-blocking primer. Behr Paint is a favorite quality brand and now has a primer/paint combination that is excellent and will go a long way in shortening your project.
One of our favorites is Behr Premium Plus Ultra Interior Eggshell Enamel.

You will have to be the judge on whether you want to add a second coat of primer. My thought is if it reduces the risk of bleed through later on you can’t go wrong! And second coats go on faster anyway!
7. Don’t worry about perfect coverage on the first coat.
It’s good to remember that darker is smaller and lighter is bigger. As you say goodbye to the dark, the space will really begin to open up and “breathe.”
The major difference in this process is not to worry about perfect coverage on the first coat. Use a shed resistant roller cover to keep the fuzz off the surface.
This chalk board black wall presented a specific challenge to cover as well as presented a small obstacle. The edges had to be sanded first. When the wall was painted black the edges were taped for a nice, clean line.

That left a slightly raised line and imperfections around the perimeter. You don’t want that to show through your new color.
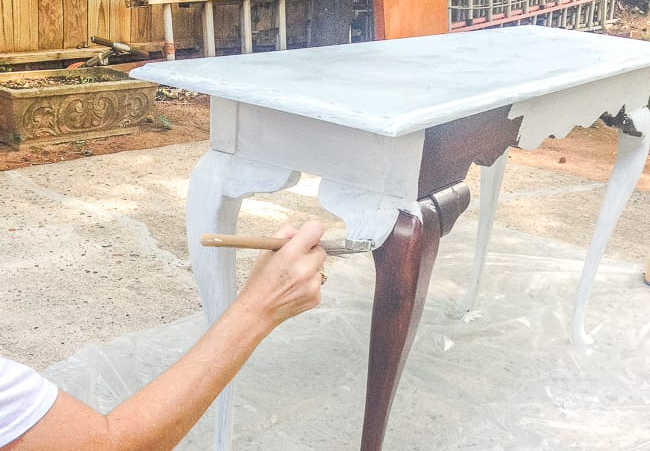
8. Tips on painting.
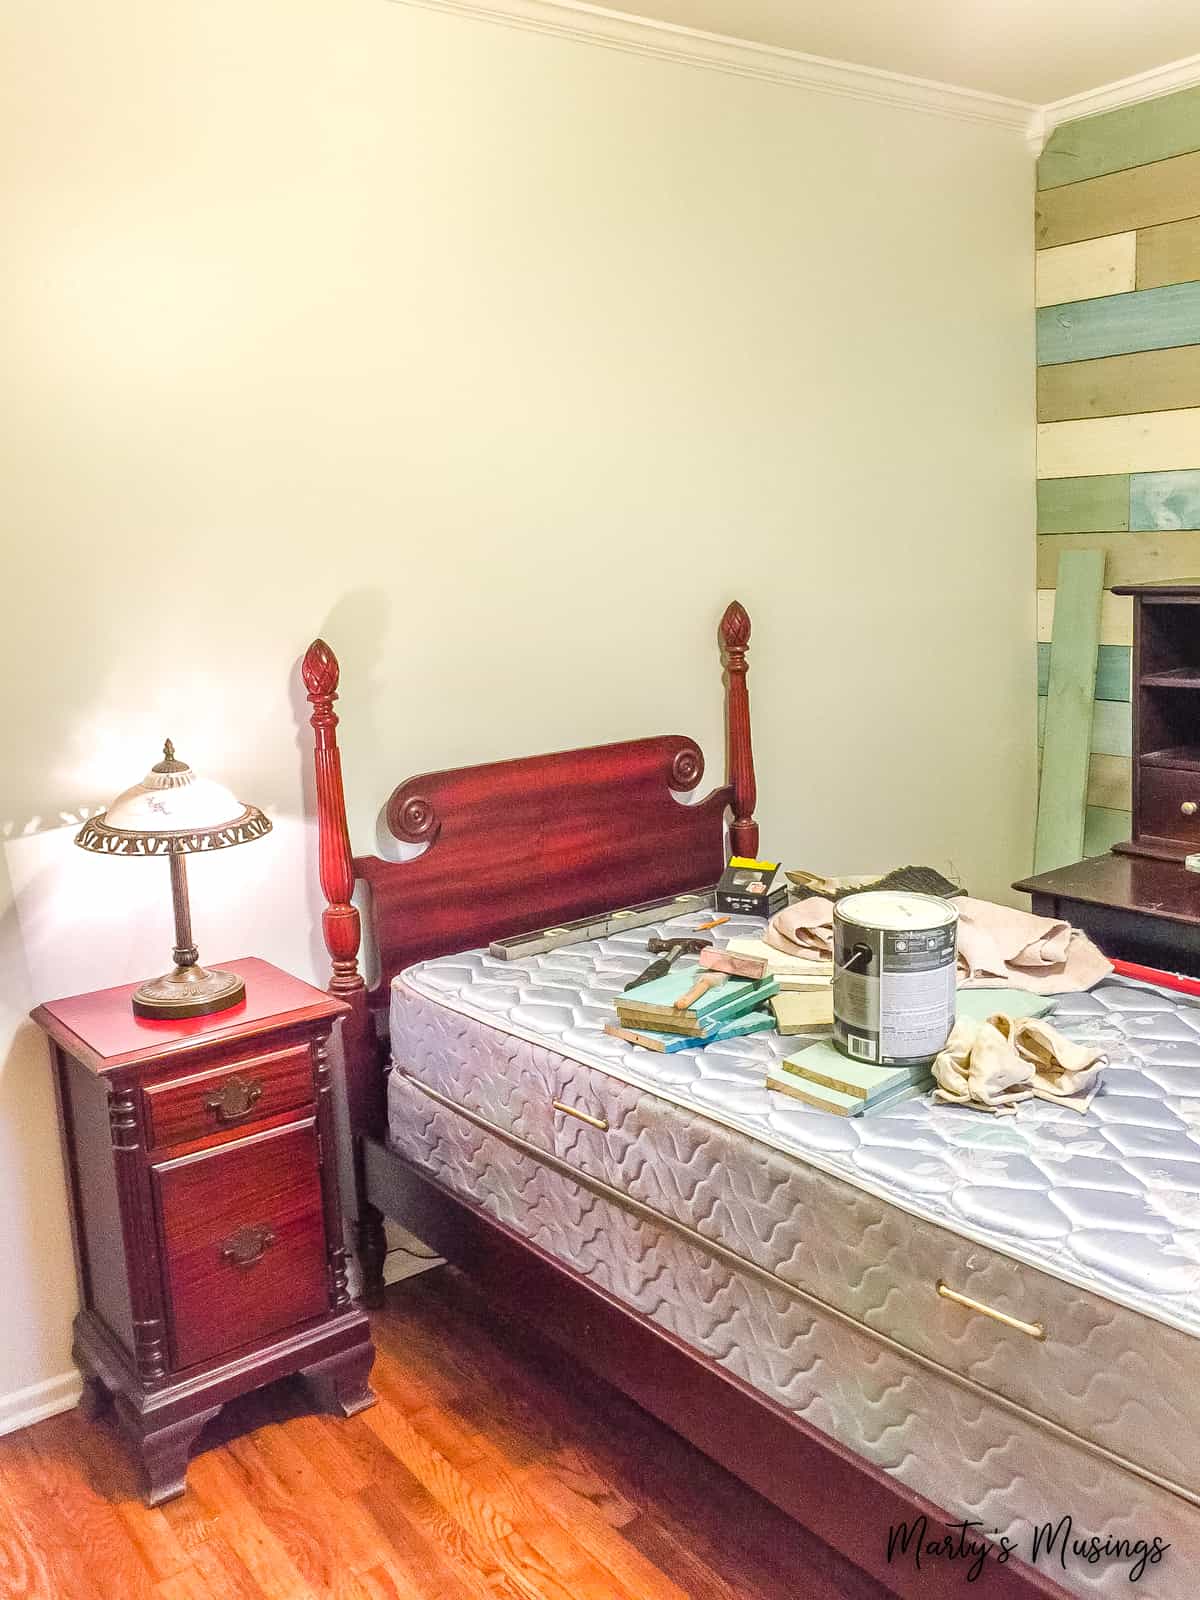
Now that all your prep work is done and the product chosen it’s time to paint!
Work from the top down, cutting in with a brush and then rolling the remainder of the surface. This is not the time to skimp on paint! Lay it on thick because you’re covering all the dark paint!
Repeat with the second coat (or as many as you need for good coverage.)

***BL-W8 Frothy Surf Behr Premium Plus Ultra Interior Eggshell Enamel is the color I used on the walls.
You can find all of the Behr Paint colors here that were used in our ranch home.
FAQs about painting over dark colors
More Painting Tips
Practical painting tips for the home that anyone can use, including chalk painting, accent walls and choosing the right colors.
How to Paint over Dark Walls
Ingredients
- 1 paint brushes
- 1 painter's tape
- 1 spackle
- 1 roller covers
- 1 roller frame
- 1 plastic tray liners
- 1 appropriate paint
Instructions
- Spackle holes or cracks on surface of walls.
- Clean the walls.
- Sand surface in preparation for painting.
- If necessary, use painter’s tape on baseboards or casings.
- Can you paint over a dark wall color without priming first?
- Use a stain-blocking paint and primer.
- Don’t worry about perfect coverage on the first coat.
- Tips on painting.
- FAQs about painting over dark colors
- More Painting Tips
Video
Thanks for the tips and tricks. You make it look easy. And it came out beautifully. Thanks, Marty.
I wish i had this 10 years ago when my daughter painted all
The walls red in her room. Great diy
Great information, Marty. I have spent so many hours painting over dark walls. I am pinning this for next time!
What a great tutorial! So many people have painted a chalkboard on their walls, this is a great way to cover them up when the time comes to do so! Thanks for sharing!
Nancy
So true, Nancy! Chalkboard walls were all the craze at one point and they are a bear to cover up now! Glad this tutorial was helpful!
Thanks so much for the great tips. Many moons ago we went a little color crazy too and I’ve been putting off repainting the walls because I know just how much work it is trying to cover the old color up.
Hi, Michelle. I do love color as well but these days I just want it in my accessories and not on the walls!
This is a good tutorial Marty. Thanks We’re ready to paint our bedroom and this helps.
You’re welcome, Deana. Good luck with your bedroom!
Thanks for sharing Marty. I wish I knew this year’s ago. My first house was completely pink and dark pink to boot. The doors, the walls, the skirting. It was so hard to cover up. I am now neutral all the way.
Hi, Anita. Wow. Dark pink, huh? I’ll bet it was indeed a bear to cover up.