How to Build a Sliding Barn Door (with pet door)
This post may contain affiliate links which won't change your price but will share some commission. Read more here.Learn how to build a sliding barn door (complete with a pet door!) with this step by step tutorial. Using repurposed wood from an old farm building, this DIY project instantly adds rustic charm to any home!
When my husband and I made the ginormous decision to take down the wall between our kitchen and living room and gut the kitchen we really didn’t know what to expect.
Even though we’ve done a LOT of DIY projects, most of them have been out of necessity (hello small bathroom remodel) or the need to update some pretty ugly spaces (like our coastal bedroom makeover.)
Design our dream kitchen from scratch with no experience and no Fixer Upper gurus to help?
No problem! Ok, of course it wasn’t that easy and you can check out the links at the end of this post to see how we did.
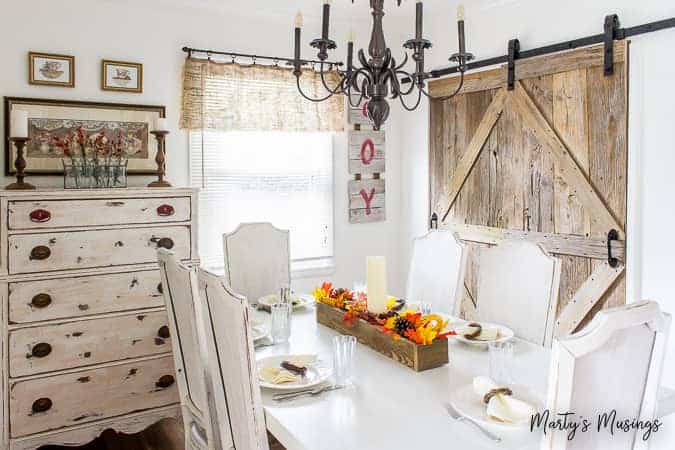
We knew we wanted to personalize the space by adding more of the rustic, repurposed accents we love so much. (You can see 13 of our rustic home decor projects here.)
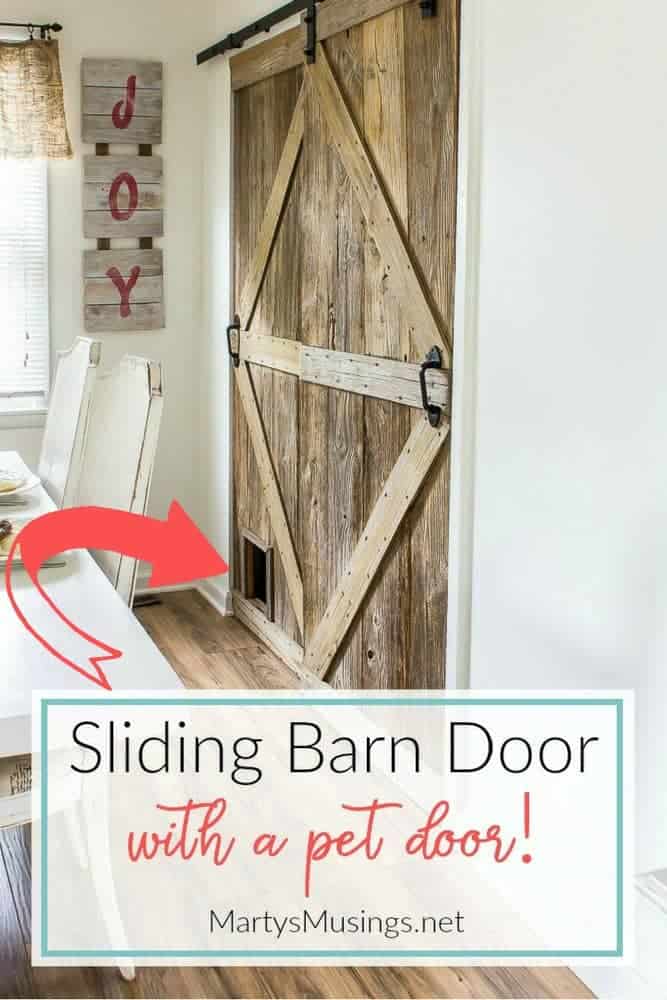
Hands down one of our favorite features of the new space is our sliding barn door. Here’s my handy hubby with step by step instructions on how to build a sliding barn door.
How to Build a Sliding Barn Door
(I’ve included some affiliate links for your convenience. Click here to read my full disclosure policy.)
Materials:
Sliding barn door hardware
Gate handle
Woodworking clamp
Wood glue
3/4″ wood screws
From Tim:
Of the many repurposed wood projects we’ve done, this one may well be the most rewarding. And required the most planning.
But don’t let that discourage you at all! Be brave – the payoff is worth it!
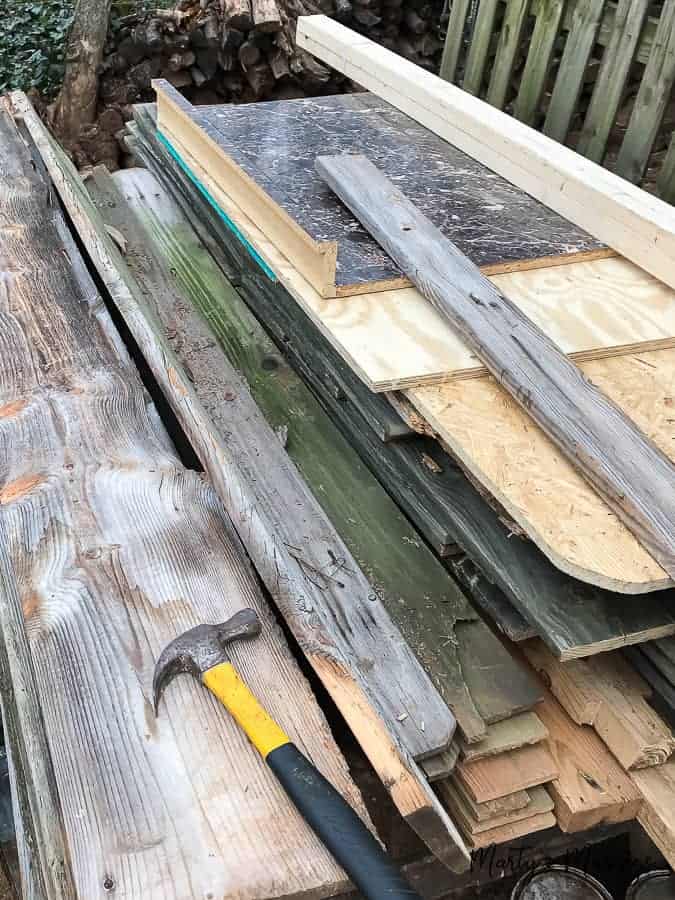
Step 1. Choose wood
Selecting wood for this project from my collection was a little more critical than normal. I have some really nice pieces of tobacco barn wood and old fence board slats with a lot of character, but for barn doors the wood needed to be much straighter, without warping and twisting.
I also needed to make sure I had ENOUGH of the same kind of wood for BOTH doors.
That was determined by measuring the raw opening where the doors would be hung and then adding 12″ for the overlap. These doors would not meet, but, rather, overlap at center.
That is an easy thing to forget, so check and re-check your measurements.
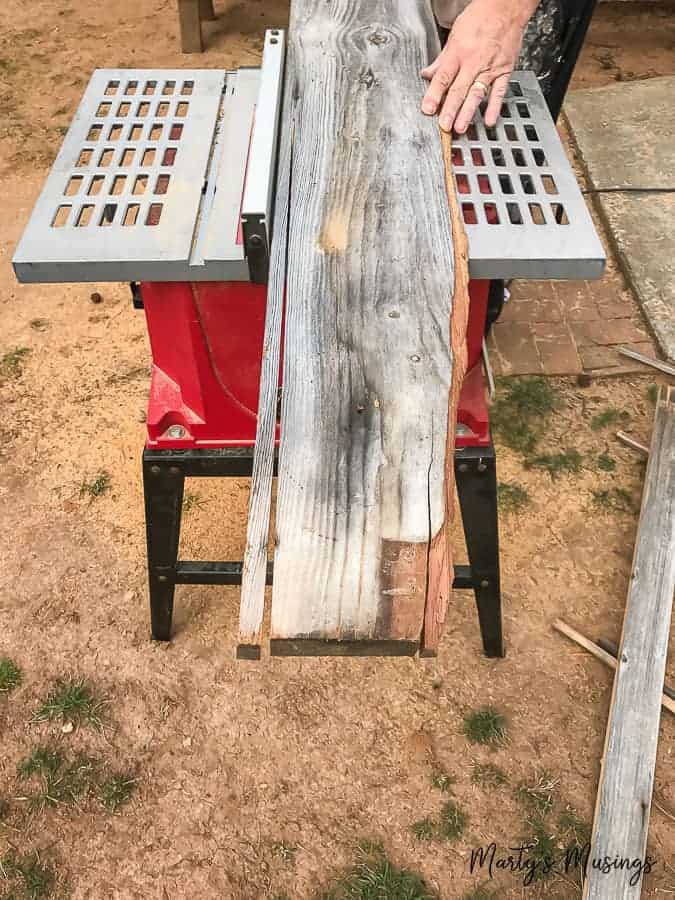
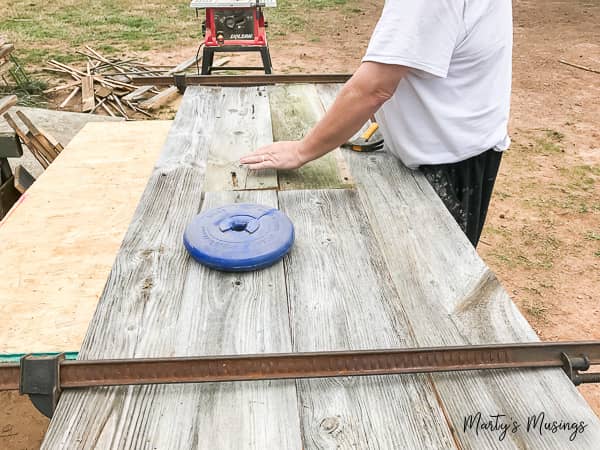
STEP 2. Prepare wood
Once all the wood was culled, straight joining edges needed to be crafted. This was just a matter of shaving a bit off each edge with the table saw so that two relatively true sides be established between each piece. Notice that, even though this particular piece had a broken edge, it could still be reduced and used.
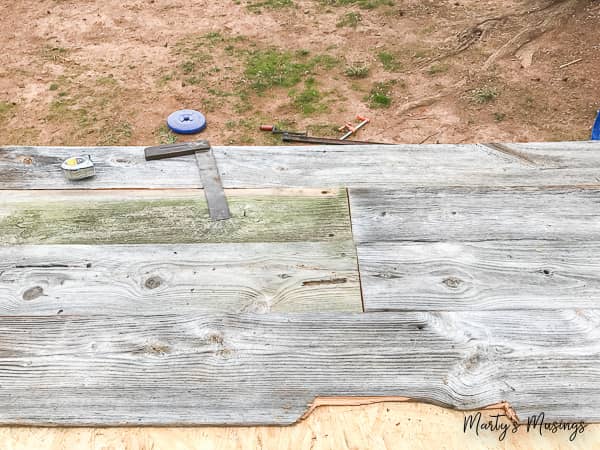
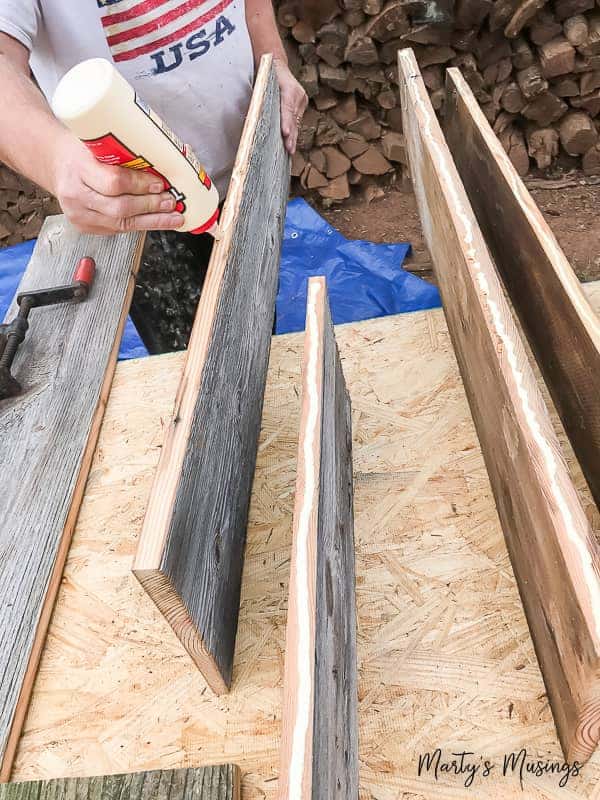
Step 3. Initial layout
Once all the pieces were shaved and cut, I began the process of laying the boards out, just to get a feel for how things would come together.
You’ll notice here that I have two joints in the same spot next to each other. Generally, that’s a bad idea and I corrected this later.
Side-by-side joints pull too much focus from the overall pattern, but, more importantly, creates an unnecessary weak spot in the piece. If you have to do this, it might be able to be concealed later with a cross brace or support piece.
Step 4. Confirm measurements
Still roughing out the design here, but I used 4′ furniture maker’s clamps to temporarily hold things together and confirm measurements versus the rough opening dimensions.
Step 5. Assemble wood
Glueing repurposed wood together is not a bad idea, especially if your wood has not “seasoned” for an adequate length of time. This just reinforces the bracing you will also use to hold everything together.
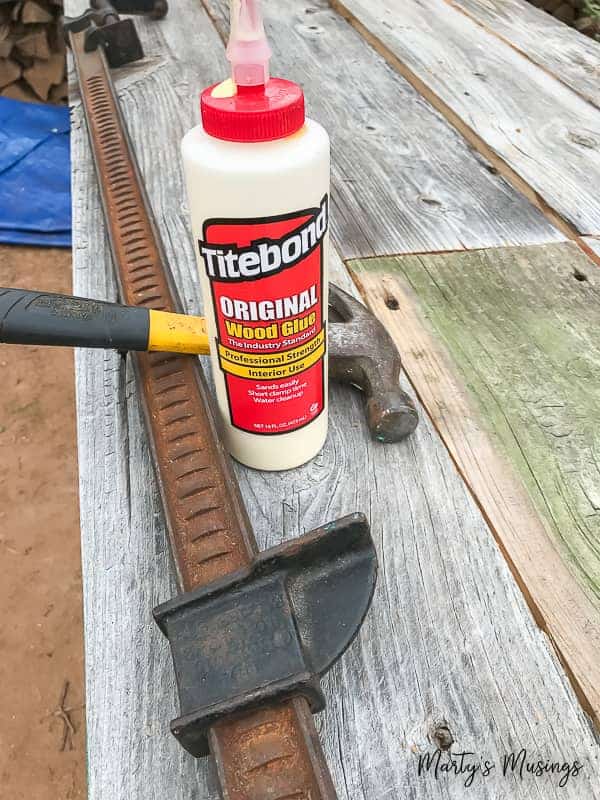
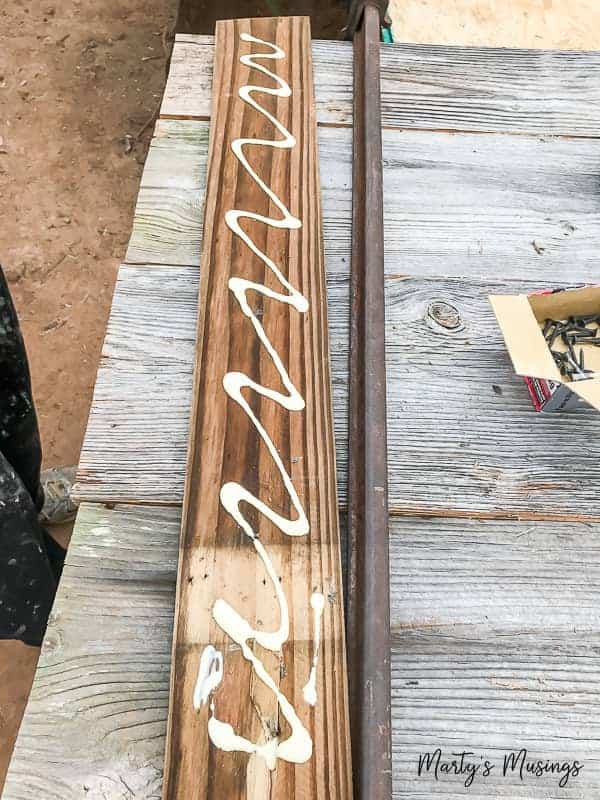
Step 6. Glue edges
Here, those nice straight edges come into play. I ran a healthy bead of glue down one edge of each board and then laid them back down, pushing them together. No need to glue both edges, because you’ll pick up the other edge with the glue on the joining edge.
Once together, I clamped everything together and began working on bracing.
Bracing design is a total question of preference and there are many designs available on the web to preview. There’s no wrong way! Just do what you like and fits with your design scheme.
This particular piece would be placed at the top and bottom of the door and conceal the rough cut edges.

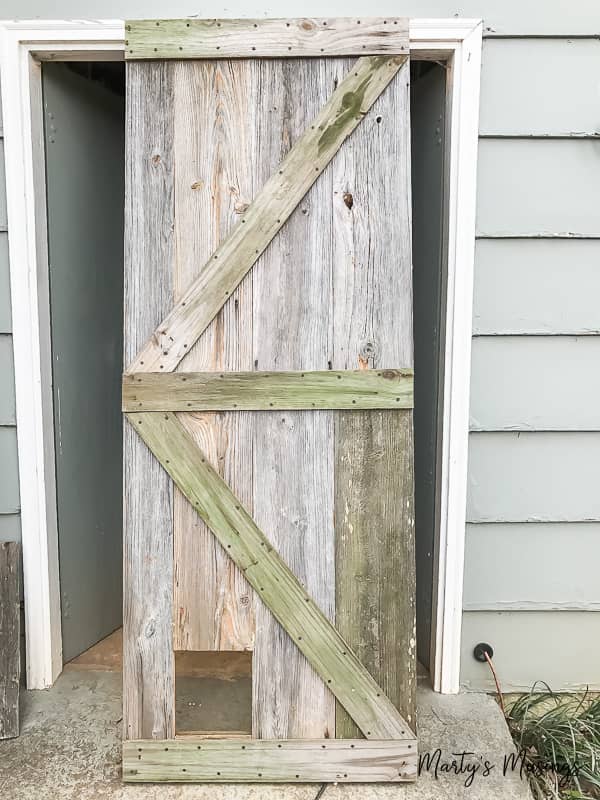
Step 7. Bracing design and installation
Glue and secure bracing. I used black 3/4″ fine tip sheet rock screws in addition to glueing the braces. This was a great way to keep everything tight and square, as well as retarding warpage down the road.
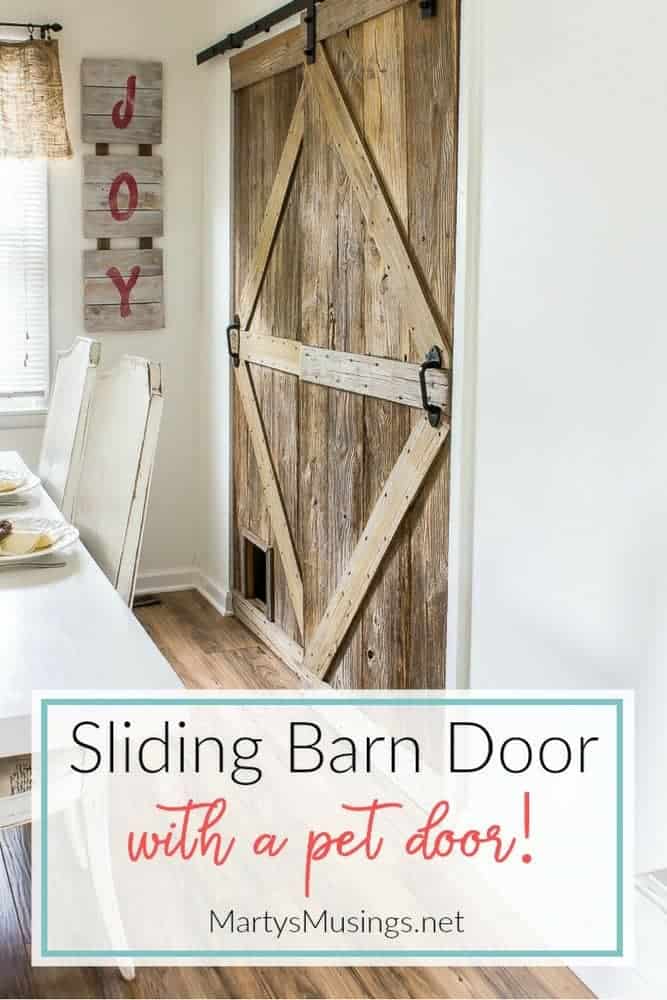
Curious about the weird opening near the bottom left corner? More on that in a bit!
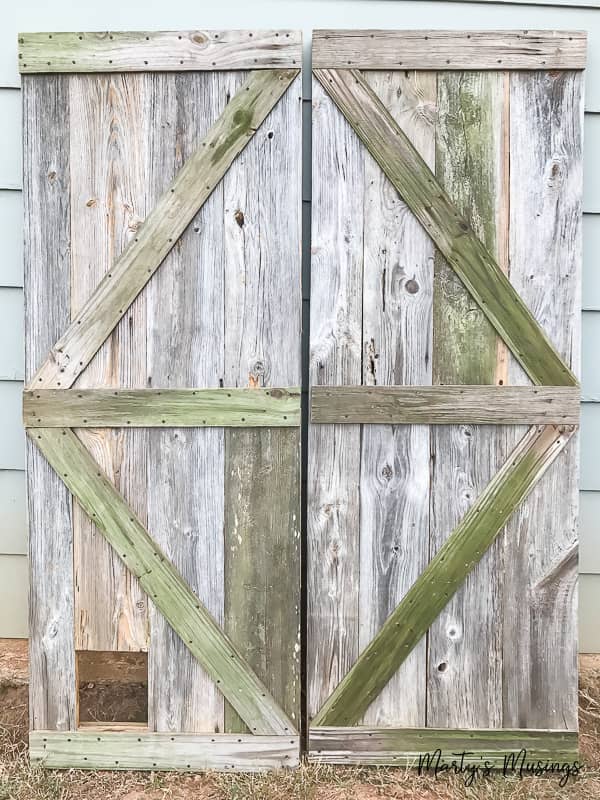
Step 8. Repeat!
Duplicate for the second door! Obviously the design reverses, but you can see the need to make sure you have enough material to work with from the beginning.
Allow for mistakes and breakage with this wood.
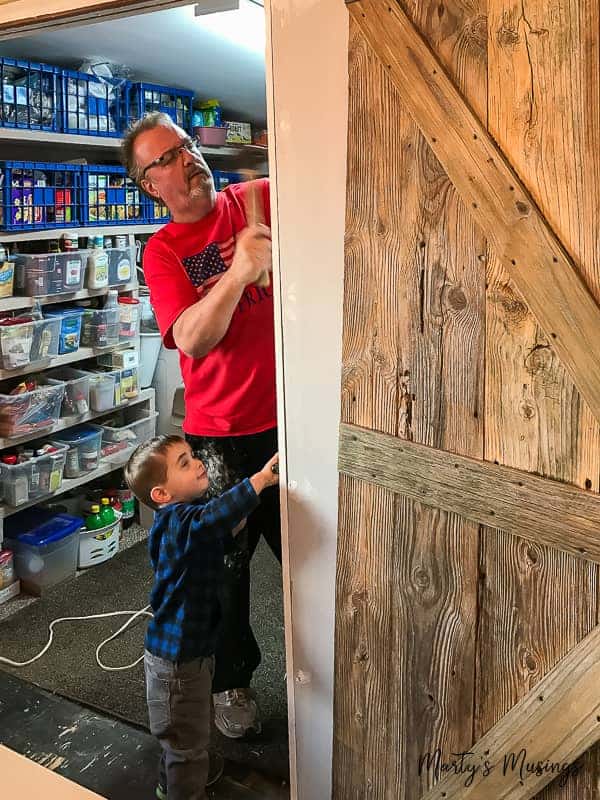
Step 9. Prep for installation
Clean and prep the wood. If I were to do this again, I would definitely sand and clean the wood prior to assembly. It is just much easier to deal with at that point, rather than tackling an assembled piece. I was just excited to get these put together!
Here I brought in my most excellent little helper and we are framing in the opening just a bit for looks. I absolutely LOVE the character of this wood!
Step 10. Select and install hardware
I haven’t mentioned the sliding barn door hardware for this project, but this is where almost all of your expense will be for a sliding barn wood door project.
There are a HUGE range of designs available from many vendors, as well as materials and finishes. You can purchase from the box stores now or find something on the web. My governing factors were price and durability. These doors would see a ton of use, since they join our kitchen to the pantry/utility/pet/laundry room.
Each barn door kit, determined by your opening width, comes with installation instructions, but it is KEY that the guide is securely anchored to the wall, regardless your application.
The kit we chose to buy was much less expensive than the local box store, but I did choose to beef up my anchors provided with the kit and used 3″ anchor screws right into the header above the door.
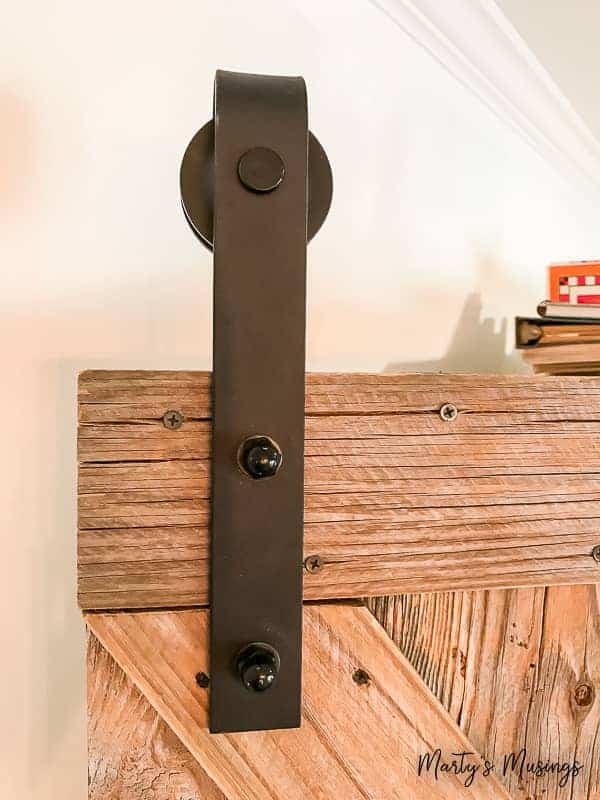
The second half of the kit installation is attaching the bracket rollers to the door. Again, instructions are provided in the kit, but I will caution that precision is crucial when placing and installing.
This kit has a rubbed oil bronze finish that matches our kitchen accessories. This is the front side.
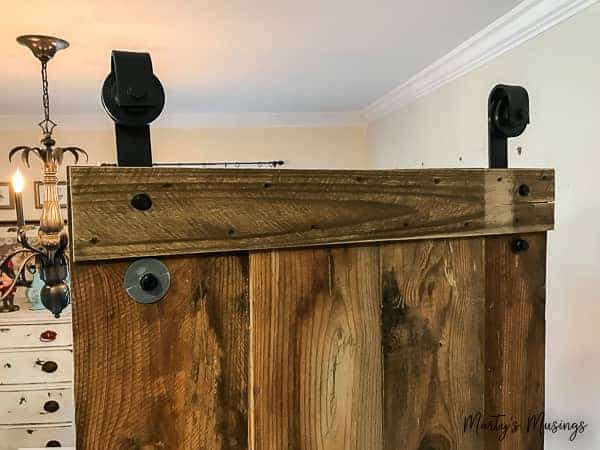
A look at the inside of the interior barn door. I needed the large washer on the left to secure a slightly wobbling bolt.
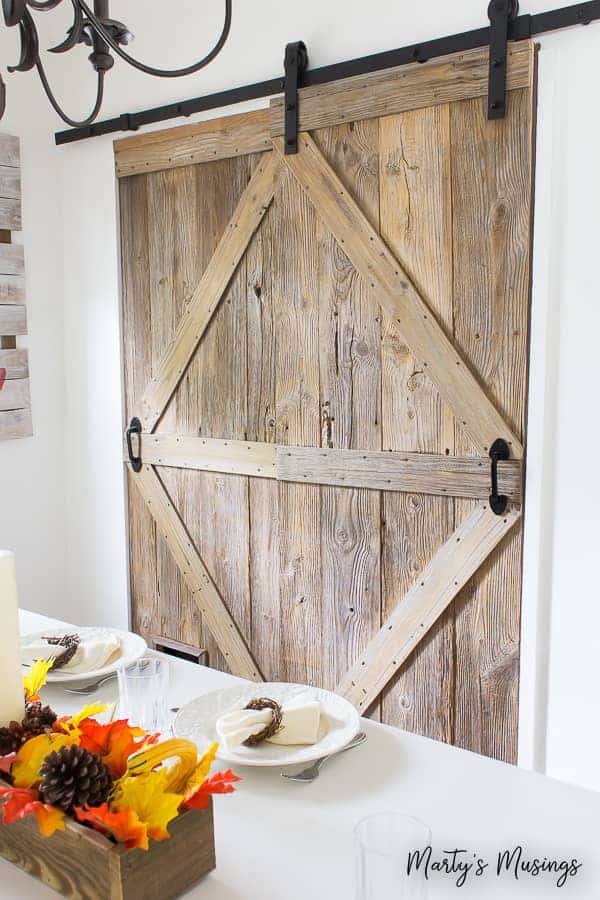
Step 11. HANG THE DOORS!
Once the guide is up and the brackets installed, it’s only a matter of lifting the doors onto the track and determine where the “brakes” or stops go. Typically, that is just short of the opening, so the doors bump right up to the casing or opening. Again, instructions are with the kit.
The door handles are not necessary, but I wanted to avoid splinters on fingers, as well as finish the look.
As a note, the right door rolls back on top of the other and the left is secured in place and does not move.
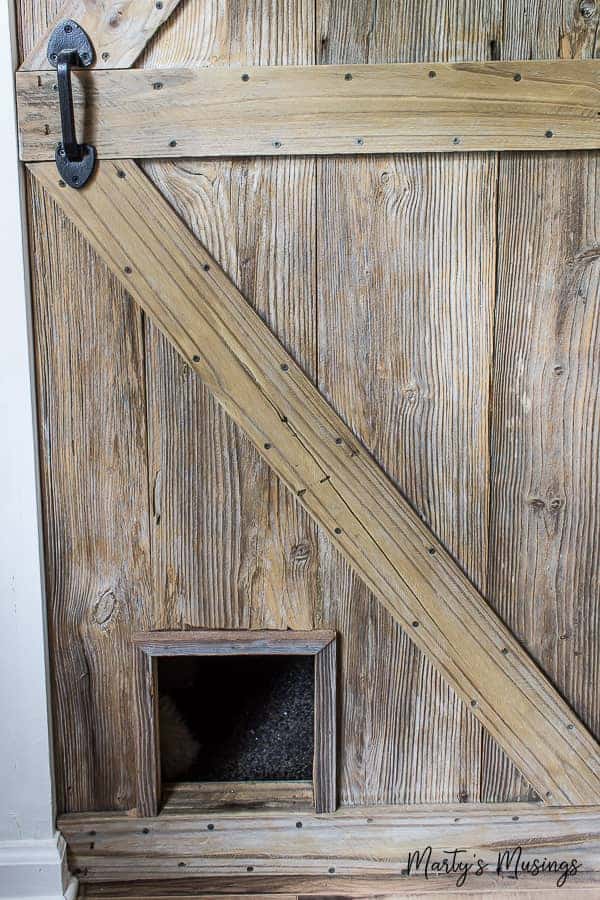
Step 12. Finish kitty door
The kitty door! The pantry also serves as the area where pet food is stored and where the cats abuse the cat litter box. The dogs are fascinated by both things, so we’ve always allowed access through a small pass through door.
I made this one just the right size for all the furry friends in our family! They love it!
This is such a beautiful and unique addition to our area and is perfect in the space.
Marty: Whew! That was a lot of steps to build a sliding barn door! I’m alway grateful for my hubby’s obvious skill and attention to detail.
He just goes outside, fiddles with the wood and comes back in with this amazing creation.
Total oversimplification, of course, and the worst part of the process is usually his annoying wife trying to take pictures!
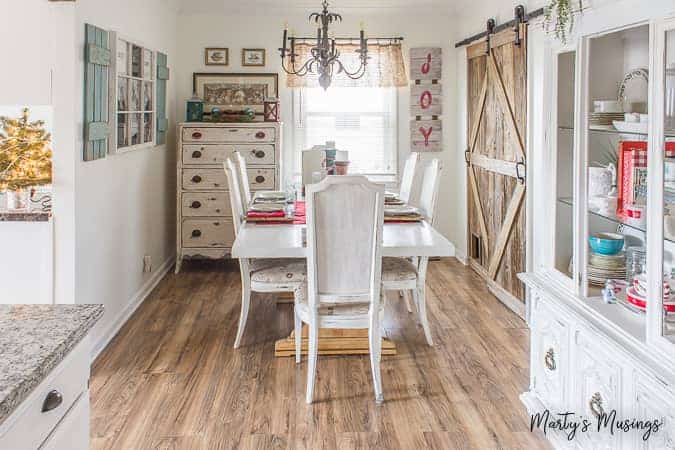
The genius in this particular barn door is the way it meets our need for a pet door into the laundry room/pantry. Rustic and still efficient!
What do you think? Do you have a room in your home where you’d like to build a sliding barn door?
CLICK BELOW TO SEE THE OTHER POSTS IN OUR RANCH STYLE HOME KITCHEN REMODEL:
♥ Small Ranch Home Kitchen Remodel: The Dream Begins!
♥ How to Save Thousands of $$$ on a Kitchen Remodel
♥ 5 Practical Tips on How to Choose Flooring for Your Home
♥ How to Take Care of Your Pets During Your Remodel
♥ Set up a Temporary Kitchen During a Remodel
♥ How to Install Laminate Flooring: DIY Tips and Tricks
♥ How to Choose Kitchen Cabinet Hardware
♥ How to Build a Sliding Barn Door (you are here)
♥ How to Remodel a Ranch Style Kitchen: A Stunning Makeover
♥ How to Build a DIY Floating Mantel (out of barn wood!)

BEAUTIFUL!!!
My husband and I are wanting to do the same thing, one fixed door & one active door. Could you explain and/or show pics. on how you attached the fixed door?
Hi, Evie. My husband and I are actually separated and don’t live in that house anymore. I don’t have any other info to list on the post. Sorry!
Can I borrow your man for a year? Amazing project. Lovely taste in decor as well I might add. Brilliant.
Hi, Amanda. I’m afraid he’s not for rent……or borrowing! He does an amazing job, doesn’t he? Thanks for the compliment as well. We make a great team. Hope you’ll enjoy visiting my site!
Amazing! The barn door made with the help of rustic wood is altering the whole look of kitchen and living room, I can’t imagine like this. I will definitely try to make with your tips a door between my living room and kitchen.
The door is beautiful Marty and what an impact on the room. Now I need some old barn wood! Ha……
Hi, Diana. Thanks so much! We need a new supply of barn wood as well!
Oh wow!! This is awesome! I just love this idea!
Hey, girl! Thank you so much! (Sorry, I’m just seeing this 🙂
Wow, Marty! This is just lovely. I love the weathered look of the door, and I love that the right door is secured so only one rolls over the top. That was what I was wondering about. We actually just built a barn door for the basement but it has a different look. You have quite the handy guy (and little helper).
Hey, Kim. Thanks for the barn door love! Tim did a great job and we love the cat door especially. Can’t wait to see what yours looks like. Ryan is the ultimate handy hubby!