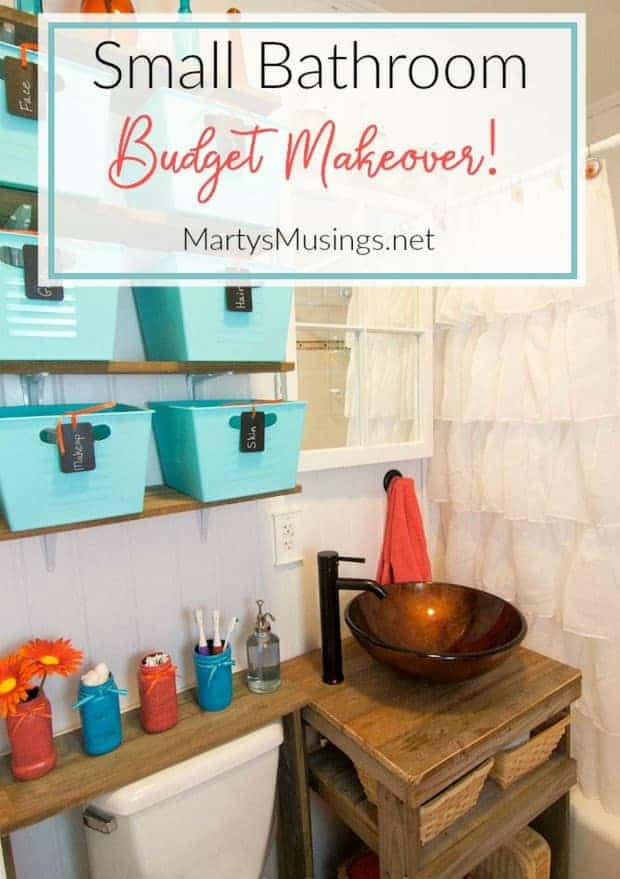
Rustic Small Bathroom Remodel
This post may contain affiliate links which won't change your price but will share some commission. Read more here.This small bathroom remodel combines frugal tips on storage with DIY repurposing projects while creating a rustic, one of a kind space.
(I’ve included some affiliate links for products I used for your convenience. Click here to read my full disclosure policy.)
If you follow me on Instagram or facebook you know we’ve been in the middle of a bathroom demolition for several weeks.
We live in a 2000 square foot house that was built in the 1950’s. Need I say more?
The bathrooms are tee-ninesy. That’s Southern for “if you sit on the toilet your elbows touch the wall and your arms can reach the bathtub.”
And my favorite part? When you sat on said toilet the door opened into your legs, which was always fun when the kids were smaller.
Not.
We have not touched anything structurally in this room for the 22 years we’ve lived here.
Until now.
Dun dun dun
(cue the music).
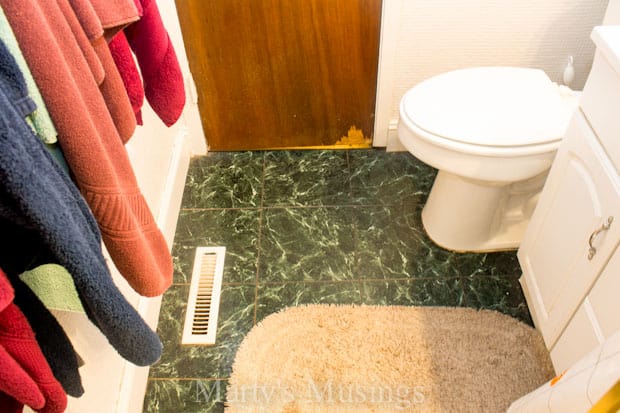
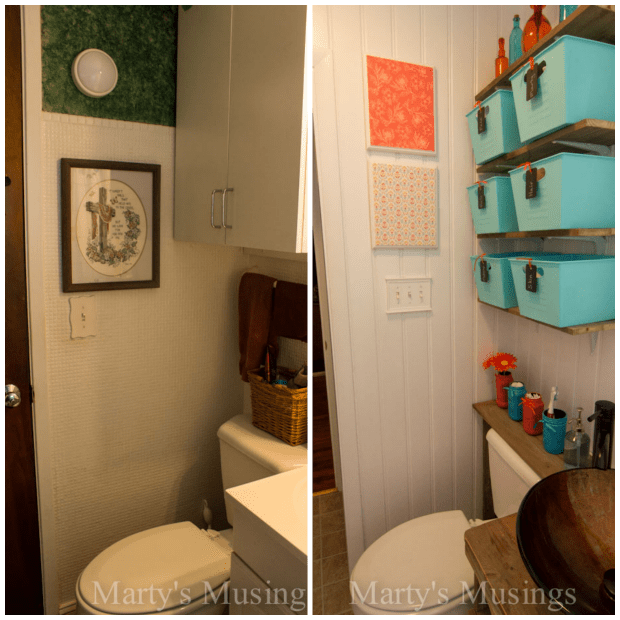
Say goodbye to green floor tiles, sponge painted walls and ugly wall tile.
Welcome white bead board, fence board cabinet and shelves, new fixtures and thrfited accessories with aqua and coral accents.
I’m in love.
The whole reason for the small bathroom remodel? A leak behind the shower kit that was rotting the baseboard.
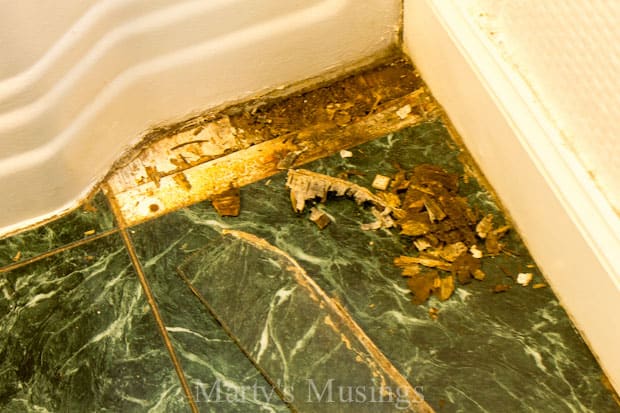
Even though the rotted area wasn’t as large as we feared, we knew it was an opportunity to tackle another DIY project from the ground up.
The only things that remained were the toilet and tub. Everything else? Gone!
The most important thing we did was enlarge the room and discover a source of surprising space. We removed the original door and Tim bought and installed a frame and casing and moved the door 3 feet farther out. This one move was the topic of many heated lively discussions.
I went with my gut instinct that this change would open up the feel of the bathroom even if it was just by a smidgen. That’s Southern for “just a wee bit.”

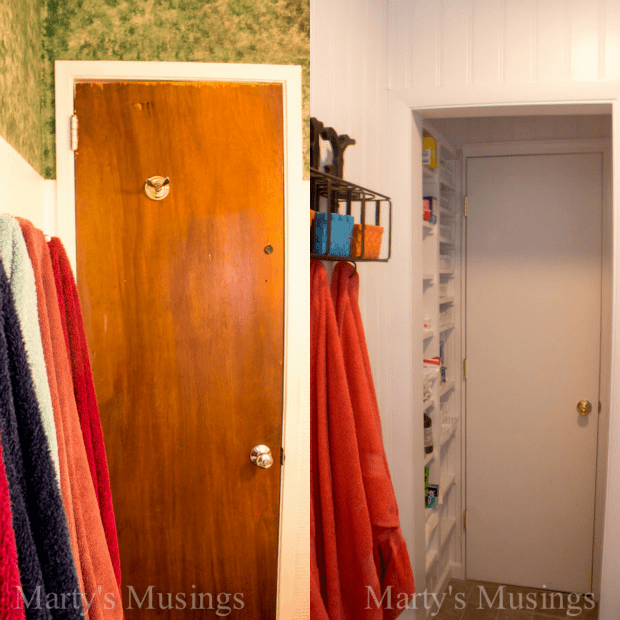
As you’re looking into the bathroom you can see that the door on the left is gone (now replaced with an accordion door) as is the original bathroom door.
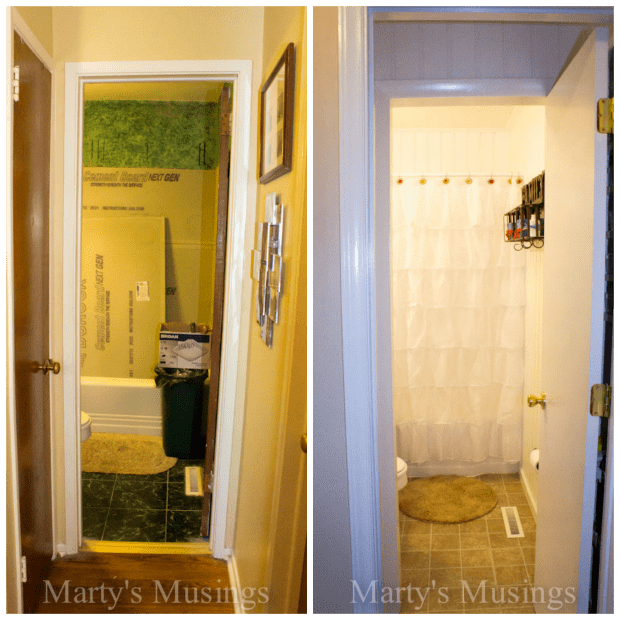
Removing the shower doors, shower kit, sheetrock and wall tile, as well as painting the bathtub were an essential part of the game plan.
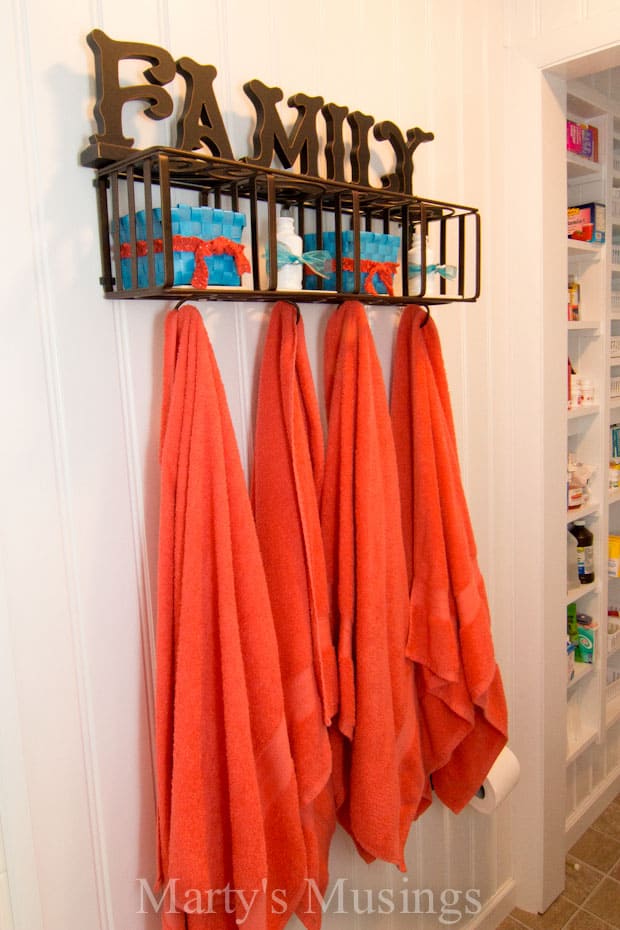
Total fun? A frilly shower curtain with new coral towels.
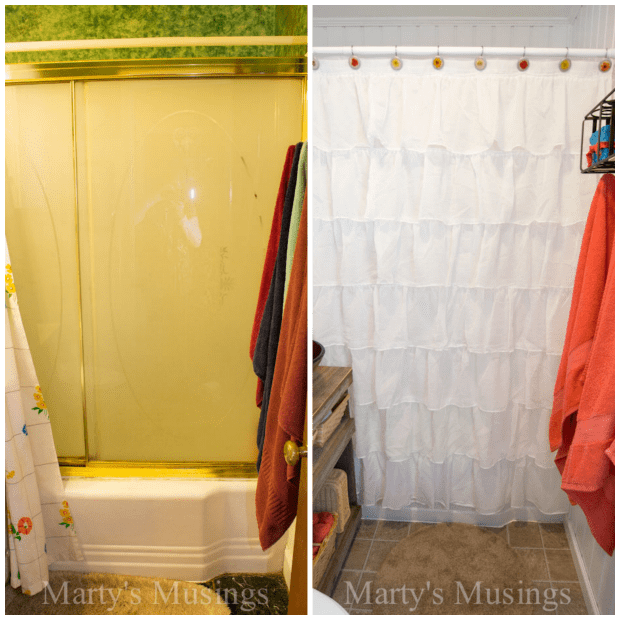
Tim has written a great tutorial on how he tiled the shower himself (parts one and two) with Bondera tile mat adhesive. The end product? Beautiful and totally professional looking.
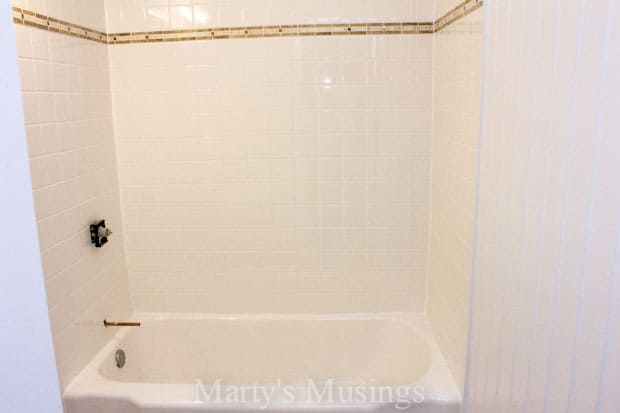
The shower fixtures were an oil rubbed bronze finish that stands out against the tile so well, and I love the new style!
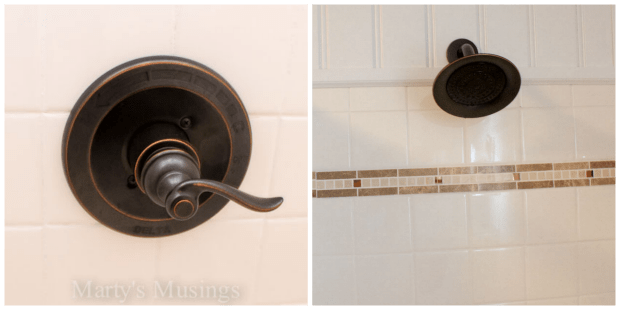
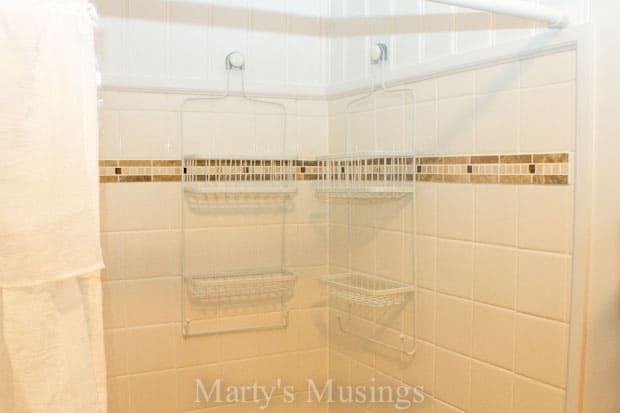
These metal shower organizers were the perfect touch to corral all our toiletries.
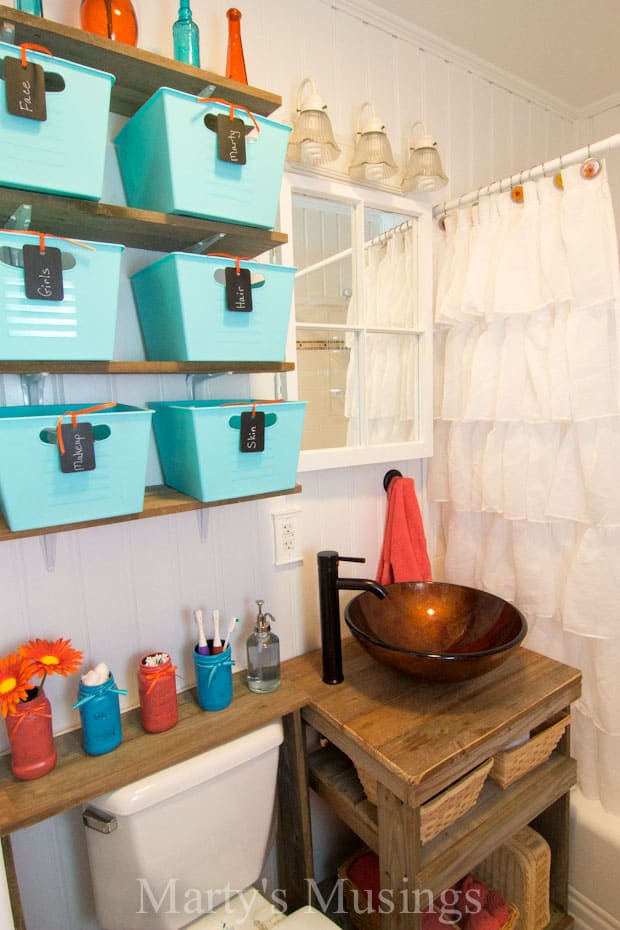
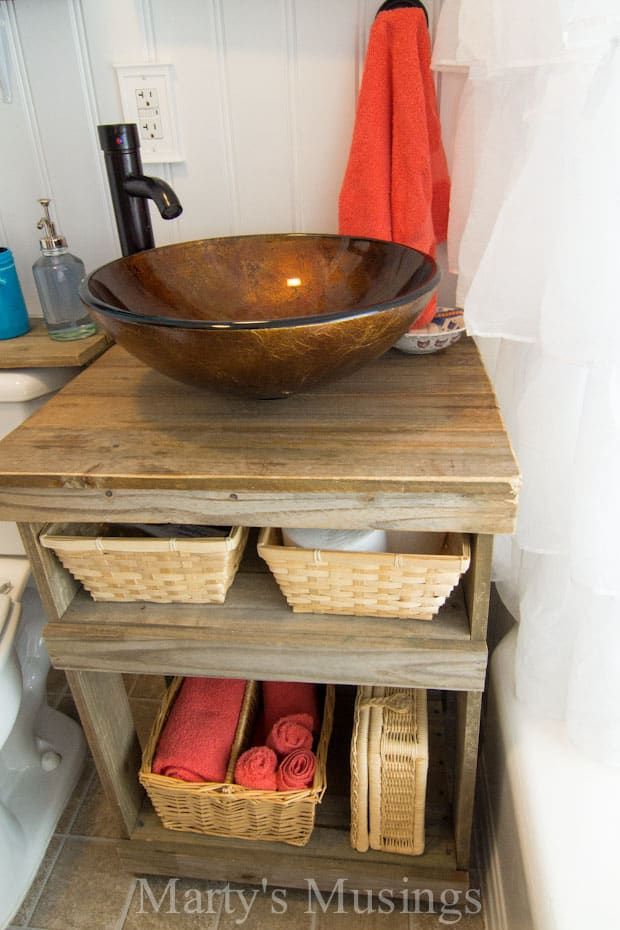
One of my most favorite parts? The new russet glass vessel sink, farmhouse style faucet and fence board cabinet Tim built.
Can you tell we have a thing for repurposed fence board projects?
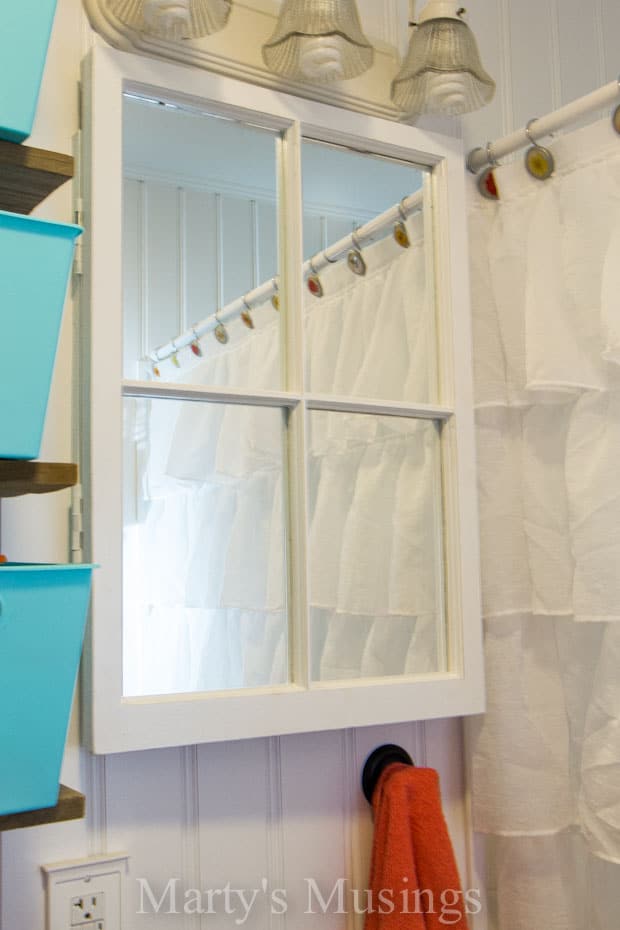
Did you spy anything unique above the sink earlier? Check out this old window mirror. Yep, we like window projects, too.
In this picture you can see Tim removed the cabinet above the toilet, built fence board shelves and an over the toilet tank stand for organization.
Then I got busy decorating with dollar store baskets and repurposed items.
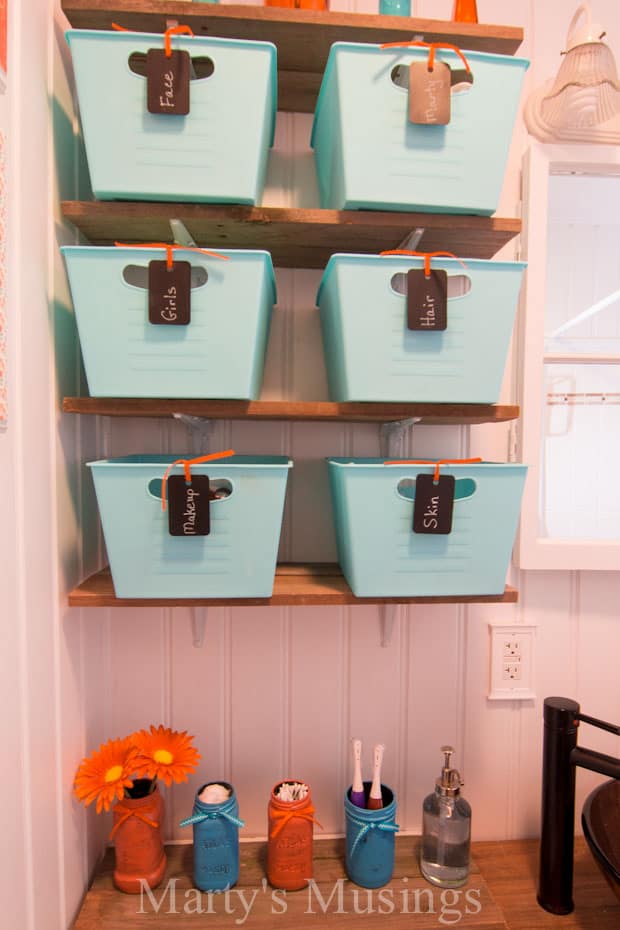
Did you recognize that this shelf is a cd rack turned on its side? $2 yard sale steal and I love it!
Total price of the remodel? Right at $2000. The biggest chunk of this ($750) was the plumbing labor to replace the internal lines and valves behind the wall and change the shower fittings. We worked on this everyday for about 6 weeks while Tim had a slow spell in his painting business.
 n
n
My hubby and I will be writing about this remodel for quite a while! There are so many DIY projects and fun things to tell you about.
We are confident that if we should need to sell the house in the future there’s a much better market now with one very functional (although tiny) and beautiful little bathroom!
Read all the posts in our Small Bathroom Remodel:
- Rustic Small Bathroom Reveal (you are here)
- Fence Board Bathroom Cabinet
- Bathroom Old Window Mirror and Glazing Tutorial
- Built-in Bathroom Storage
- DIY Shower Tile Part One
- DIY Shower Tile Part Two
- How to Install a Bathroom Exhaust Fan and Electrical Outlets
- How to Install Beadboard Paneling
- How to Install an Interior Door
Small Bathroom Remodel Source List
Wow! You’ve done it very well! I want to remodel my small guest bathroom, and i’m looking for some nice ideas. I don’t know if I’ll be able to DIY! I have some ideas from the catalogues i’m loooking.. We’ll see!
Ali
Hi ~ LOVE this!! 🙂
Hi Marty! This is my first visit here! Love what you and your husband did with your bathroom! I bet that 3 feet made a huge difference! Love the rustic wood sink basin. It looks great with the way it was extended over the toilet for more storage. I’m sure I’ll find plenty of DIY inspiration here. We’re finishing up a very small 1956 vintage black and white tile bathroom makeover this week. You’ve given me some ideas for some open rustic wood shelving. I’m following along now!
Wow! That’s a great transformation, Marty! I’m impressed, and loving that ruffled shower curtain! Thanks for linking up to the B&A party!
Just curious, but how did you install the wainscot? Tried using liquid nail-type products, finally nailed it, but of course, I couldn’t hit a stud at the beginning or end of the panels! Your restroom looks awesome!
From Tim: Not sure what “wainscot” you are referring to, but the bead board (4′ x 8′ sheets) was glued to the subsurface with Liquid Nails® and nailed at the ceiling and the floor where both moldings would cover, as well as the corners. So all the nails were hidden behind the crown molding, baseboard and corner molding. Since I was going on top of existing sheet rock, I didn’t have to worry about hitting the studs and the construction adhesive did its job.
I understand your issue if you were installing right on top of the studs; I always mark the studs with painter’s tape on the floor and ceiling. Then, when the material goes on the wall you know where to nail…and where the adhesive has been placed.
Hope that helped. Running the vertical lines of the bead board from floor to ceiling was a great decision for us! It is often stopped at a chair rail, but doing it all the way made this small space look much bigger and lifted the ceiling.
Tim
I just posted about the beadboard and paneling and you can read about it here: https://www.martysmusings.net/2013/08/how-to-install-beadboard-paneling.html
This is amazing! Pinning now. 🙂
Hi, Chelsea! Thanks so much for the pin for our bathroom remodel! Have a great day!
Thanks so much for linking up to Your Whims Wednesday, I featured this on my blog tonight! Come stop by and grab a featured button 🙂 http://www.mygirlishwhims.com/2013/07/your-whims-wednesday-122-and-features.html
such a happy, sunny space! nice work!
I love every.single.detail, Marty! You did an amazing job! I’m including a link back in this week’s DIY highlights! 😉
Thanks, Roeshel, for featuring my bathroom remodel! If you want to use it for one of your showoff/featured posts I would be honored. Just a thought: 🙂 My hubby did a great job with the grunt work!
Let me know if you want me to feel out the form with any info. Thanks so much and I hope to see you at Haven!
Beautiful bathroom makeover! Love the pops of color. Thank you so much for sharing at Give Me The Goods Monday!
Jamie @ So Much Better With Age
That is a tiny bathroom, but you managed not only to keep it organized but to give it so much style! I love it!!!
If you get a chance, please link up to my linky party: http://suburbsmama.blogspot.com/2013/07/sunday-linky-18.html
Love your bathroom. You did such a great job. My bathroom is the exact same layout. I am getting ready to remodel it too. I would love it if you would link this up to my new and improved link party that is going on right now. Such a spectacular space.
http://www.ifitsnotbaroquedesignblog.blogspot.com/
Wowza! I’m going to go out on a limb here and say that those (lively) discussions were TOTALLY worth it! I absolutely love what you’ve done! All the great touches in there just make it scream with personality!
Hi, Toodle. Thanks for taking the time to comment on our bathroom remodel. Yes, we had lively discussions and now they were totally worth it! I love the room’s personality, too, and I’m doing way better at keeping it clean!
Great use of a small space! The fenceboard vanity and shelving are AMAZING–nice work!
Hi, Gretchen! Thanks for the compliment on the bathroom. We just wanted something different and unique and I think we got it!
For such a tiny space, it looks great! You’re great at reusing pieces and finding new ways to utilize them to work for you!
Great makeover. I love your sink and vanity!
Wow! It is beautiful! Such a great job! I wish we were as skilled!
Jenni
Marteeee! How did I miss this! It is just wonderful! All of your “lively” discussions resulted in a beyond wonderful outcome. I could go on and on, but I love every.single.thing. Great vision, great teamwork, great tenacity to see the job thru and great job!
Suzy, you’re the sweetest. Thank you for taking the time to comment on the bathroom that I talked about so much! Only another blogger would understand how long it took for that post to happen! You’re such an encouragement to me, and I can’t wait for Haven and our road trip! Woohoo!