How to Install Beadboard Paneling
This post may contain affiliate links which won't change your price but will share some commission. Read more here.Create interest in any room with this step-by-step tutorial on how to install beadboard paneling. It will totally change your home!

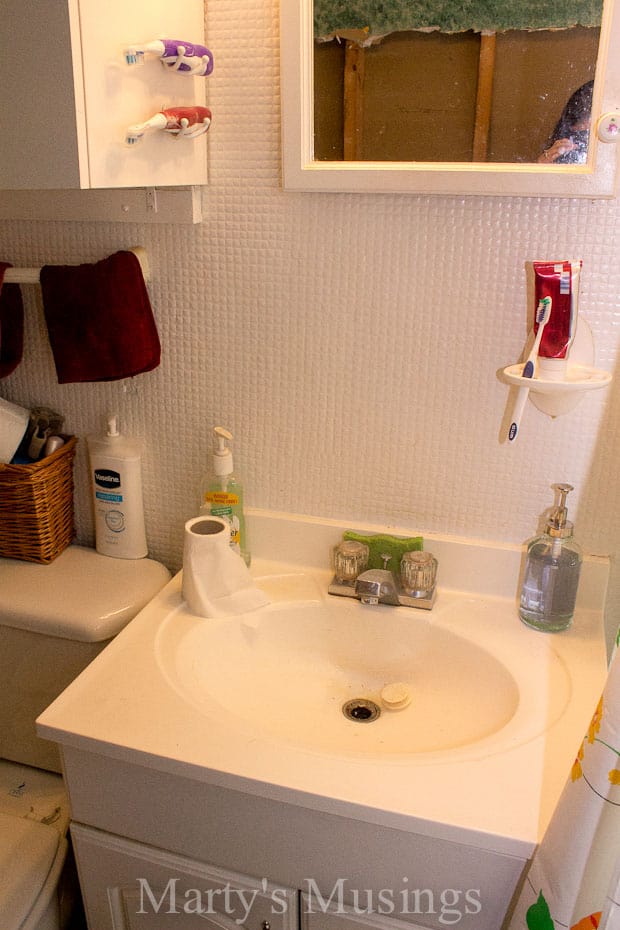
This small bathroom in the ranch home (where we lived 30 years before the divorce) had several problems (leak and moisture behind the shower kit, ugly tile walls and inefficient use of space). We knew we wanted a different look from what we’d lived with for 22+ years.
This was a total room makeover job and my ex-husband did all the work except some plumbing. Everything was harder because this was such a tiny space to work in.
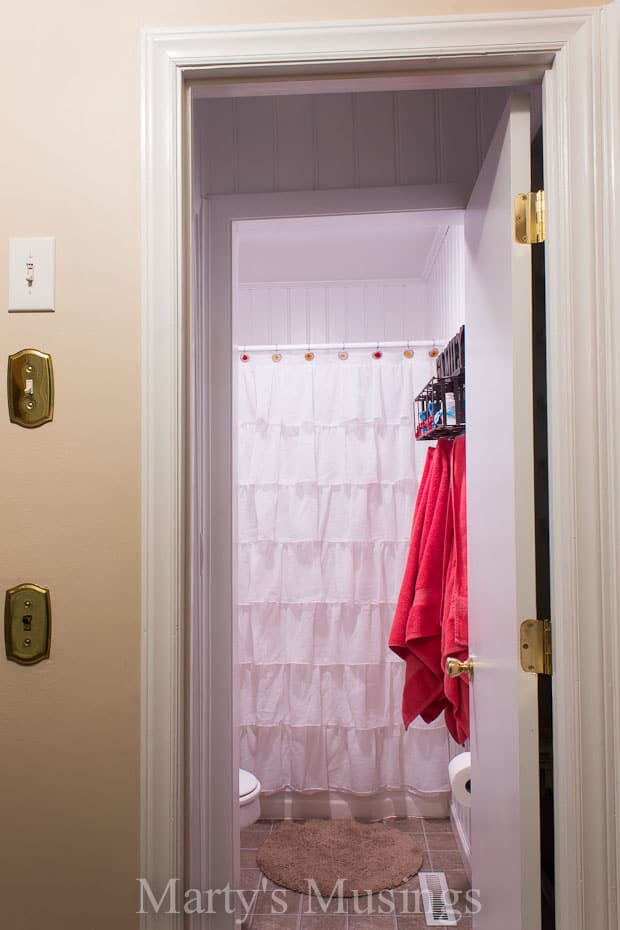
Here’s a picture of the ugly before. Don’t you just love the green sponge painting on the walls?
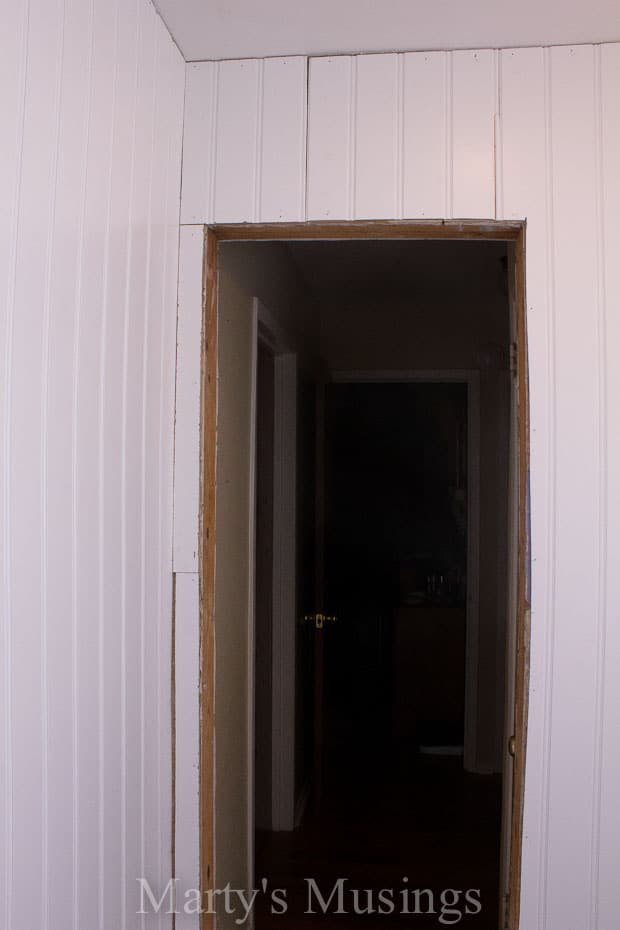
Yes, the toilet was right next to the door which meant my children would hit my legs opening the door if I was sitting on the toilet (and all kids need mom when she’s in the bathroom, right?)
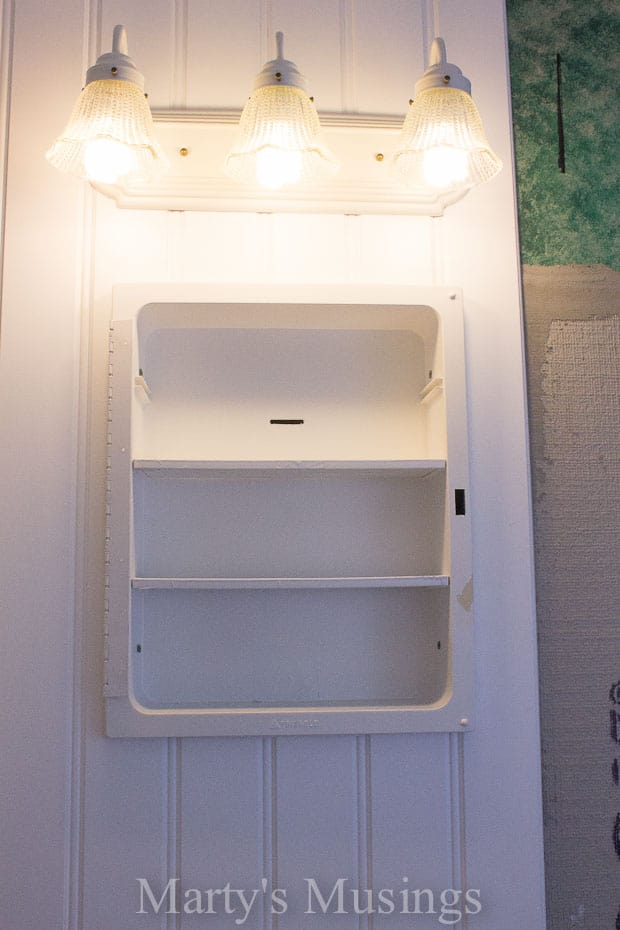
You can read in this post (Built-in Bathroom Storage) how we took down that door and very cleverly added extra space.
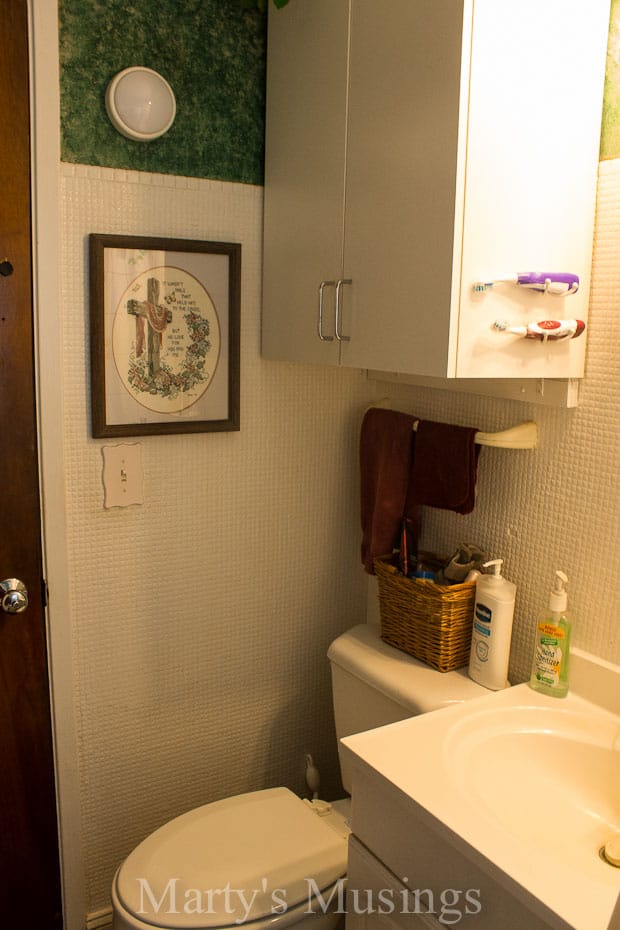
There was also white tile over 3/4 of the walls in the entire bathroom. Even covered with white paint it was truly ugly.
Materials you’ll need


Instructions
Step 1. Prep the room first.
Usually every construction project begins with de-construction of some sort. In our case, the mosaic tile simply had to go.
We knew this would come at the cost of the drywall underneath, so rather than deal with an entire room filled with repair work, we decided that leveling and covering with beadboard was a better option.
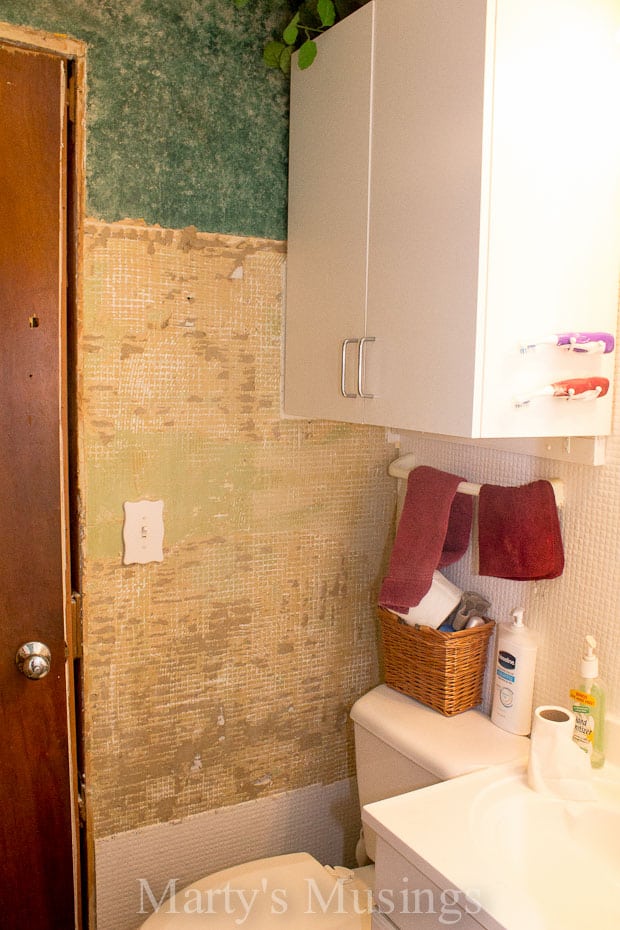
This was incredibly intimidating, but it gets even worse.

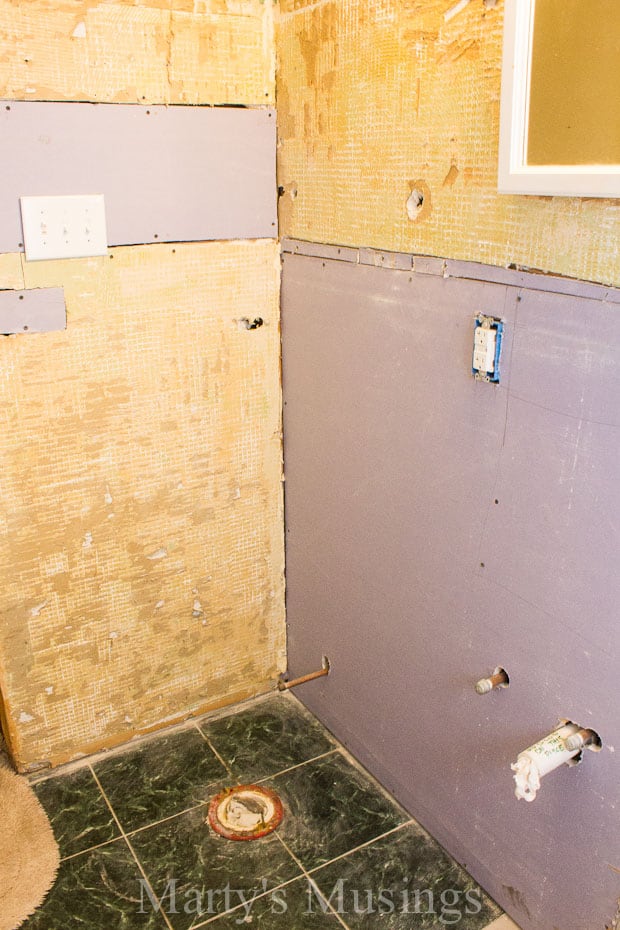
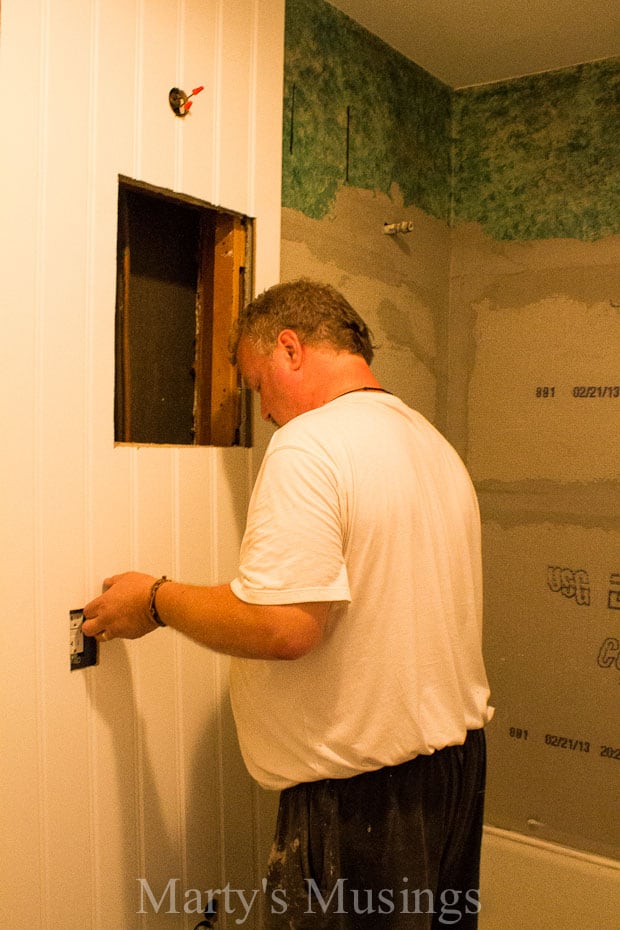
Step 2. Remove and replace sheetrock as needed.
Not only did the tile come down but most of the sheetrock as well. There was both electrical and plumbing work to be done behind it all so almost everything you see here was removed and replaced.
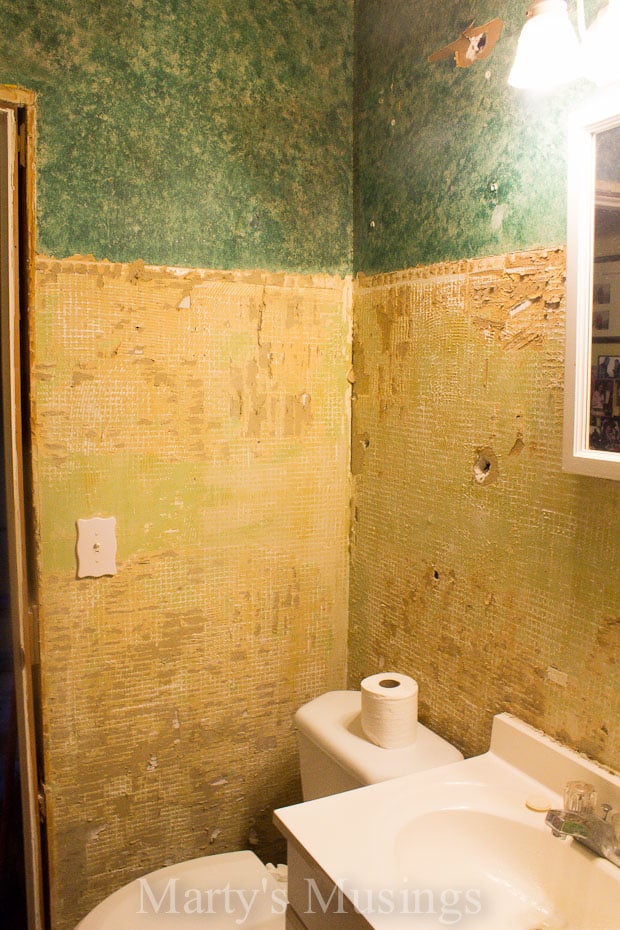
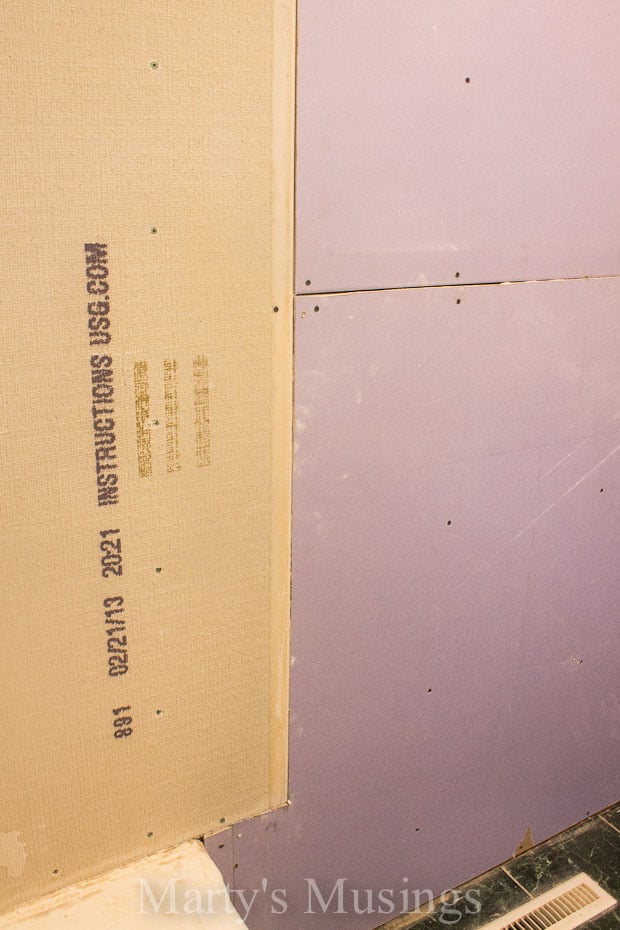
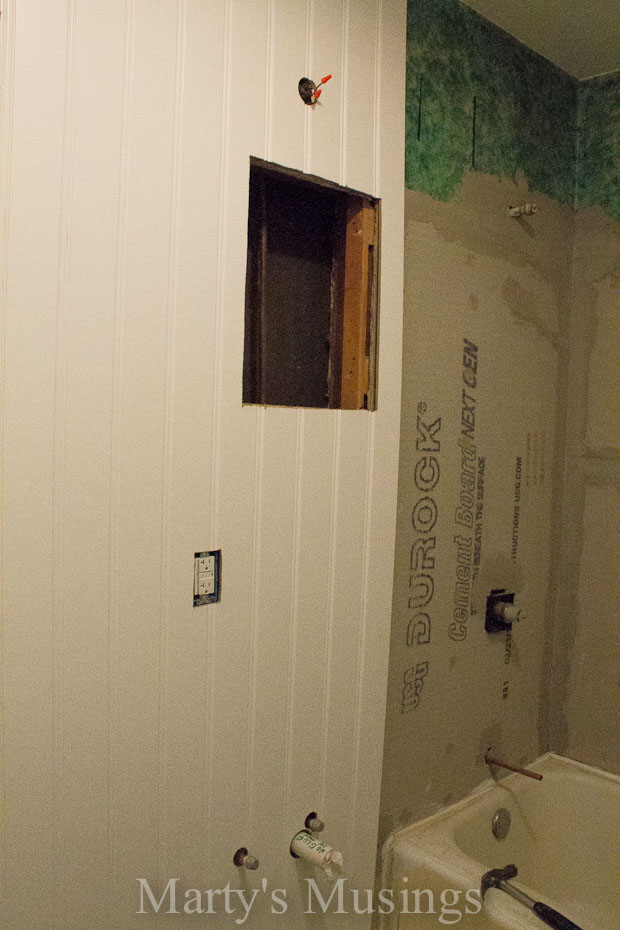
Coming out of the tub surround was the Durock (cement board), then new sheetrock running into existing sheetrock which created so many transitions.
The desire was to maintain everything at the same level – 1/2″ thickness in preparation for the beadboard. Not looking for perfection, just level.

Step 3: Mark the studs with painter’s tape and a marker.
A good idea, even before this point, is to mark the studs in some way on the floor and/or ceiling so you know where the solid points are. You can use painter’s tape and a marker or pencil.
Even though the beadboard would be glued and sparsely nailed, I still wanted to hit those studs as much as possible. Another way to find studs is with a stud finder.
Again, not pretty, just level.
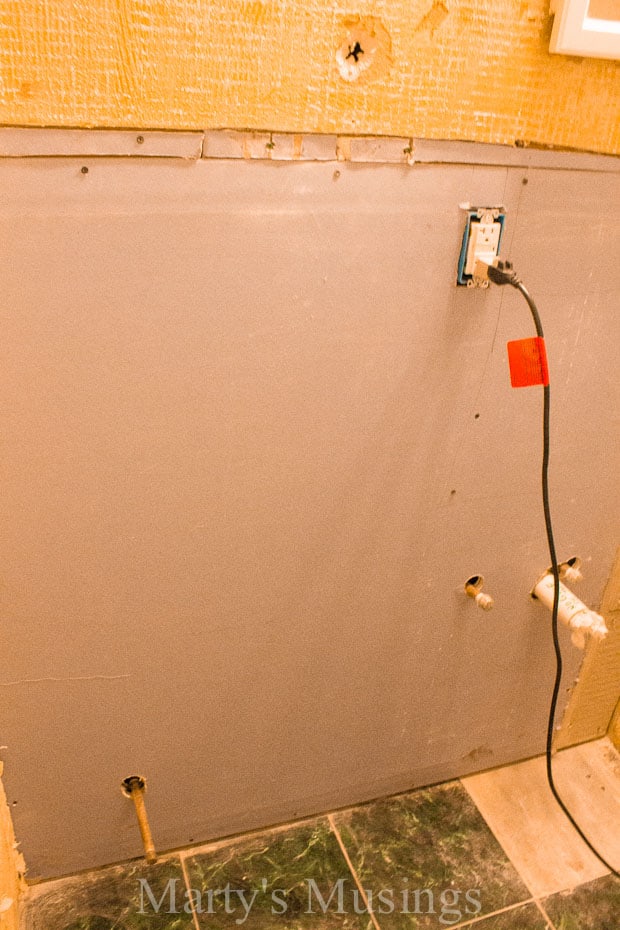
The electrical is new, a GFCI and a three-way switch for the new ventilation fan/light combo (with the existing light above the vanity). These were additional obstacles to consider when using the jigsaw to cut the beadboard but there was a solution.
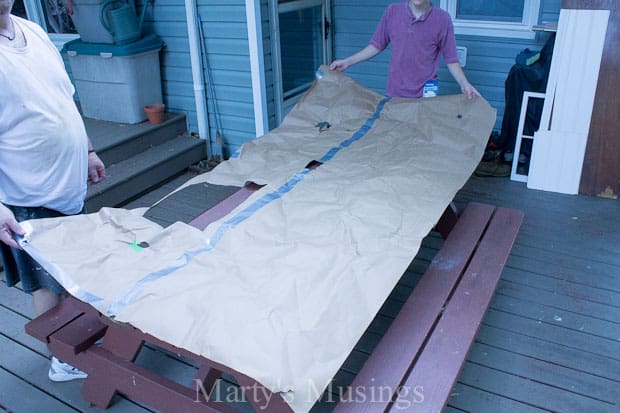
Step 4. Make a template.

Beadboard comes in 4′ x 8′ sheets so we made a replica out of Kraft paper that comes on a roll. The template was held up on the wall and all those things we knew we had to cut around were easy to find; pipes, electrical and even the big hole for the medicine cabinet!
There is NO wiggle room when using beadboard, especially when running it from the floor to the ceiling. Everything had to be in exactly the right place or the $32/sheet beadboard was wasted.
Step 5. Cut out template with a jig saw.
The template was genius! After marking and cutting out the holes, those were transferred to the sheet of beadboard with a marker and then everything was cut out with a jig saw.
Step 6. Glue to sub-surface with Liquid Nails adhesive and then nail.
Each piece was glued to the sub-surface with Liquid Nails construction adhesive and then nailed along the top, bottom and corner where I knew the trim work would hide the finish nail holes.
In the entire bathroom, I only had four partial seams that were not in corners, since the DIY shower tile ran right to the beadboard.
Glued, nailed, and moving on. You can see what I mean about those cutouts needing to be exact. No wiggle room…
Step 7. Caulk where necessary and paint.
These seams would either be covered or lightly caulked; crown molding at the top, corner molding and then baseboard at the bottom. Everything got a coat of paint to finish it off.
It is astonishing how these long, vertical lines make the little bath seem bigger. I’m glad we decided not to stop it with a chair railing.
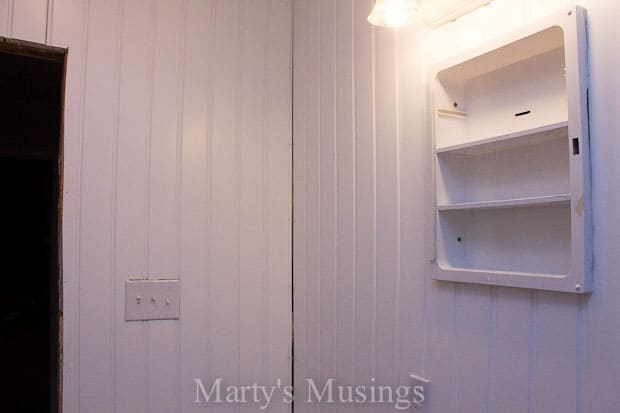
Step 8. Reinstall light switches and electrical outlets.
We bought all new fixtures for this small bathroom remodel and the finish work was completed on the beadboard installation.
In case you’re wondering, the entire bathroom remodel took about six weeks, working almost every day.
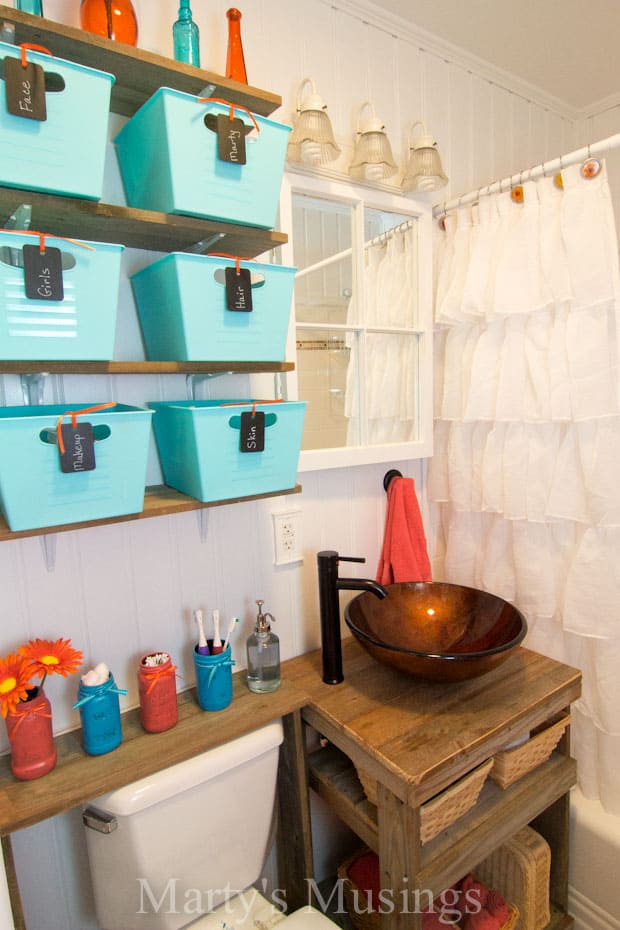
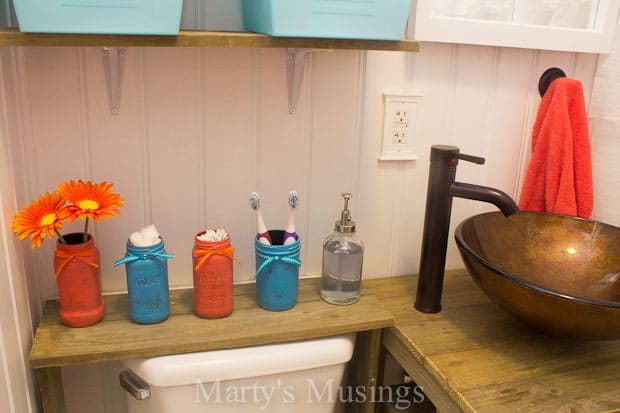
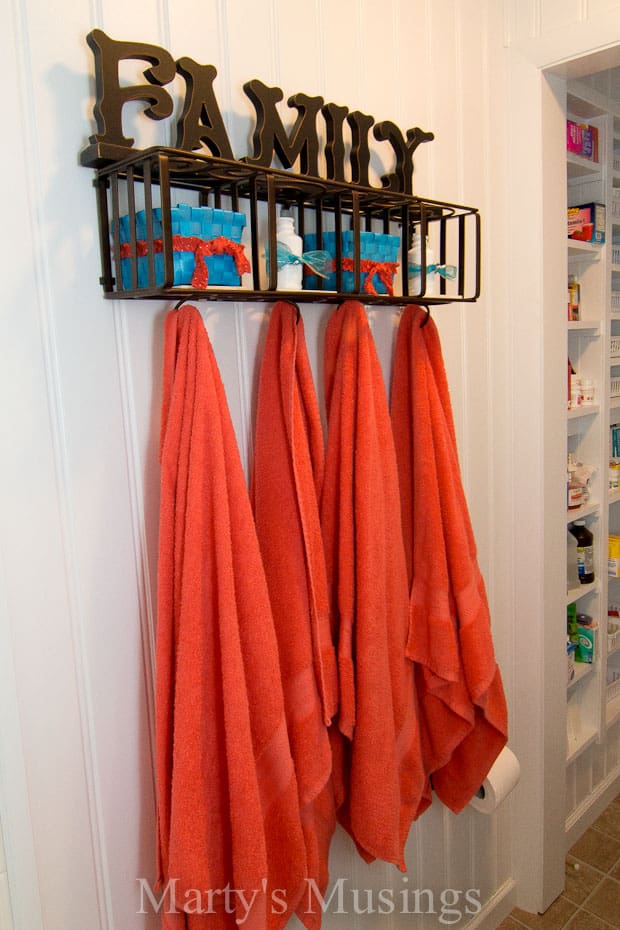
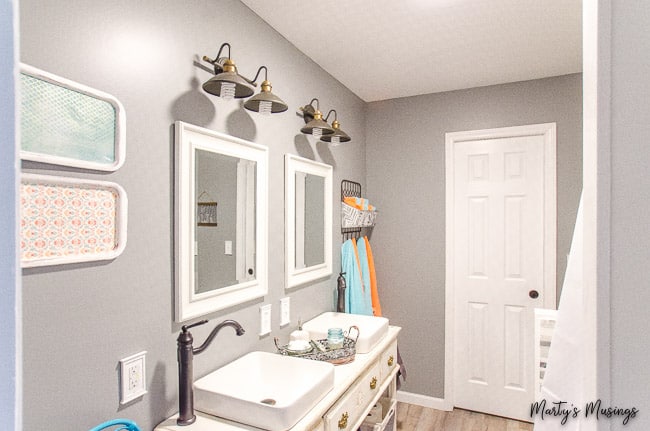
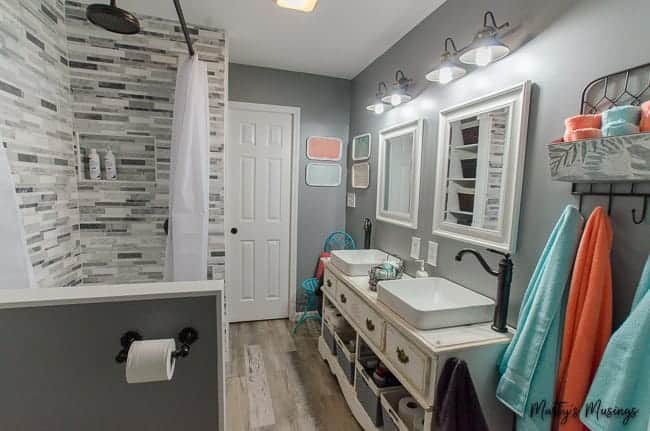
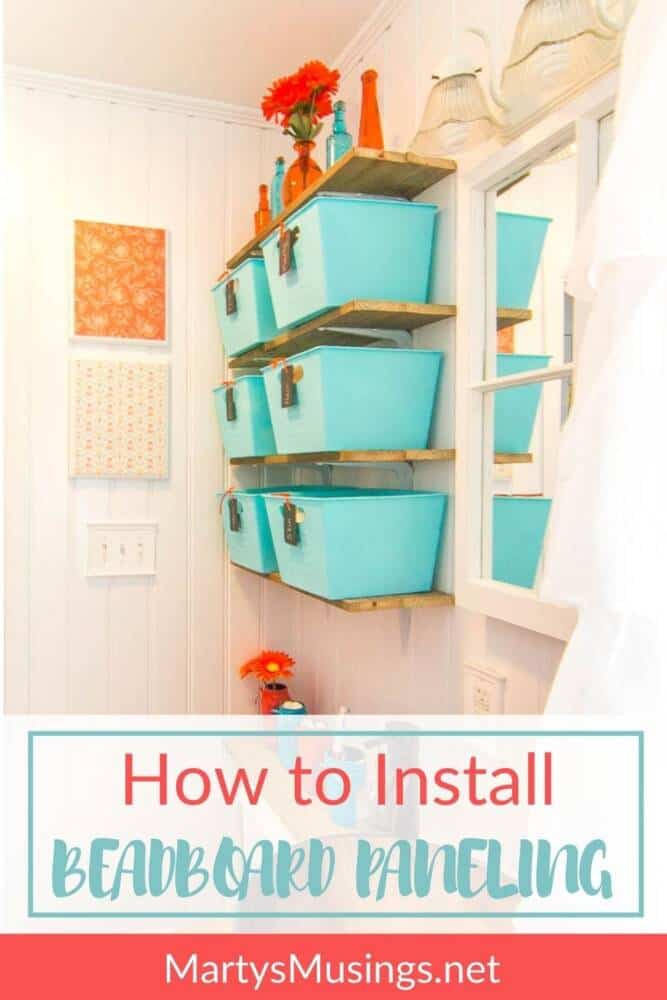
It was totally worth it! Every little detail was planned, down to the rustic jars, coral accents and blue baskets.
I love the way the beadboard makes this tiny bathroom feel so much larger. It’s a fabulous clean and updated look.
FAQs about beadboard

How to Install Beadboard Paneling
Ingredients
- 1 Liquid Nails
- 1 roll Frog Tape
- 1 roll Kraft paper roll
- 1 Jigsaw
- 1 Waterproof caulk and seal
- 1 Stud finder
- Flat head nails
- 1 Tape measure
Instructions
- Prep the room first.
- Remove and replace sheetrock as needed.
- Mark the studs with painter’s tape and a marker.
- Make a template.
- Cut out template with a jig saw.
- Glue to sub-surface with Liquid Nails adhesive and then nail.
- Caulk where necessary and paint.
- Reinstall light switches and outlets.
More Bathroom Projects
Bathrooms are often the last room in the home to receive attention and a makeover. There are both easy and more difficult DIY projects here to inspire you.


What a beautiful makeover! I love the bead board paneling! This was the most viewed link as last week’s Whatever Goes Wednesday link party, so we’ll be highlighting it at this week’s party tomorrow. We hope you’ll stop by and join the party again!!
Thank you, Miranda! I’m so excited that it was the most viewed. I’m not sure I’ve ever had that honor anywhere! This room was a labor of love, and sometimes, just a labor! Have a great day!
Great tutorial! I’m hosting a Wall Decal giveaway that you should enter! http://homecomingmn.blogspot.com/2013/08/wall-decal-giveaway.html
Thanks so much for linking this up at Project Inspire{d}! I featured you this evening: http://yesterdayontuesday.com/2013/08/project-inspired-29/. Have a great night!
Love the coral and blue, love the counter, love the bead board! Great project! I can’t wait to redo our master bath. Thanks for sharing! Stop by my Friday’s Five Features and link up this post (and others)! http://diy-vintage-chic.blogspot.com/2013/08/fridays-five-features-no-5.html
Hey, Becca. Thanks so much for the compliment. I enjoyed all the finishing touches in the bathroom, and I hope you enjoy yours as well!
I LOVE what you’ve done with this space Marty!!
Thanks for linking up! I featured your post in my wrap up http://tidymom.net/2013/40-creative-projects/
Have a great rest of the weekend!
Amazing transformation! Love it Marty 🙂 Pinning!
Debbie
Thanks so much, Debbie!
Oh my stars I love your bathroom! That sink is fantastic, the color scheme is fun, and the beadboard looks great! Don’t you just love having a handy hubby?!?!
Hi, TaMara! Yes, I’m blessed with my handy hubby. If it wasn’t for him I’d be living in a condo because I’m sure not handy. But I can write about! Thanks for stopping by.
Your tutorial was great and I love the final transformation!! Please link-up this terrific post at our rules free Blog Strut Link Party/blog hop, Thursdays at 5:00 PM PST. Our Blog Strut isn’t your average blog hop, it offers many ways to promote and give exposure to your blog and posts. We pin all links, featured posts, as well as offer free co-host spots and button/logo redesign, plus free social network link ups. Join us and show what you’ve got!! http://www.mypersonalaccent.com/linkyparty/
Love this bathroom update gorgeous!!! Mine is on my to do list too!!!
Hi, Ann! Thank you so much! The bathroom was a labor of love, that’s for sure! More labor than love at times, but a great result!
I love this, thanks for the tutorial, just pinned.
XO
Kristin
Hey, Kristen! Thanks for the encouraging words. My husband did a great job on the bathroom (with a “little” coaching from me!)
Loads of work but a beautiful outcome! Thank you for a great tutorial.
Thanks for stopping by, Jeanette! My husband is very thorough in his tutorials!
Hi – found you from Not just a housewife. We’re in the process of contemplating our bathroom remodel, hence my desire to click! Love the tap fittings, can you mention where you got them from? and the sink?
Hi, Annet. Sorry it took me so long to get back to you. Here’s a link to ebay where we got the sink. We can’t find the paperwork for some reason but this is as close as we can find. We do love it but I think I paid a few dollars less than the listed amount.
http://www.ebay.com/itm/Bathroom-Artistic-Glass-Vessel-Vanity-Sink-with-Oil-Rubbed-Bronze-Faucet-6681E3-/271218460045?pt=US_Sinks&hash=item3f25e1458d
Wow I love all your rooms! Your craft room is fabulous! All your breadboard is beautiful. We put some up in our old house…ohhh it was hard! Come link to centerpiece Wednesday and share this post with us. http://thestylesisters.blogspot.com/2013/08/centerpiece-wednesday-89.html
Karin
Wow! Such a great tutorial. I’ve always wondered what people do with the seams between the beadboard. Now I know that and a whole lot more!
Hi, Cassidy. I’m glad our tutorial was helpful. Please come back and visit!
Wow what a difference, I love what you’ve done can’t go wrong with beadboard and I love the new blue baskets. You did a beautiful job 🙂
WOW! What an amazing transformation! It hardly looks like the same bathroom. Don’t you love a good DIY project? Well, at least the end product makes all the work worth it. Thanks so much for sharing! Enjoy your day!
Wow what a fix/redo. Your hubby must be a very patient person, bless his heart. It looked like a lot of work to get it all finished. Did you get things you way you wanted them?
Does he do things the way you ask him to or completely ignore your requests to do things his way? As you might wonder why I ask is because my hubs is very handy also but it’s getting him to do things the way I have in my mind, not. Yeah right. We have many “discussions” about things like that. Then that’s if I can even get him started on anything, he’s retired so not like he has to go to work.
Isn’t it incredible how awesome a room can look with paint, beadboard? I’d so love to do some beadboard in our bathroom. It’s a nice size room but I have my ideas and “somebody” else has his. He’s very determined that his ideas are better. Nuff said.
No I’m not asking you to referee. I just have to wait til I can say things in just the right tone of voice and way to ask hubs to do things. I waited over 3 months to get him to finally spray paint my bargain wire bird cage from thrift store. Why don’t I spray paint? Hubs has a control problem, only he can do certain things right. If I tried to do it he’d be out there grabbing the paint can out of my hands then I’d have to kill him, um I mean walk away.
I have a really pretty geranium I got at City Mkt on clearance for $2 that’s doing way better than geranium I bought at $4, go figure. Anyway, when I bought the bird cage I thought of putting a pretty flowering plant in it to put on my big table on front porch.
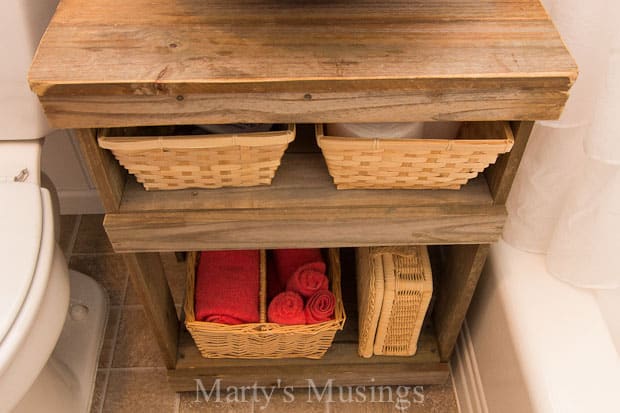
Love your shelves over the throne. The baskets are so pretty in the room with the coral. It just so happens the blue/aqua and coral are my bestest colors this summer.
We had one of those stands over the toilet so I had hubs cut off the legs, just hang the cupboard over the throne, looks so much better now.
You two must have been determined to get your throne room done to keep at it, bless your hearts. My hubs would have just done what he could to get it done, call it thru. YIKES. Be very grateful for your hubs. I am for mine also but there are times….. Enjoy rest of summer. Sorry this is so long.
Hi, JaneEllen! Thanks for commenting! I appreciate you sharing and I know I’m blessed with a DIY husband. We’re like all normal couples with push back and forth, but we eventually work it out, one project at a time. Have a great day!
Looks amazing, what a difference that after made. love the colors, the bead board, and the organization. Well done! I shared this on my FB page. Hugs, jen
Thank you, Jennie! I appreciate you sharing it!
Hello, I LOVE-LOVE-LOVE your “small bathroom remodel”!! We are in the infant stages of doing a COMPLETE remodel of our mail bathroom (long story…) I LOVE the beadboard, especially for covering up drywall that had wallpaper on it, but my husband is not sure how it fits behind the toilet……we are replacing the toilet, so this would be the time to hang the beadboard. But, my husband is afraid that it would be too tight of a fit behind the toilet….any suggestions? Thanks so much! Oh, and I can’t tell you how much I LOVE the sink/cabinet/over-the-toilet shelf idea!!!!! Gonna have to show that one to the husband!!!!!!
From Tim: There may be two options for you. First, you could just use a lower profile bead board that is only 1/8″ thick. It is less expensive, has a slightly different design, and will still glue adequately to existing sheet rock. The other option is to go with a different toilet manufacturer that has even the slightest variation in tank dimensions. You would have to really pay attention to your clearances, but even if you gained an 1/8″ that would allow for the bead board. Hmmm – maybe one last option would be to cut the bead board right behind the tank and just let it be sheet rock. If you do it tight enough and paint before the toilet goes back in you may not even see it. As a painter, I see a LOT of wallpaper behind toilet tanks that never got removed and no one is the wiser!
Good luck!
Great job! You know I love my beadboard!!! 🙂
You and me both, Anne! Good luck on your project gallery 🙂 It will be amazing, I’m sure!
Amazing! I especially love the shelving over the throne! I have an ugly wire storage rack with extra long legs over mine with plastic shoe boxes holding my stuff. I’m going to try to find the studs in the wall as soon as I’m done posting this so I can try to replicate yours! Lucky lady having such a handy hubby 🙂
Thank you, Andi! I’m glad you like our “throne” room!Good luck with your project and I do have a great handy hubby!
it looks great! You’ve given me the incentive to upgrade my toothpaste globbed bathroom now (no it’s not really toothpaste; the previous owner was just overly generous with the texturing. UGH!!
I keyed into your outlets immediately–what did you do to make them stand out the way they do? Please share.
Hey, Maureen. Here’s my husband’s reply:I am assuming you are looking at the receptacle covers. They were purchased at Lowe’s and are allen + roth found here (http://www.lowes.com/pd_415402-77652-WW018RRR-WT_0__?productId=3777951&Ntt=decorative+outlet+covers). I needed something slightly over-sized to cover just a little gap around the receptacles and I thought these complimented the space nicely. Oh – I also found them on clearance at a fraction of the list price! Lowe’s has a rather nice selection of decorative covers in a number of styles and materials.
Thanks so much for the reply- I hadn’t realized face plates have gotten so fancy. Will definitely look for these.
Marty, we used beadboard in the laundry room for pretty much the same reason. The sheetrock was damaged from where we ripped out the minuscule closet where the pantry shelves currently are now. The problem ran into where we had to add another foot to the 4×8 sheet because of our 9′ ceilings. It was not easy to line up those horizontal seams. 🙁 I still love your bathroom and love that it was a family project. The best kind. xxoo
Sorry your beadboard was so fussy! I guess that’s the good thing with having a lower ceiling! I absolutely love the beadboard and that it’s different than what most people do. I still love the bathroom, too, even though it’s still little. Now at least it’s pretty 🙂
That looks great! I love beadboard so much!
I am about to start an attic project where we will be using beadboard. Can anyone give me an idea of how to match seams when over 8′? Do i have to add trim or is there a way to hide the horizontal seam? I appreciate any help you can give.
Marty – the room and the beadboard look fantastic and what a great tutorial! Thank you so much to you (and hubby! 🙂 for sharing and pinning! Have a wonderful weekend!
Thanks so much, Cindy! My husband did a great job and now it’s a fun and pretty room (although it’s still small!)
Wow what a project…and it turned out amazing. Your sink is wonderful!
Thank you, Ann. I love the sink, too. It’s so different for us and I still kinda keep waiting for the water to just fall out of the bowl! Lovin’ the style, though. Thanks so much for hosting a Pinterest party each week!