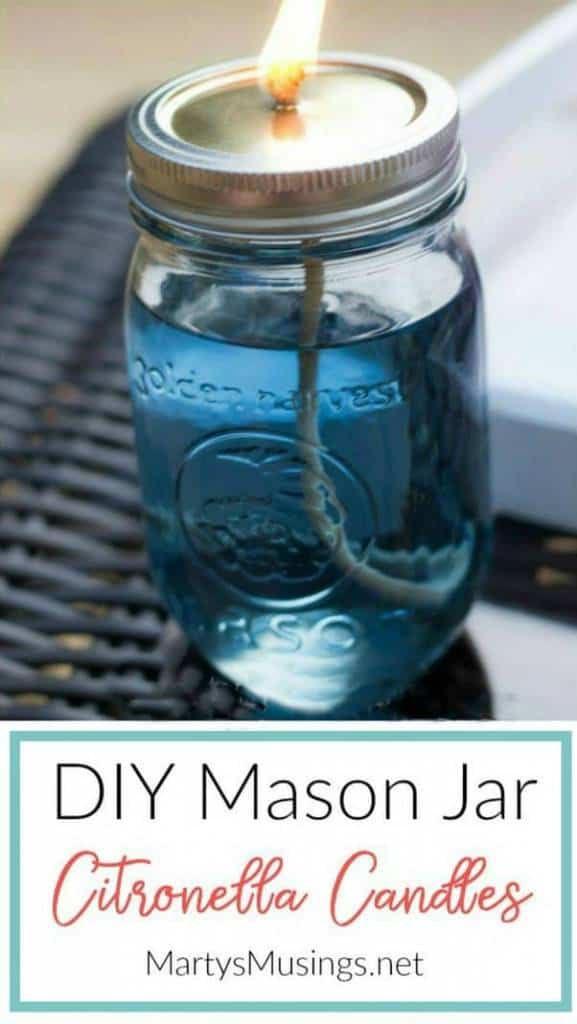
How to Make DIY Citronella Candles
This post may contain affiliate links which won't change your price but will share some commission. Read more here.Looking for an easy chemical free way to keep bugs away? These step by step instructions for DIY citronella candles are cute and effective!

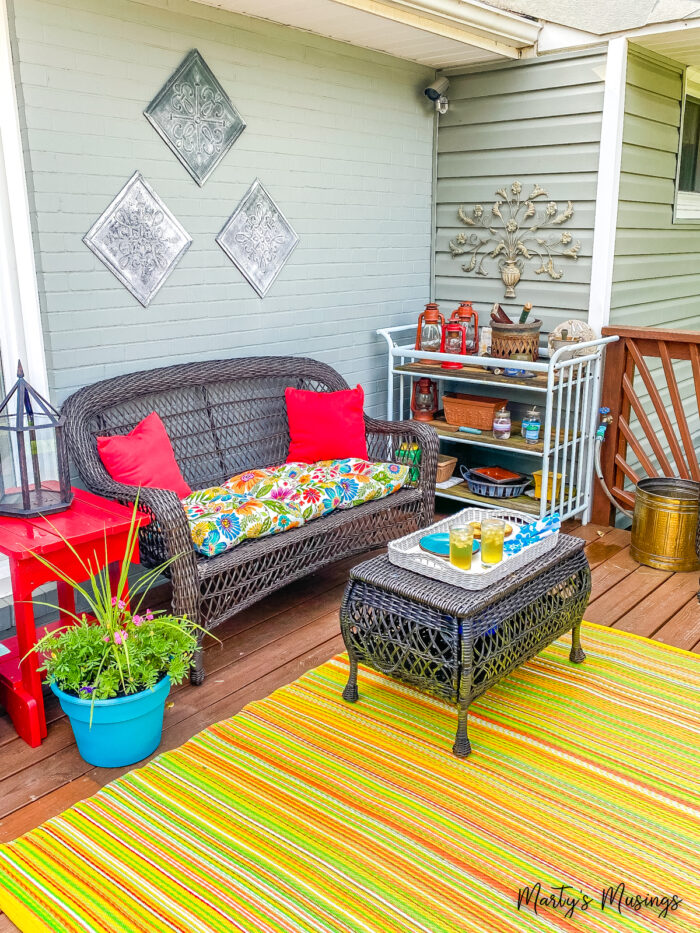
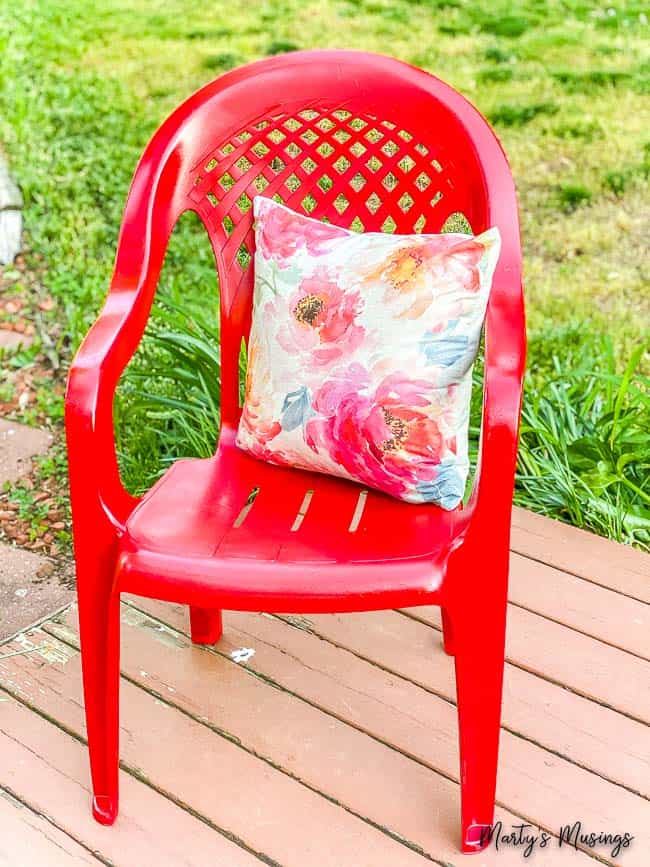
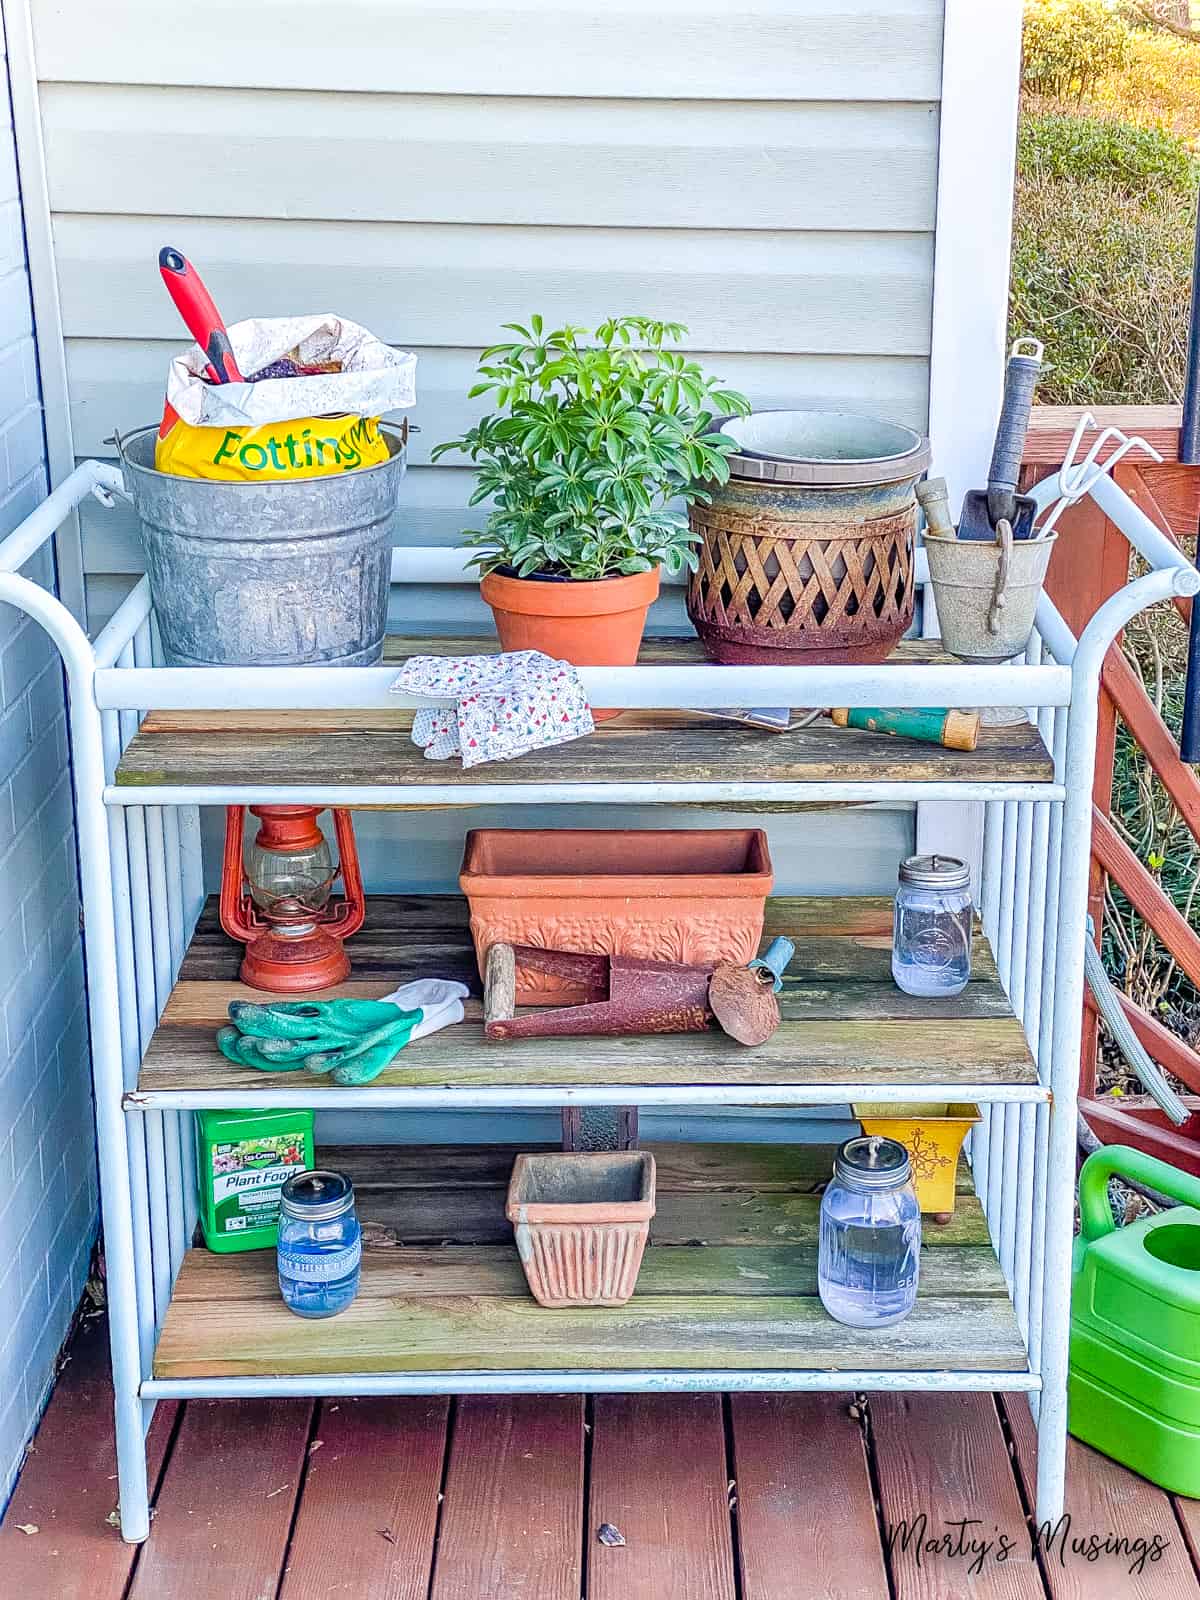
Summer is the perfect time for outdoor projects! I love finding ways to decorate my home on the outside that don’t cost a lot of money!
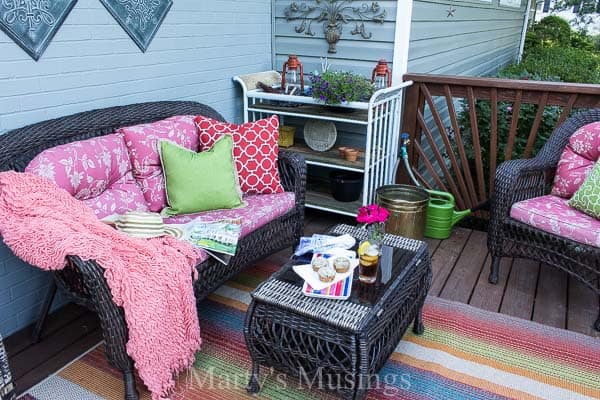
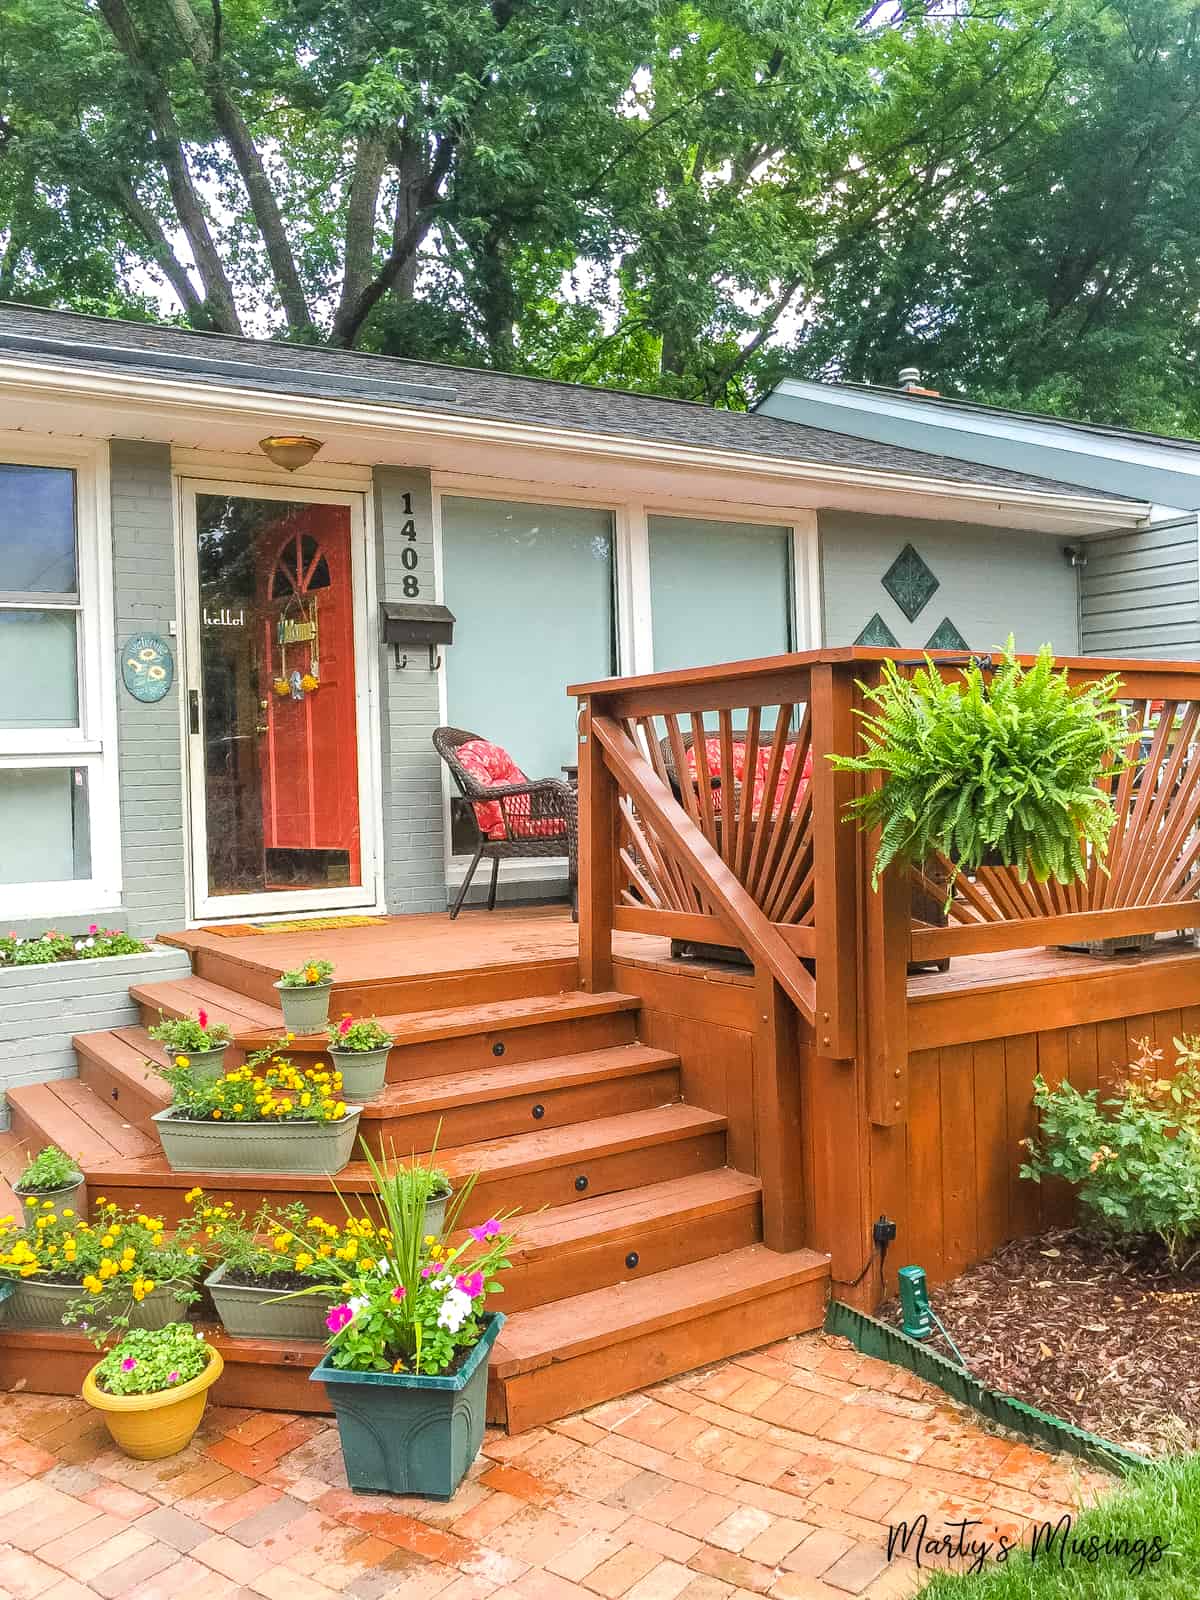
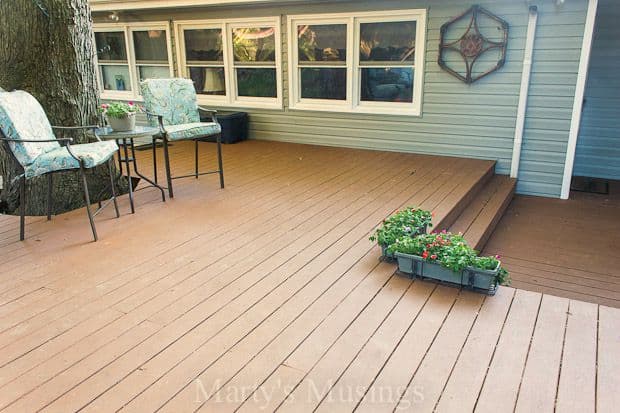
Our front deck was one of the biggest projects we undertook in our 30 years in our home before the divorce. From a tiny little stoop to a large and inviting deck, this outdoor space created so much new curb appeal!
The one thing that always distracted us and made our time outside unpleasant? You guessed it! Mosquitoes! So I found a solution to scare away those nasty pests and use all natural ingredients!
Citronella oil is a plant-based insect repellant that can be used to create a natural bug spray that gets the job done! This project doesn’t require a double boiler, melted candle wax or even an oven!
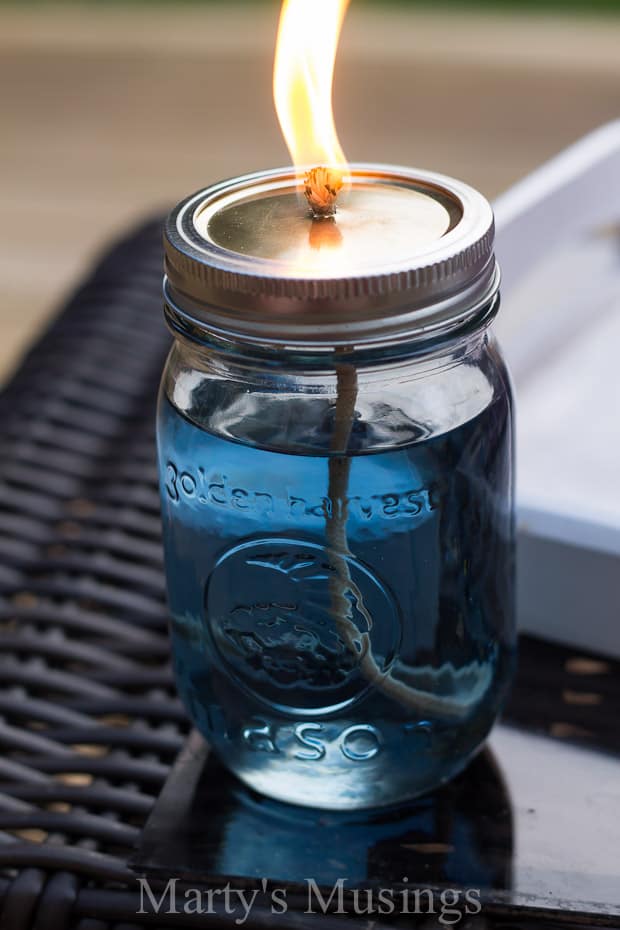
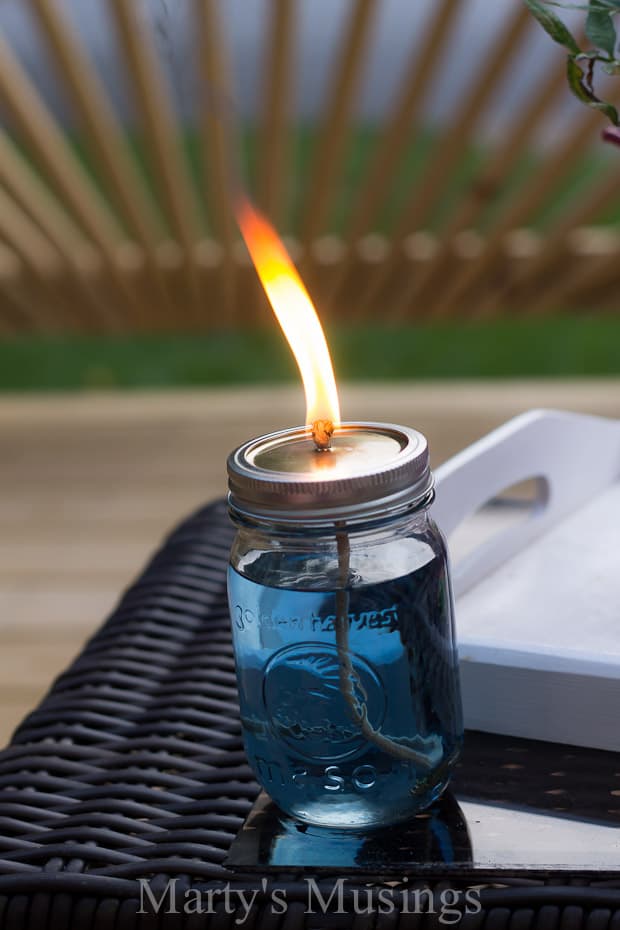
Cue the cute mason jar mosquito repellent candles! (See how I used them in my ranch style house on the front deck.)
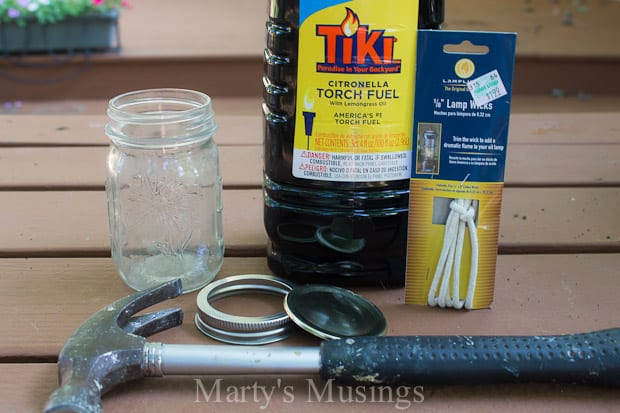
Materials
(I’ve included some affiliate links for your convenience. Click here to read my full disclosure policy.)
Pint mason jars (or these cute ones with handles)
Citronella torch fuel
1/8″ lamp wicks
Phillips head screwdriver or a nail punch
Hammer
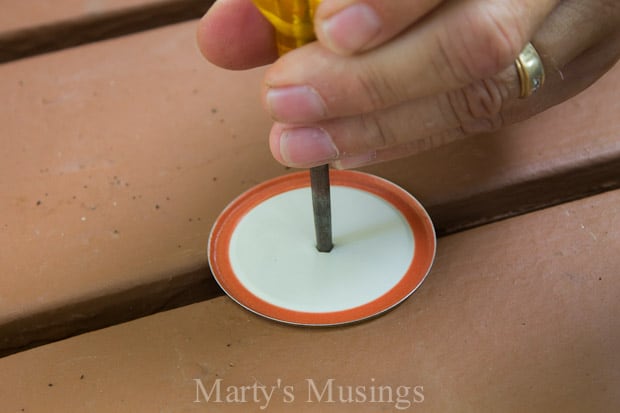
Instructions
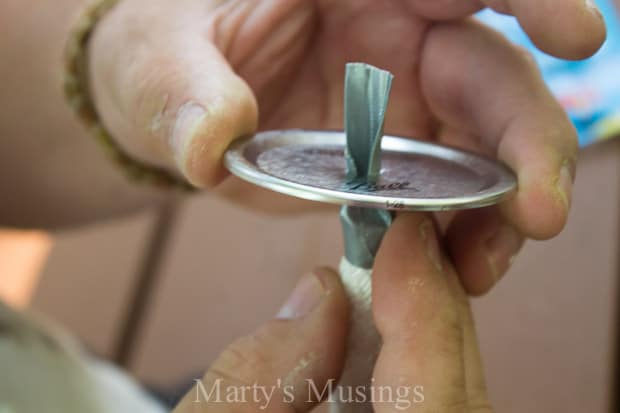
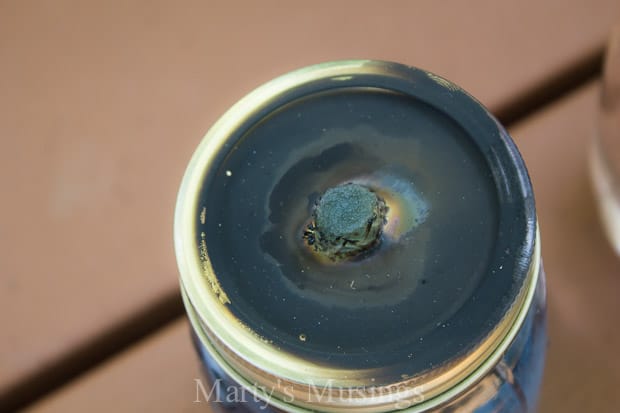
Step 1: Use a pint-sized mason jar lid and punch a hole from the bottom in the center of the lid.
This allows for easier installation of the wick. This will help keep the wick upright. Also make sure you don’t punch a hole in the surface the lid is laying on!
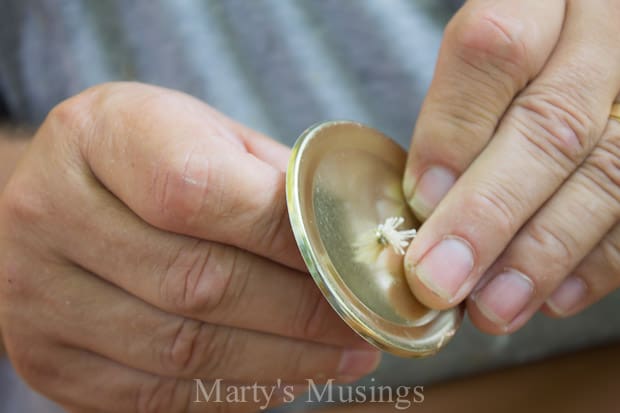
Step 2: Push and twist the wick through the hole in the lid leaving 1/8 inch exposed.
Second option:
When we first experimented with the wicks we used torch wick replacement, a much larger wick, and wrapped duct tape at the tip.
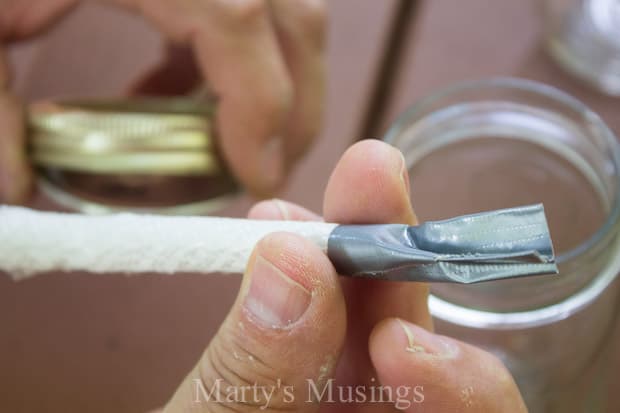
This aided in pulling the rope through the opening.
Once the rope was through we just snipped off the duct tape with scissors.
However, these created larger flames, and I wasn’t comfortable with this (especially with a new deck I didn’t want to see burned down!) so we chose to go with a smaller wick.

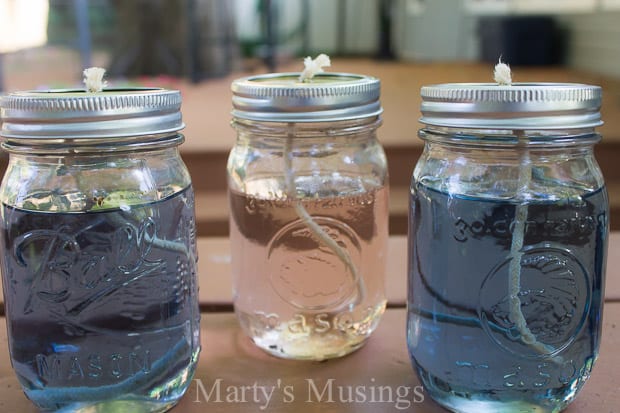
Step 3: Pour the citronella torch fuel into the jar.
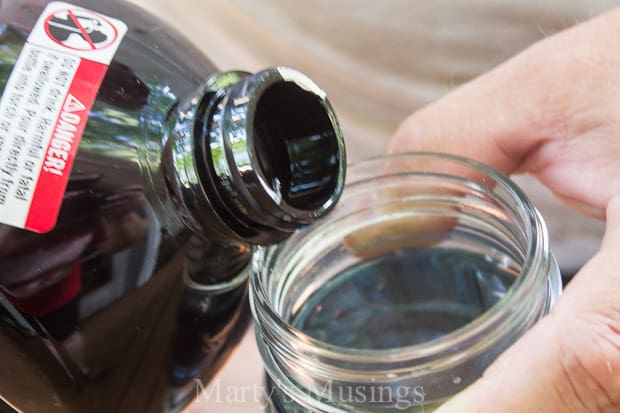
This is the citronella torch fuel we use and love.
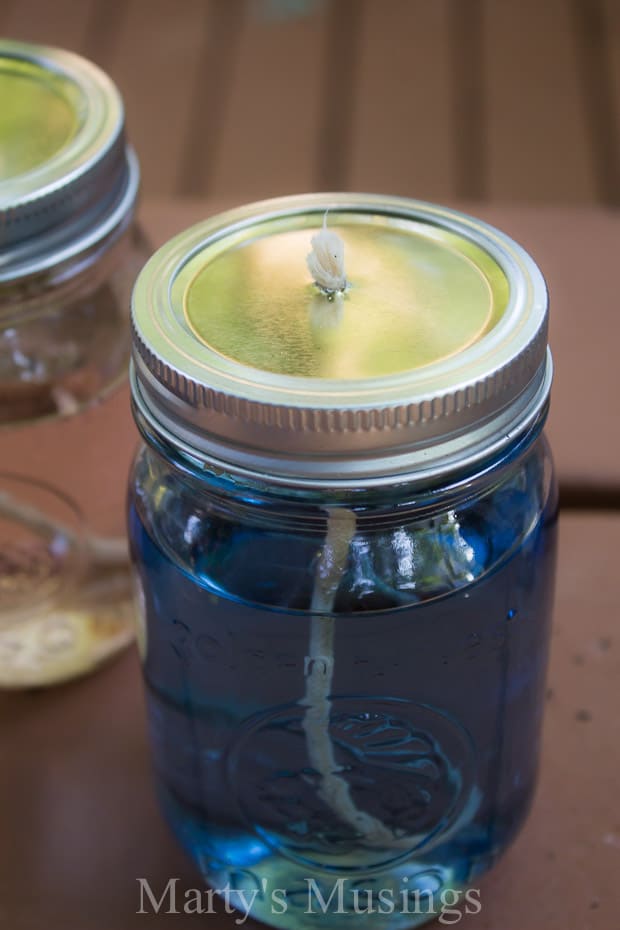
Step 4: Screw on the lid and ring and pull the wick through.
That’s it! This DIY craft is both cute and easy!
Some tips for making citronella candles
- A smaller wick will give you a smaller flame!
- The rubber outer ring on the lid will melt with exposure to heat and may become difficult to remove. Let it cool before replacing and keep extra lids on hand!
- The citronella oil changed colors with exposure to sunlight.
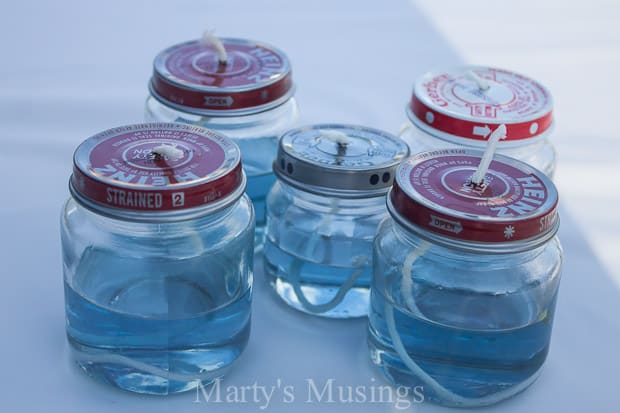
- You can use any size jar, from baby food, to pint to quart.
What size jar should you use?
For my oldest daughter’s baby gender reveal we used baby food jars for the tables in the yard. Perfect addition to an outdoor party!
These little candles make a great gift for neighbors or friends and create a warm and inviting ambiance for an outdoor room.
Close your eyes and imagine the warm breeze and good company while your homemade citronella candles chase away the bugs!

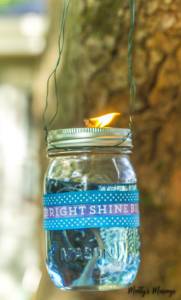
You can even hang the citronella candles from a sturdy tree branch on your patio or deck. Be careful and don’t leave them unattended and create a fire hazard or danger!
FAQs about DIY citronella candles
More Outdoor Living Ideas
All the ideas and instructions you need for relaxing outdoor living on a budget.

DIY Citronella Candles
Ingredients
- 1 pack Pint or quart sized mason jars with lids
- 1 bottle Citronella fuel
- pkg 1/8" lamp wicks
- 1 Phillips head screwdriver
- 1 Hammer
Instructions
- Use a pint-sized mason jar lid and punch a hole from the bottom in the center of the lid.
- Push and twist the wick through the hole in the lid leaving 1/8 inch exposed.
- Pour the citronella torch fuel into the jar.
- Screw on the lid and ring and pull the wick through.
- Some tips for making citronella candles
Video
Hi, does anyone in England know if this fuel is available here? I would love to deal with the blighters & the biters! Thank you.
Yes the oil is available n the UK look for lamp oil I am sure it’s available most places, camping shops, amazon and ebay
Just a q…
Should you leave the citronella oil to soak into the wick for about 30mins before lighting the first time to let it soak up the oil rather than the wick just burning?
That would be perfectly fine if you have the time before you use it!
I’m so sad, mine wouldn’t work. The flame kept going out. Does anyone know if wicks go bad? The roll of wicking material I have is like 10 years old. I punched a hole in the top of a smuckers jam jar. put the wick through. filled the jar about 3/4 full of new tiki oil. Waited about 2 hours and then lit it. It burned for about 45 seconds and then went out. So, I pulled a little more wick through the opening in case what I had was too short. Lit it, and same thing. I don’t know why it won’t work.
Hi, Barbara. I wouldn’t think the wick would go bad. I’m not sure if the age of the tiki oil would make a difference either. You could always try a regular mason jar lid instead of jar lid just in case it was coated with something that was extinguishing the flame. Hope this helps!
I have the same problem, I used a Mason jar lid . My wicks and oil were brand new, I even let them soak for a day to make sure the wicks were filled with oil. Very confused
Love this idea, Marty! Thanks for sharing!
Thanks, Kristi!
Thanks for the details on how to thread the wick! Sometimes it’s those little things that help with these kinds of projects!
So glad this was helpful, Susan!
These are great for summer! Love the post!
Thanks so much, Kim! Such a strange time we’re living in though!
Marty, I love this idea! It is easy and inexpensive and you’re right, a great gift. Thank you
Thanks, Deana! Love all natural projects!
Helpful as the bugs are out in full force here!
Same here in NC!
What a great idea!!! The mozzies seem to have been breeding overtime in our neck of the woods so these will come in very handy.
Hi, Michelle. Aren’t mosquitoes the worst? We love to sit outside and these all natural candles sure help!
Cool project, I will have a try in the summer.
Hope you’ll enjoy the DIY, Anita!
WOW what a great idea, i cant wait to give this a go!!
From the heat, would the Mason jar shatter.
Hi, Beth. No the jar won’t shatter because they’re designed to be used at high temperatures when canning. Hope this helps!